
Learn how to grow potatoes this year! Hi, My name is Juliea, I’m an Idaho mother of 6 who’s been gardening for years. We grow tons of potatoes around here and I’m excited to share my tips on how to grow potatoes so you can too!

Why Potatoes?
Potatoes are the easiest foods to grow, they store for months and make easy meals. Potatoes store for in a cold room for up to 5 months, in the fridge for 3-4 months, and in the pantry for 3-5 weeks. So they are great if you want to build up your home food storage!
With a little work and care, you can grow a grow a crop of organic potatoes that are perfect for creamy potato soup, creamy mashed potatoes with gravy or cheesy scalloped potatoes! Put some potatoes in a paper sack and let them go to seed, or head to your local garden center and pick up some seed potatoes to get started today!
Potatoes are a great crop for any home gardener… They’re easy to grow, need little care, and they produce a sustaining harvest!
When To Plant Potatoes
For the eager first earlies, late March is your starting time, getting them into the ground first for an early harvest.
Second earlies, a bit more relaxed, prefer early to mid-April, while the maincrops, destined for long-term storage, thrive when planted mid- to late April, needing that extra growing time. Location plays a big role: those in warm climates can jump the gun, planting from January to March, whereas cooler areas should wait until April to June, and those in northern regions should add a couple of weeks to those general guidelines to avoid late frosts. Really just keep an eye on soil temperature and frost risks; potatoes like warmer soil, and a late frost can be a real setback. So, check your local forecasts, and you’ll know exactly when to get those potatoes in the ground.
First earlies,” “second earlies,” and “maincrops” is about different speeds of potatoes. Think of it like a race, but for your garden!
It’s all about how long they take to grow and how long they’ll last. So, if you want potatoes early, go for first earlies. If you want a good supply for winter, maincrops are your friend. And second earlies are a happy medium between the two.
How To Grow Potatoes
let’s talk potatoes! Picking the right spud for your garden is like choosing your favorite ice cream – there’s something for everyone! We’ve got a whole lineup of personalities here, so let’s break it down.
First off, think about what you want from your potatoes. Do you want fresh, early bites, or are you planning on storing them for winter feasts? That’s going to guide your choice.
The Speed Demons: First Earlies
These guys are all about instant gratification. They’re quick, ready to harvest in just a few weeks, perfect for those early summer salads and side dishes. Just remember, they’re not built for long-term storage, so enjoy them fresh! Some popular early birds include:
- Irish Cobbler: Classic and flavorful, especially mashed.
- Norland: Reliable red skins with good yields.
- Duke of York: A traditional early favorite.
- Maris Bard: A very popular early cropping variety.
- Rocket: Super fast growers!
The Middle Ground: Second Earlies
These are your dependable all-rounders. They take a bit longer than first earlies but still give you a mid-season harvest. They’re also a bit better for short-term storage. Think of them as your reliable everyday potatoes.
The Marathon Runners: Maincrops
These are the potatoes you’ll be relying on when the weather turns chilly. They take their time to mature, but they give you the biggest yields and store beautifully. Think of them as your winter pantry staples.
Now, let’s look at some popular potato types, regardless of when they are harvested:
- Russet Potatoes: Your classic baking potato, perfect for fries, mashed, and baked potatoes. They’re starchy and fluffy.
- Red Potatoes: Thin-skinned and creamy, great for boiling, roasting, and potato salads.
- Yukon Gold Potatoes: Buttery and golden, ideal for mashed potatoes, roasting, and baking.
- Fingerling Potatoes: Small and nutty, perfect for roasting and grilling.
- Purple Potatoes (like Adirondack Blue): Rich in antioxidants, they add a splash of color to your roasting and boiling.
- German Butterball Potatoes: Buttery flavor and creamy texture, amazing mashed or fried.
- New Potatoes: Harvested early, delicate and sweet, perfect for boiling and salads.
And a quick note about sweet potatoes: They’re wonderful, but they’re grown differently than the potatoes we’re talking about here. We’ll save those for another chat!
So, whether you’re craving early summer freshness or winter comfort, there’s a potato variety that’s just right for you.
Choosing the Right Spot
Potato plants need full sun, well-drained and loose soil to grow well. Choose a spot in your garden that gets at least six hours of sunlight each day and has good drainage.
Prepare the Soil
Potato plants need well-drained soil with organic matter. Start by preparing your soil in the early spring before planting your new plants. To grow potatoes, the soil needs to be loose and have a good amount of organic matter.
First, clear the area of any weeds, rocks, or debris. This will gives your potato plants enough space to grow so they’re not competing with other plants for nutrients or space.
- Add organic matter: Add organic matter, such as compost or aged manure, to the soil. This will improve soil fertility and help the soil retain moisture. Spread a layer of organic matter over the soil and mix it in with a garden fork or tiller.
- Test soil pH: Potatoes prefer a slightly acidic soil with a pH between 5.0 and 6.0. Use a soil test kit to test the pH of your soil. If the pH is too high, add sulfur to lower it. If the pH is too low, add lime to raise it.
- Add extra soil: Potatoes grow best in soil that’s at least 12 inches deep. If your soil is shallow, add extra soil to create a deeper planting area. You can create a raised bed or use a grow bag to create a deeper planting area.

Planting Seed Potatoes
Let’s get those seed potatoes in the ground… It’s easier than you might think, and you’ll be munching on your own homegrown spuds before you know it.
First things first, let’s talk about prepping your seed potatoes. If you’ve got some big fellas, you’ll want to cut them into smaller pieces. Just make sure each piece has at least one of those little “eyes” – those are the sprouts that’ll turn into your potato plants! Now, let those cut pieces sit out for a couple of days to dry a bit. This helps them heal up and keeps them safe from rot and those pesky fungal diseases.
Now, for the fun part – planting! Wait until the soil’s warmed up a bit, around 45 degrees Fahrenheit, which is usually early spring. Dig a little hole, or a row, about 4 inches deep, and pop your seed potato in there with the eye facing up, like it’s looking at the sky. Then, gently cover it with about 2 inches of soil, and don’t worry about covering it all the way just yet.
As your potato plants start to grow, you’ll want to “hill” the soil up around the base of the plants. Basically, you’re just piling more soil around them as they get bigger. This keeps those potatoes from turning green and bitter from too much sun.
If you’ve got small seed potatoes or some leftover potatoes from last year, you can plant those whole! Just follow the same steps. And if you’re tight on space, raised beds or grow bags are your best friends. Plant those little guys about 8 to 12 inches apart in rows, and you’ll be set!
How to Water Potato Plants
Potatoes need regular watering to grow well. Keep the soil moist but not waterlogged. Water the plants about once a week, and more frequently during dry periods. I like to use a drip system to make watering a no brainer. I have my drip system on a time so it automatically waters the beds every couple days. Learn how to use less water when growing potatoes here.
Add Soil as Potato Plants Grow
As your potato plants grow, they will start to push through the soil surface. Add a few inches of soil to cover the base of the plants. This will protect the potato tubers from sunlight and prevent them from turning green. Continue to add soil every couple of weeks as the plants grow taller.
Hill the soil: As the potato plants grow, hill the soil up around the base of the plants. This will help prevent potato tubers from turning green and becoming bitter. You can use a hoe to gently pull soil up around the base of the plants.
Controlling Potato Pests
You can prevent pests from affecting the health and yield of your potato crops by monitoring your plants for signs of pests, and using these organic pest control methods!
- Colorado potato beetles: Colorado potato beetles are one of the most common pests that affect potato plants. They are yellow-orange beetles with black stripes and can quickly defoliate a plant. To control Colorado potato beetles, handpick them off the plants or use organic insecticides.
- Potato tuberworm: Potato tuberworms are small, grayish-brown moths that lay eggs on the leaves of potato plants. The larvae tunnel into the potato tubers, causing damage and making the potatoes susceptible to fungal diseases. To control potato tuberworms, use insecticides or remove infected plants.
- Aphids: Aphids are small, soft-bodied insects that can suck the sap from potato plants, causing damage and transmitting plant viruses. To control aphids, use insecticidal soap or neem oil.
- Wireworms: Wireworms are the larvae of click beetles and can cause damage to potato tubers by tunneling through them. To control wireworms, use crop rotation, beneficial nematodes, or insecticides.
- Flea beetles: Flea beetles are small, black beetles that can cause damage to potato plants by feeding on the leaves. To control flea beetles, use insecticidal soap or neem oil.
- Slugs: Slugs can cause damage to potato plants by eating the leaves and tunneling into the potato tubers. To control slugs, use slug bait or diatomaceous earth.
Blight Control
Potato blight is a fungal disease that can damage your entire crop. Look for brown spots on the leaves and remove them immediately.
While ideal soil temperatures for potato growth are between 60-70 degrees Fahrenheit, you cannot always control soil temperature. So, focus on other preventative measures like choosing disease-resistant varieties and practicing good crop rotation!

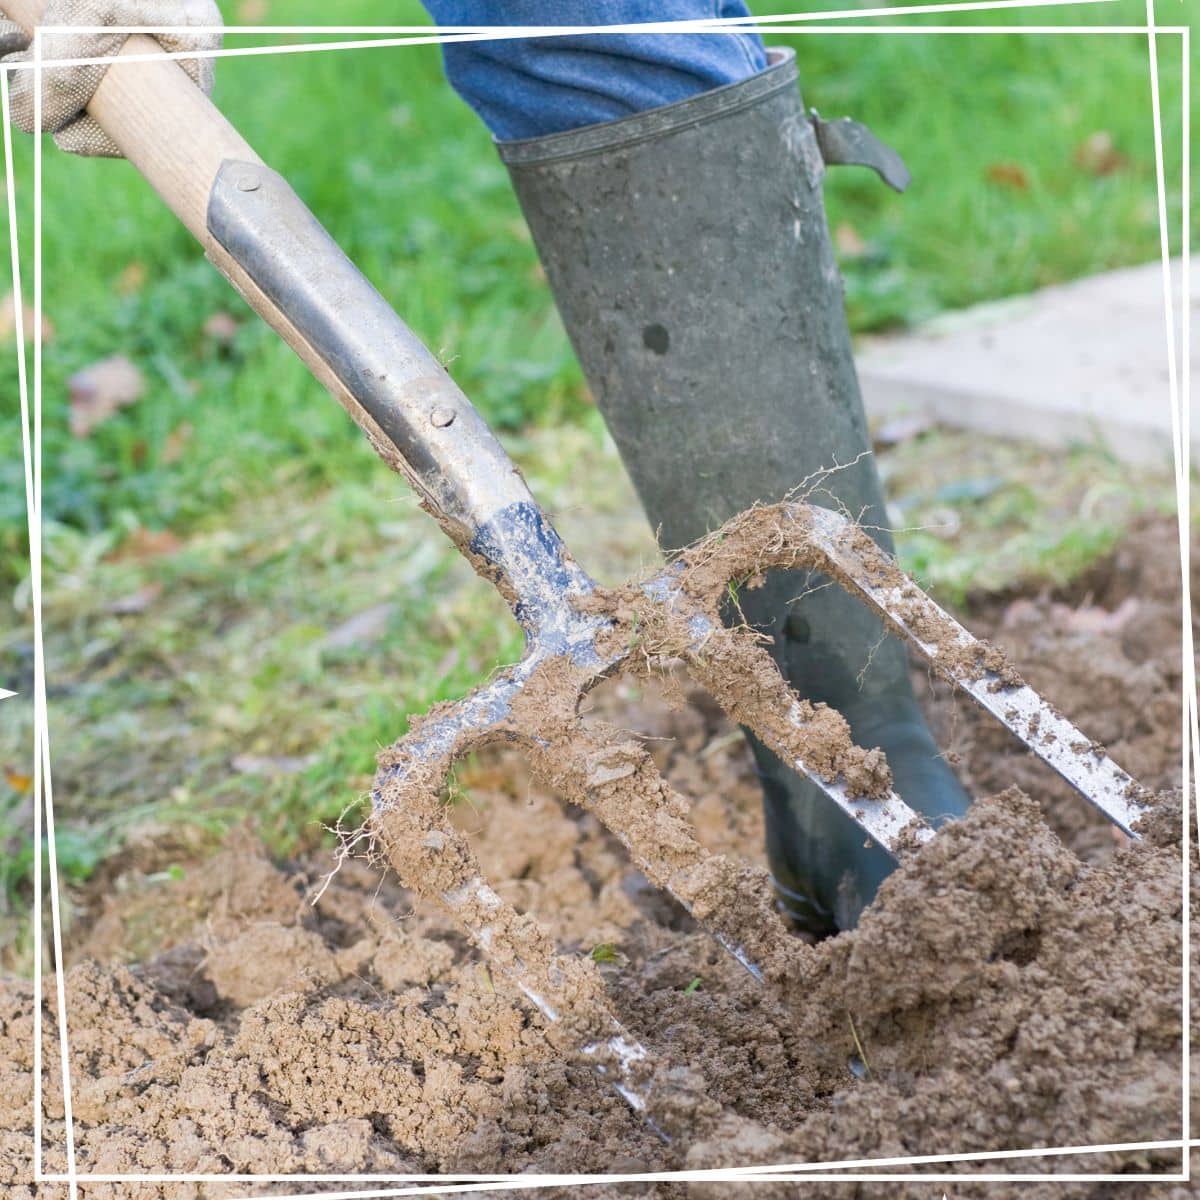
Harvesting Potatoes
Potatoes are ready to harvest when the leaves start to die back in late summer. When the soil is dry, carefully dig up the entire plant and roots. Avoid cutting or bruising your potatoes, and gently remove the potatoes from the soil.
Before storing your potatoes “cure” them so they last longer. Find a dark area that’s a bit humid with good ventilation…. Basements are perfect! Shake excess diet off your potatoes, remove any that are damaged or diseased. Lay the potatoes out in a single layer on a wire rack or cardboard. Make sure there’s room for good air circulation around the potatoes. Just leave them there for 1 to 2 weeks as they cure. Curing fresh potatoes allows the skins to thicken and any minor injuries to heal!
Store your potatoes in a cool, dark place for up to 5 months!
If you use this info to grow potatoes and love it, Tag me on Instagram @farmhouse_harvest with your crop!


