


Sourdough Dinner Rolls
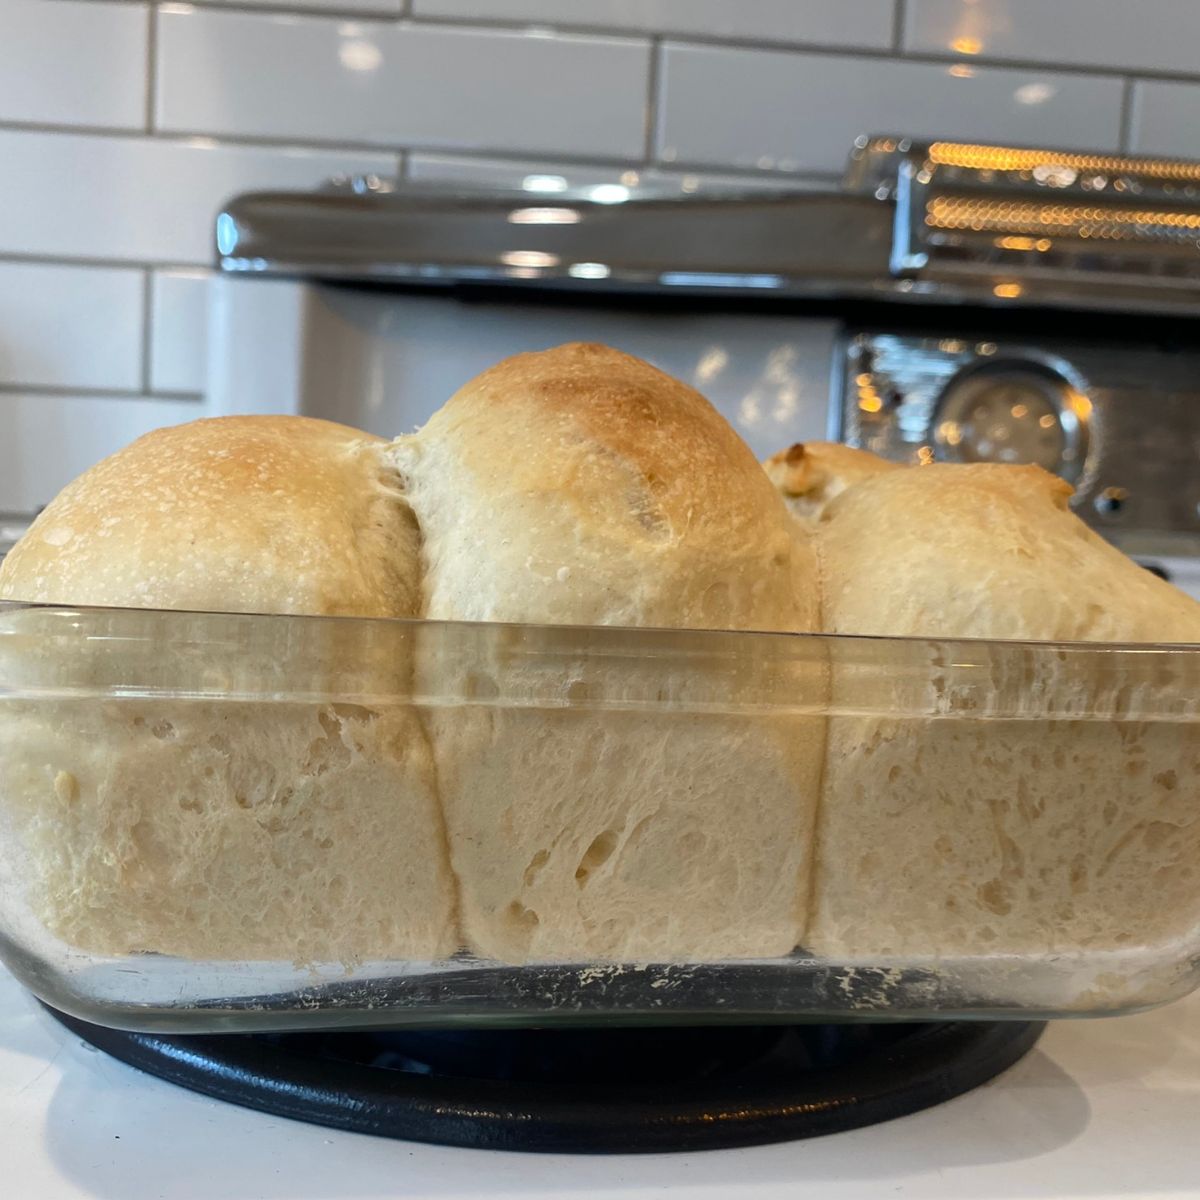
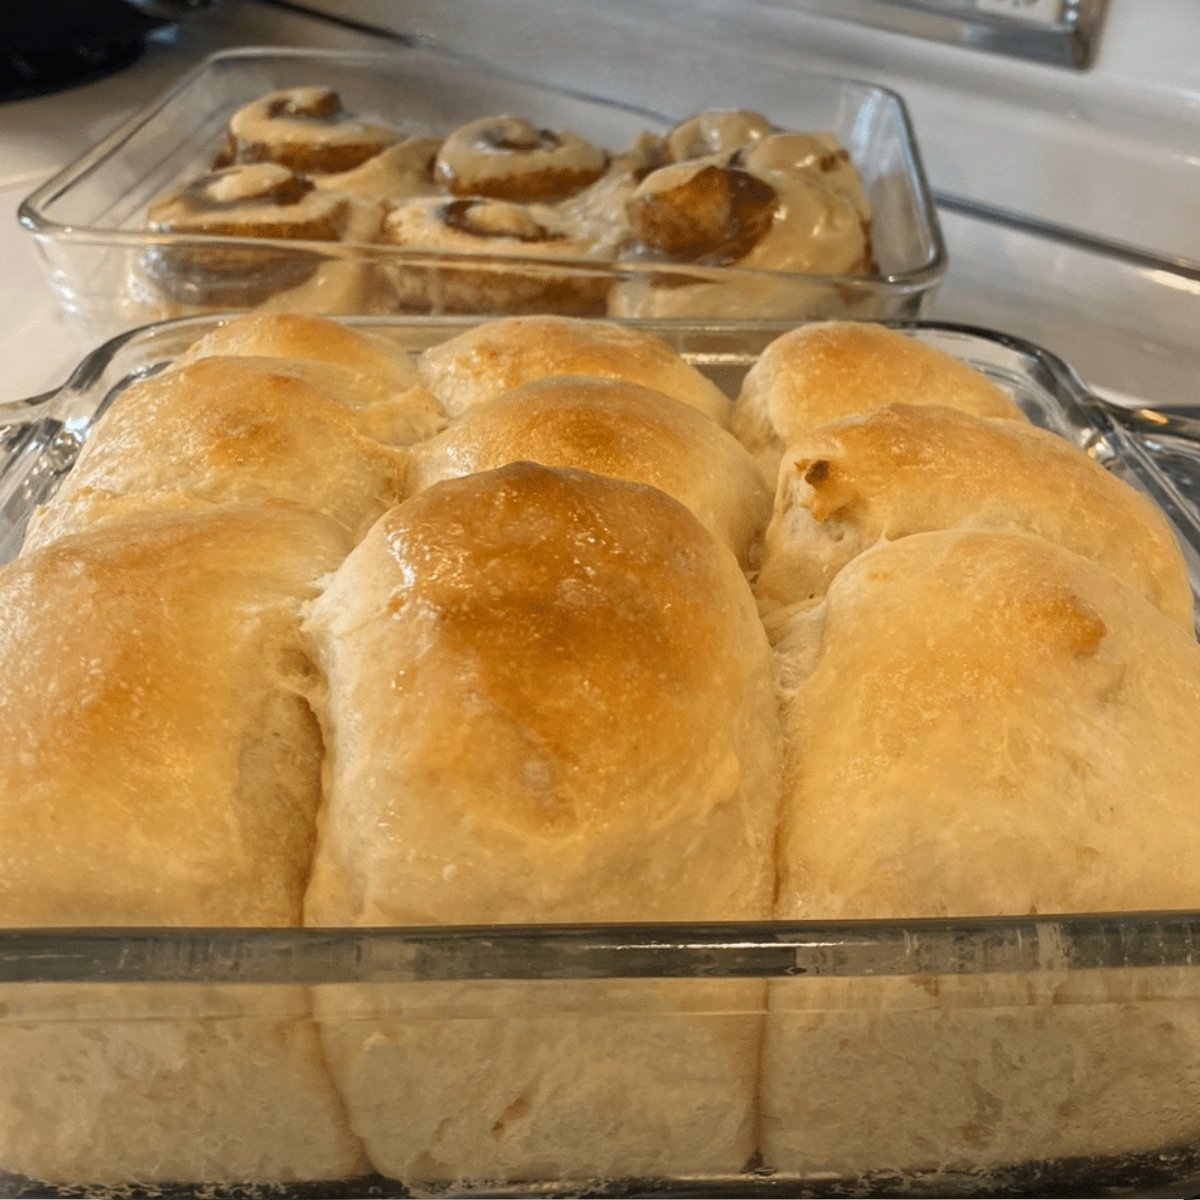
Some sourdough rolls are crusty on the outside… And those are delicious too… But this recipe makes a different kind of sourdough roll… They’re irresistibly soft sourdough rolls your family will adore… These golden brown sourdough rolls burst with sourdough flavor and a melt-in-your-mouth texture.
Soft sourdough rolls have a buttered soft crust, soft pillowy centers and that sourdough tang we all love… Butter and eggs add flavor, structure, and satisfaction too!
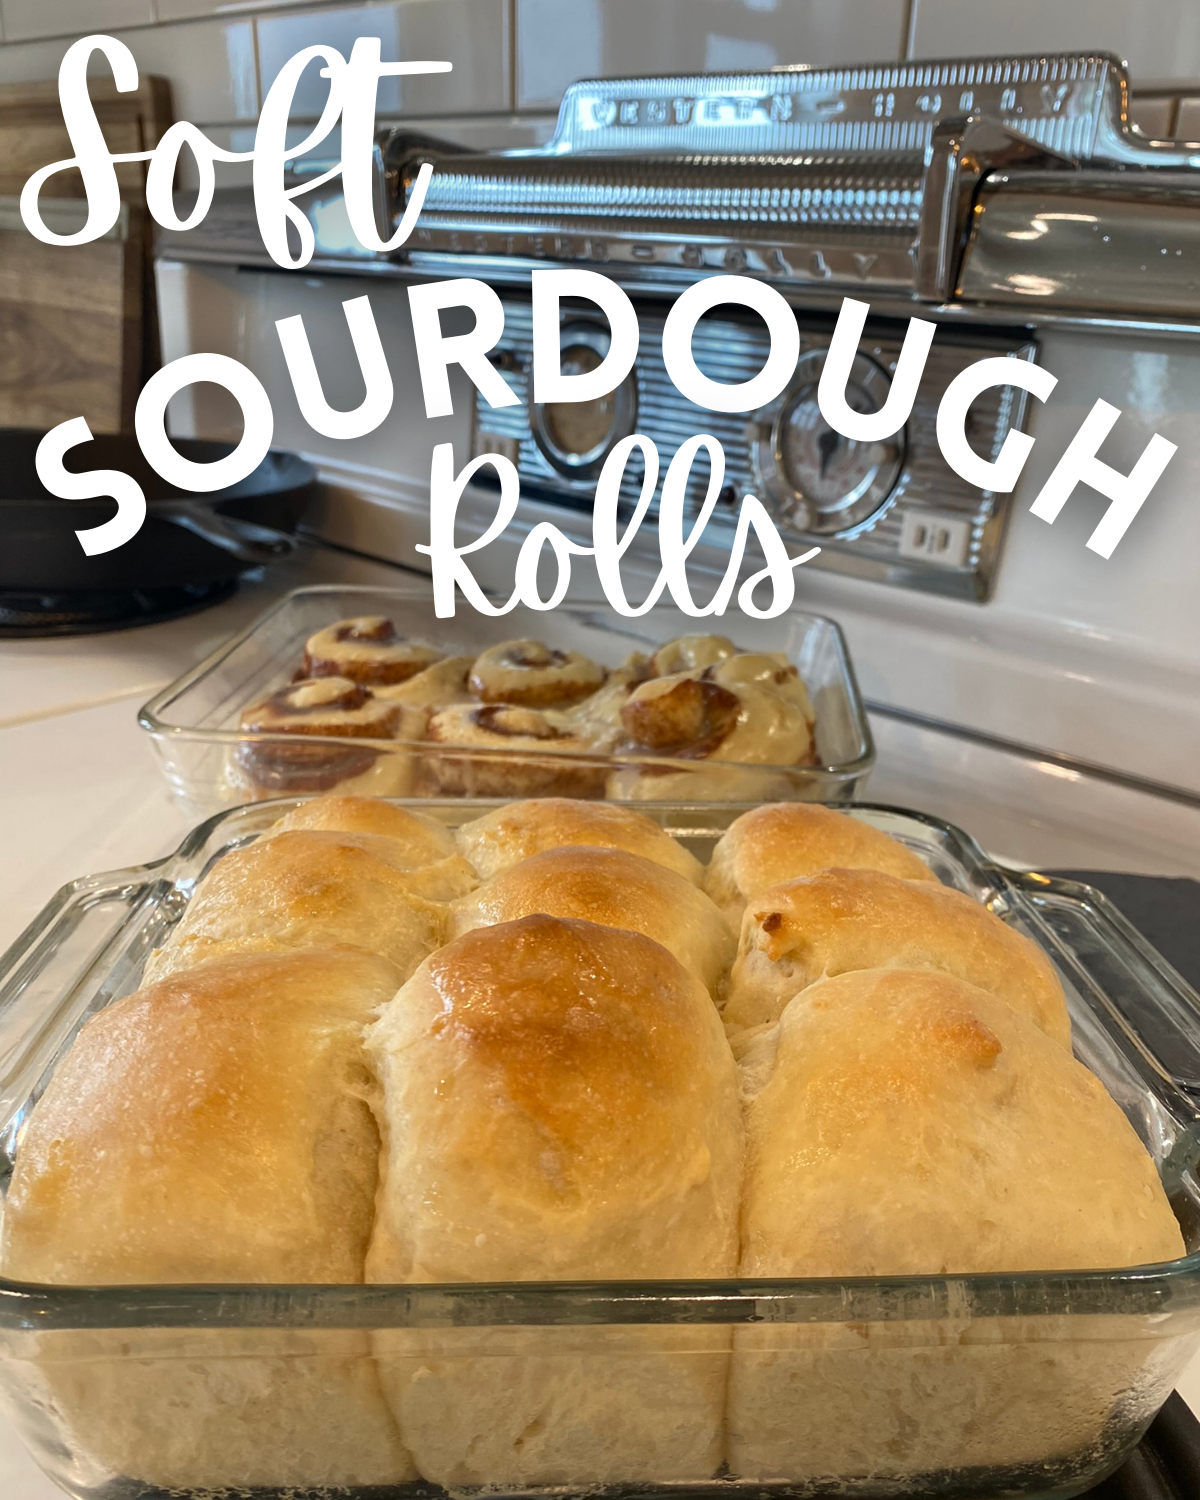
I use this sourdough roll recipe and adapt it for so many different great rolls… I also use it for decadent cinnamon rolls, or add cocoa powder and chocolate chips for chocolate rolls! I like to split the dough in half… Half for dinner rolls and half for cinnamon;)
Key Ingredients & Tools
One of the best things about sourdough is how simple the ingredients are… This soft dough includes the traditional sourdough starter, flour and salt like traditional sourdough bread, with a few extras for added flavor!
- Active sourdough starter, instead of commercial yeast (get my homemade sourdough starter recipe here.)
- Flour. I use all purpose in the pictures here… But I also love to use fresh ground Einkorn flour to make soft rolls with, or a mix of both! You just have to measure different with fresh ground. Use grams instead of cups to get the the amount!
- Granulated sugar – I’m using white sugar, but you can also use any sugar, or honey, here.
- Egg & Butter: These two ingredients are KEY to making this dough dreamy soft, with the finished rolls cloudy puffy… No crusty rolls here! 😉
Tools I Use
- A large mixing bowl. (Or the bowl of a stand mixer.)
- Measuring cups – No scale needed;)
- A towel to cover the dough as it rises. (You can also use plastic wrap but I much prefer a clean towel)
- A warm rising spot.
- A bench scraper is great to cut dough into rolls.
- 9×13 baking dish (or a 9×9 for half the recipe). You can also use a cast iron skillet, or baking sheet covered with parchment paper.

Baking Schedule
This schedule is optimized for a warmer kitchen (≈75∘F or 24∘C). If your kitchen is cooler (closer to 68∘F or 20∘C), add an extra 1–2 hours to the Bulk Fermentation and the Second Rise…. Or speed it up using my tips and tricks below!
| Time | Step | Duration | Notes |
| 8:00 PM (Night Before) | Feed Starter | Overnight (8-12 hours) | Feed your starter to ensure 380 g is active and ready by morning. |
| 8:00 AM | Mix Dough | 15 minutes | Combine all ingredients, knead the dough until smooth and elastic. |
| 8:15 AM | Rest (Autolyse/First Rest) | 30 minutes | Place the dough in the oiled bowl, covered, to begin the bulk fermentation. |
| 8:45 AM – 12:15 PM | Bulk Fermentation (First Rise) | 3.5 – 4 hours | Let the dough rise until it has doubled in size. (If your kitchen is 90∘F, reduce this time to 2 hours). |
| 12:15 PM | Shape Rolls | 15 minutes | Gently punch down the dough, divide into 15 equal pieces (≈80 g each), and shape into balls in the baking dish. |
| 12:30 PM – 3:00 PM | Second Rise (Final Proof) | 2.5 – 3 hours | Let the rolls rise until they are puffy and nearly doubled. (Do the poke test!) |
| 3:00 PM | Bake | 20 – 25 minutes | Preheat oven to 350∘F (177∘C). Bake until golden brown. |
| 3:25 PM | Serve! | Brush with melted butter and enjoy the softest rolls! |
Before You Begin: Starter & Technical Notes
Starter Readiness: This recipe needs 380 grams (143 cups) of active, 100% hydration sourdough starter. Your starter should be bubbly and doubled in size when you use it. To ensure you have enough at its peak, I recommend feeding it the night before.
Starter Feeding: To get the 380 grams needed, feed 2 tablespoons of your starter with 1 cup (120 g) of all-purpose flour (or bread flour) and 1 cup (240 g) of warm water. Let this mixture bubble up on the counter overnight or for 8−12 hours.
My Tips & Tricks for Faster Sourdough Rolls
Here are my favorite farmhouse tricks and variations to ensure success and speed up the process, especially if you have a chilly kitchen!
Temperature is Key!
Warm Water/Milk: Always use warm milk (or water) in your dough—around 90−100∘F (32−38∘C) is perfect. This gives your starter a nice, cozy environment to start fermenting fast!
Softened Butter: Use room temperature, softened butter so it incorporates smoothly into the dough without creating cold pockets that slow down the rise.
The Oven Warming Trick (Speed Up Your Rise!)
Whether you have a gas or electric oven, you can create the perfect dough-rising environment that cuts the total rise time in half:
Warm the Oven: Preheat your electric oven to 180∘F (82∘C) for 5 minutes, then turn it off. This should bring the internal temp to a cozy 80−90∘F (27−32∘C).
Monitor: Use an instant-read thermometer. You want the temperature to stay below 93∘F (34∘C) to avoid cooking your dough.
Place Dough Inside: Place your covered dough bowl inside the warmed, off oven for the Bulk Fermentation and the Second Rise. Remove the dough if you need to briefly warm the oven again.
Result: Using this method, you can often cut your total rise time to just 2.5 hours total for beautifully fluffy rolls!
Soft Sourdough Roll Variations
Egg Wash: For a beautiful, deep brown and glossy finish, apply an egg wash (1 egg whisked with 1 teaspoon of water) to the shaped rolls right before baking.
Cinnamon Rolls: This exact dough makes the most decadent, soft Sourdough Cinnamon Rolls! Roll the bulk fermented dough out, fill with butter, sugar, and cinnamon, slice, and proof for the second rise.
Whole Wheat: For an added nutritional punch, you can substitute up to half of the all-purpose flour with all-purpose whole wheat flour. You may need to slightly increase the liquid content (milk or water) as whole wheat absorbs more moisture.
How to Store Soft Sourdough Rolls
If you have leftover rolls, store them in an air-tight container on your counter! Keeping these rolls on the counter (instead of the fridge) keeps them soft! They make a great snacks and sandwich base the next day!
More Sourdough Recipes
Thank you so much for stopping by our farmhouse. I hope you love this soft sourdough roll recipe! You may also enjoy these simple sourdough recipes:
- How to make a sourdough starter from scratch. Learn to make your own sourdough starter!
- Sourdough Bread for Beginners…A simple no knead sourdough artisan bread.
- Sourdough cheddar biscuits. – Quick recipe for a last-minute side dish that everyone loves!
- Sourdough Pumpkin Bread – Perfectly spiced pumpkin bread with all the flavors of sourdough. A great snack or breakfast!
I really want to know what YOU think.. Please review the recipe card!
If you try this recipe, I’d love if you give it a review on the recipe card, and let me know how it turned out in the comments or review! Tag me on Instagram @farmhouse_harvest with your delicious creation!
Soft Sourdough Rolls with Butter & Egg
Ingredients
- 1 3/4 cups active sourdough starter (380 grams) 100% hydration sourdough starter (See "Before You Begin" notes). This takes the place of commercial yeast or instant yeast. See notes below for hydration, and how I prep my starter.
- 1 cup warm milk (240 g) or warm unchlorinated water.
- 5 cups all-purpose flour (600 g) or use bread flour. (plus 2−4 Tbsp for kneading, as needed)
- 1/3 cup sugar (67 g) I use white sugar, but you can use any dry sugar here.
- 1 1/2 teaspoon salt (9 grams)
- 1 large egg (approx. 50 g)
- 1/2 cup butter (113 g) 1 cube softened
- 2 tablespoons melted butter (28 grams) for brushing after baking.
Instructions
- Combine Wet Ingredients: In a large mixing bowl (or the bowl of a stand mixer), whisk together the warm milk (240 g), active sourdough starter (380 g), the large egg, and the softened butter (113 g). Mix until it’s all smoothly incorporated.
- Mix Dough: In a separate medium bowl, whisk together the flour (600 g), sugar (67 g), and salt (9 g). Gradually add the dry ingredients to the wet ingredients, mixing with a wooden spoon or the paddle attachment until a shaggy dough forms and there are no dry bits of flour left.
- Autolyse & Knead (The Quick Way): Cover the bowl and let the dough rest for 30 minutes (this is a mini-autolyse that helps the flour hydrate and jump-starts the gluten development!). After the rest, turn the dough onto a lightly floured surface. Knead for 5–7 minutes until the dough is smooth and elastic. During the final minute of kneading, use a few quick stretch and folds to ensure the dough is taut and strong. Only add the reserved flour as needed to keep the dough from sticking.(Stand Mixer Note: Use the dough hook on low speed for 3–5 minutes.)
- Bulk Fermentation (First Rise): Shape the dough into a smooth ball. Lightly grease a large bowl with 1 tablespoon of olive oil and place the dough inside, turning once to coat. Cover with a clean towel or plastic wrap and set it in a warm spot for the first rise (bulk fermentation). Let it rise until it has doubled in size. (In my warm kitchen, this takes about 2.5–4 hours. See my "Tips and Tricks" for how to speed this up with your oven!)
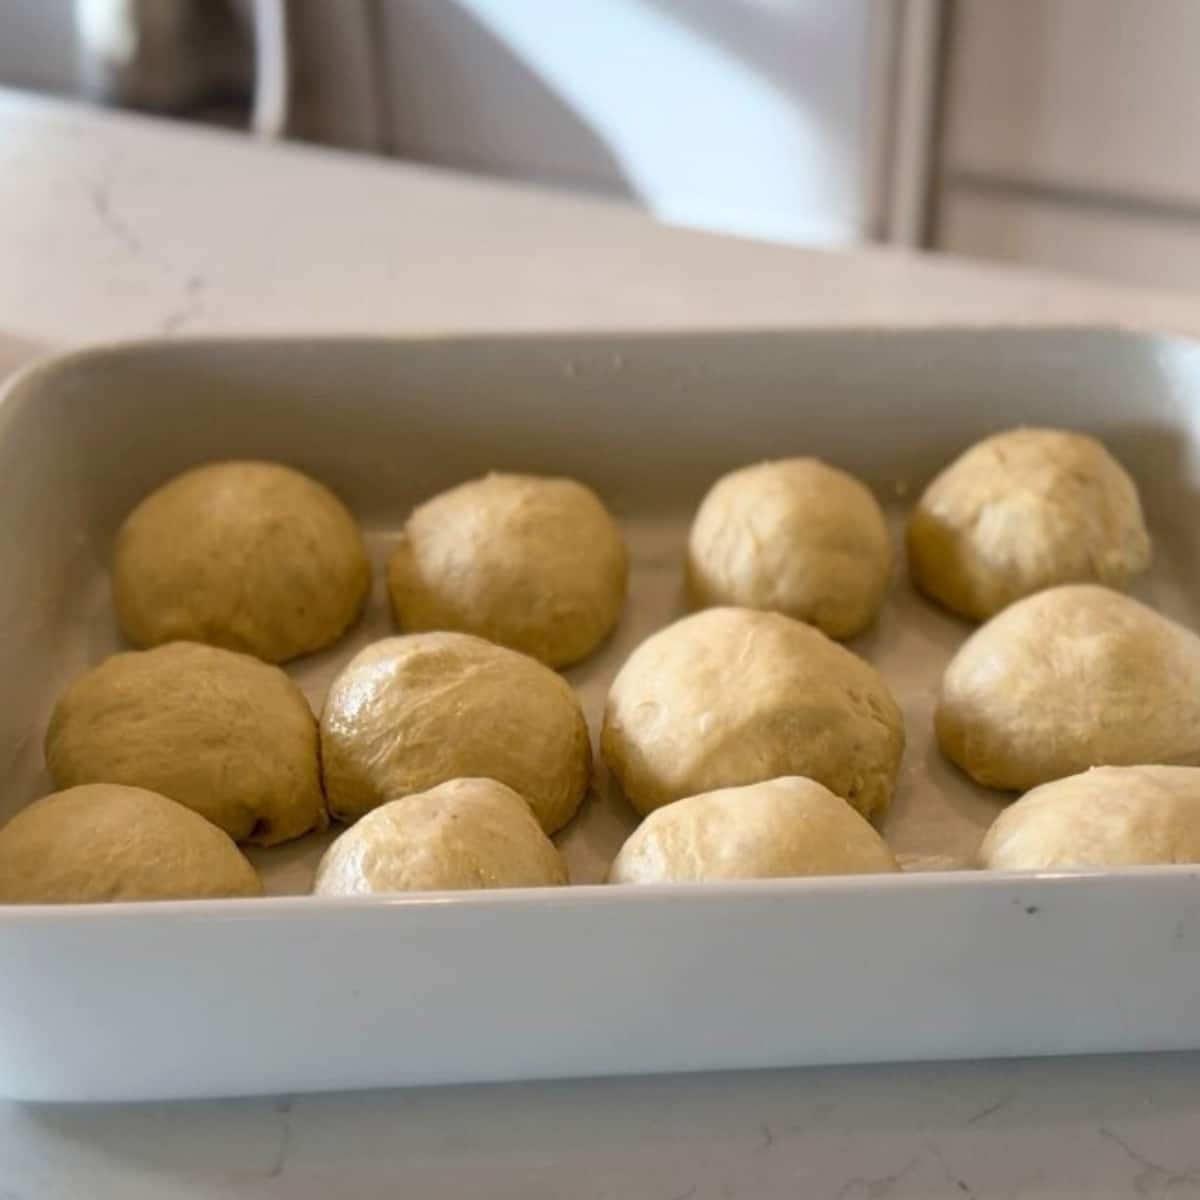
- Shape the Rolls: Gently punch down the dough to release the air. Turn the dough onto your counter and divide it into 15 equal pieces. (Pro-Tip: Use a kitchen scale to weigh each piece for perfect, consistent rolls—they should be about 80−85 grams each). Shape each piece into a smooth ball and arrange them snugly in a buttered 9×13 baking dish.
- Second Rise (Final Proof): Cover the shaped rolls and let them rise in a warm spot until they look nice and puffy and have doubled in volume (this is the final proof). This may take 2–3 hours at room temperature. (Make-Ahead Option: At this point, you can cover and place the rolls in the fridge to bake the next day.)
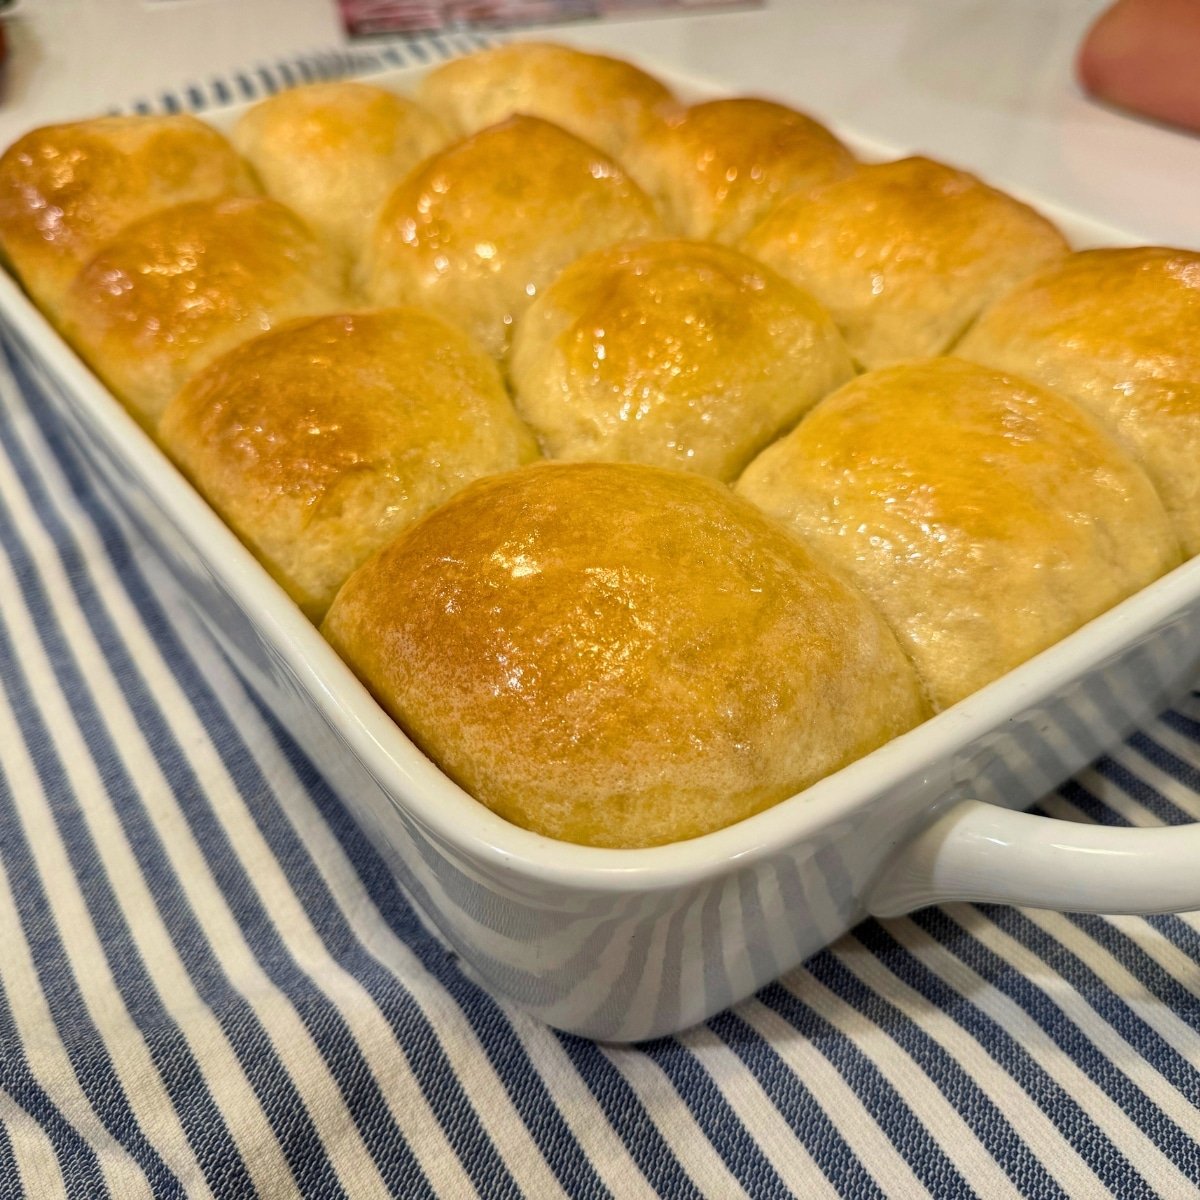
- Bake: Preheat your oven to 350 ∘F (177 ∘C). Bake the rolls for 20–25 minutes, or until they are golden brown on top. For the softest texture and a sure sign of doneness, an instant-read thermometer inserted into the center of a roll should read at least 190 ∘F (88 C).
- Finish and Serve: Remove the hot rolls from the oven. Immediately spread the 2 tablespoons of melted butter over the tops. Serve them warm and watch them disappear!
Video
Notes
Nutrition

About Juliea
Juliea Huffaker is the creator of Farmhouse Harvest, and dedicated to teaching from-scratch cooking, sourdough baking, gardening, and food preservation. With over 25 years of hands-on experience she has preserved hundreds of jars of produce, mastered the art of meats and sourdough baking, and nurtured a thriving organic garden. Her recipes and articles have been featured across the web. And she’s passionate about inspiring others to embrace a simpler, self-sufficient life style.


18 comments
Carla
The directions said, “Starter Feeding: To get the 380 grams needed, feed 2 tablespoons of your starter with 1 cup (120 g) of all-purpose flour (or bread flour) and 1 cup (240 g) of warm water. Let this mixture bubble up on the counter overnight or for 8−12 hours.”
I didn’t have luck with the starter, as directed. I’ve never used twice as much water as flour (in grams) to feed my starter. The next morning, it was still a wet mess that didn’t look like active sourdough starter. Is that how it’s supposed to be? The night before, I weighed it out, mixed it, and set it on the counter overnight. It was very wet and separated in the morning, not like any active starter I’ve ever seen, so I didn’t want to waste time and flour, and just threw it out. Was it supposed to look like that? What don’t I understand?
Juliea Huffaker
Hi Carla! Sounds like your starter was over done…. It will depend on how active your starter is, and the temperature of your house. Just let it sit on the counter till it doubles in size. Or just use your regular starter made with equal parts flour and water 😉
Betsy modde
For the final proof, if you’re refrigerating overnight, do you sit on the counter to proof 2-3 hours prior to the fridge? Or is the fridge in replace of that?
Juliea Huffaker
Hello Betsy! Is in replace of that!
Charie
Very good rolls- very sift and tasty
Timber
These rolls are some of the best I have ever tasted so fluffy and buttery!!
Bev Weaver
I’ve made these a couple times and they turned out very delicious!! was a big hit and were light n fluffy, excellent flavor!! I’m making now for a lakehouse weekend with friends, thanks for sharing this great recipe!!
Juliea Huffaker
Hi Cheryl! Yes you can add more sugar… I wouldn’t go too wild, but a 1/4 a cup more works just fine!
Juliea Huffaker
Hi Sheila! Yes you refrigerate the starter when not using it. The morning you are going to make something with it, take it out of the fridge, feed it and let it warm up and bubble up on the counter for a few hours before using it. UNLESS its a discard recipe, those can be made with starter straight out of the fridge;) I have not tried freezing rolls before letting them rise, if you try that… Please let me know how it goes! Hope you all had a happy Easter!
Juliea Huffaker
Hi Julie! So glad you made these rolls for Easter Dinner… We love them, heop this becomes one of your favorites too;) Happy Resurrection Sunday!
Juli S
Love how easy this recipe is, the fluffiness of the dough, versatility of it and taste is great.
Juliea Huffaker
Hi Michelle! I do not stir my starter down before measuring;) Thanks for asking! Let me know what you think!
Debbie
Made these rolls and they are DELICIOUS!!! Instead of making rolls can you bake them in loaf pan?
Juliea Huffaker
Hi Debbie! Yes you could bake this as a loaf too… You just need to adjust the time and bake to 200 degrees internal temp in the center of the loaf!
Dusty
You make this look so easy & looks so delicious!
Jewl
These are the best soft sourdough rolls ever! They’re so soft and fluffy and buttery and delicious! Plus I make them in 1 day! And their well fermented to boot! Thanks for the temperature info!
Cari
This dough is a dream! I did as suggested and made 9 rolls for dinner and 6 large cinnamon rolls the next morning. Both were flawless. ? I even took note of keeping my oven around 93 degrees for the fermentation process and it worked wonderfully.
(I’d turn on my gas oven and as soon as it’d kick on I’d turn it off and manage the temp by opening or closing the door. Once it got to 93 with the door closed I’d walk away for about an hour and come back to about 83 degrees and repeat the process. Worth it for same day dinner rolls for an early dinner!)
Thanks for sharing!
juliea
Hi Cari! Thank you so much for trying my recipe… and the review! I’m glad you could keep your oven the right temperature and get them to rise quickly… I do that every time I make this recipe! <3