
This sourdough cranberry bread is perfect for the holiday season! Made with fresh sour cranberries that perfectly compliment that tangy sourdough flavor.
I love baking with fresh cranberries like in my cranberry orange bread and muffins…. But sourdough adds a whole new level of flavor to this winter berry!
Why You’ll Love This Recipe
You are going to absolutely adore this Sourdough Cranberry Bread… It’s the perfect marriage of simple sourdough bread and incredible cranberry flavor!
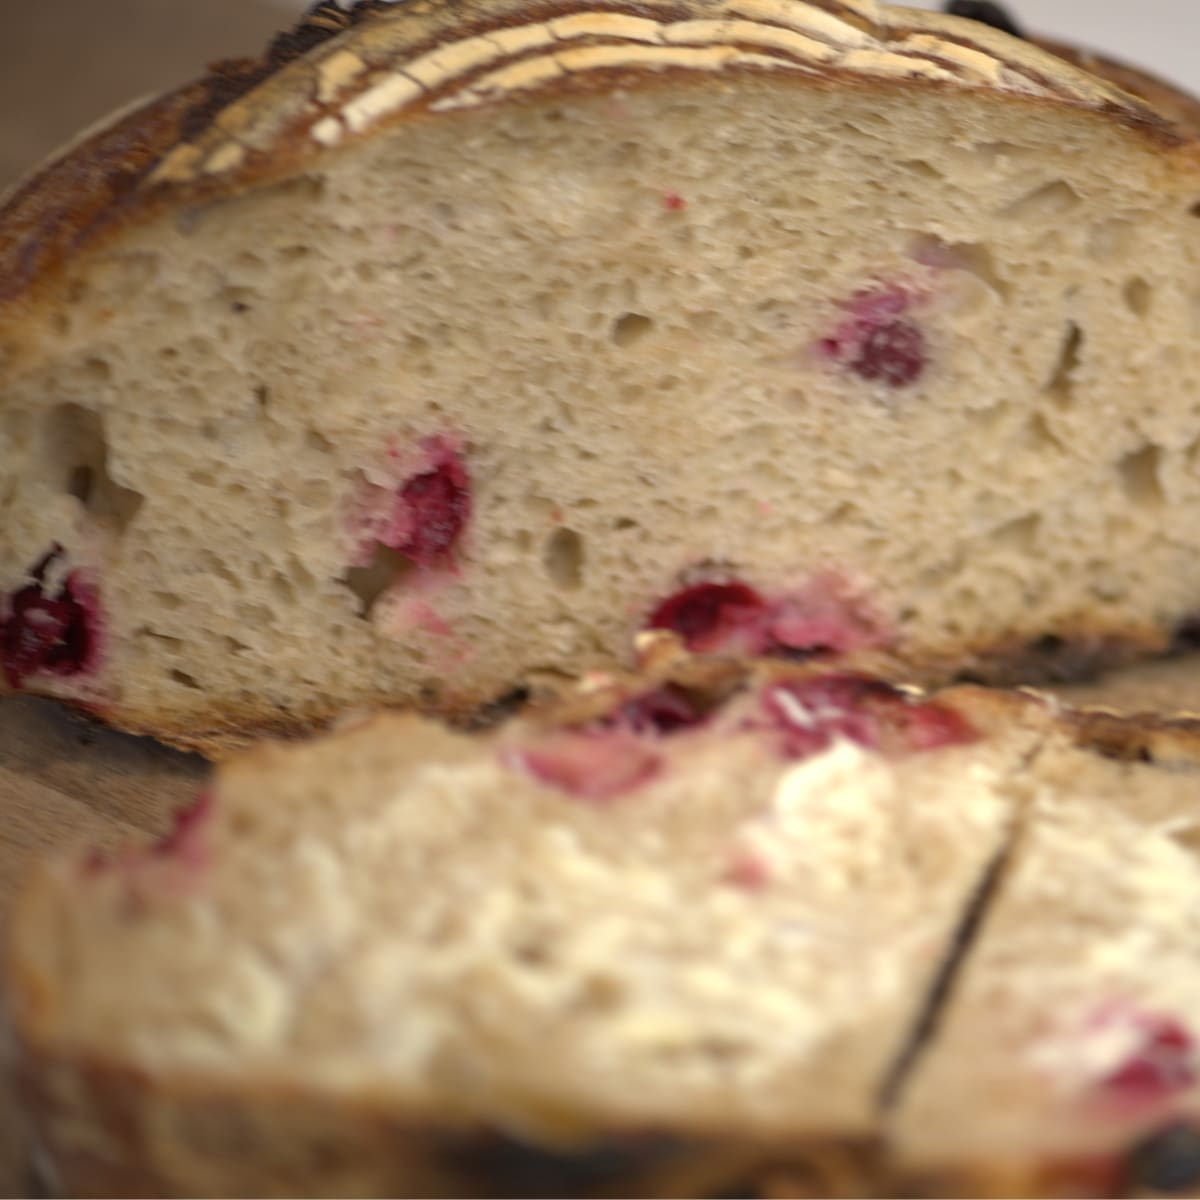
My simple sourdough recipe is super easy to handle and yields a consistently delicious, soft, airy crumb. The magic happens when you introduce the fresh, chopped cranberries! That bright, sharp tartness cuts right through the complex tang of the sourdough, creating a flavor that is utterly addictive.
Thanks to our simple stretch-and-fold method for adding the fruit, you get those beautiful, juicy bursts of red in every slice without compromising the loaf’s soft, signature texture. It’s a stunning, festive bread that’s easy enough for a weeknight but elegant enough to serve guests!
Stretch & Fold Tips: Making it Work
The stretch and fold process is how we build the structure for that perfect chewy crumb, and it’s especially important when we’re adding fruit. Don’t worry, it’s easier than kneading! Here are my tips for getting it right:
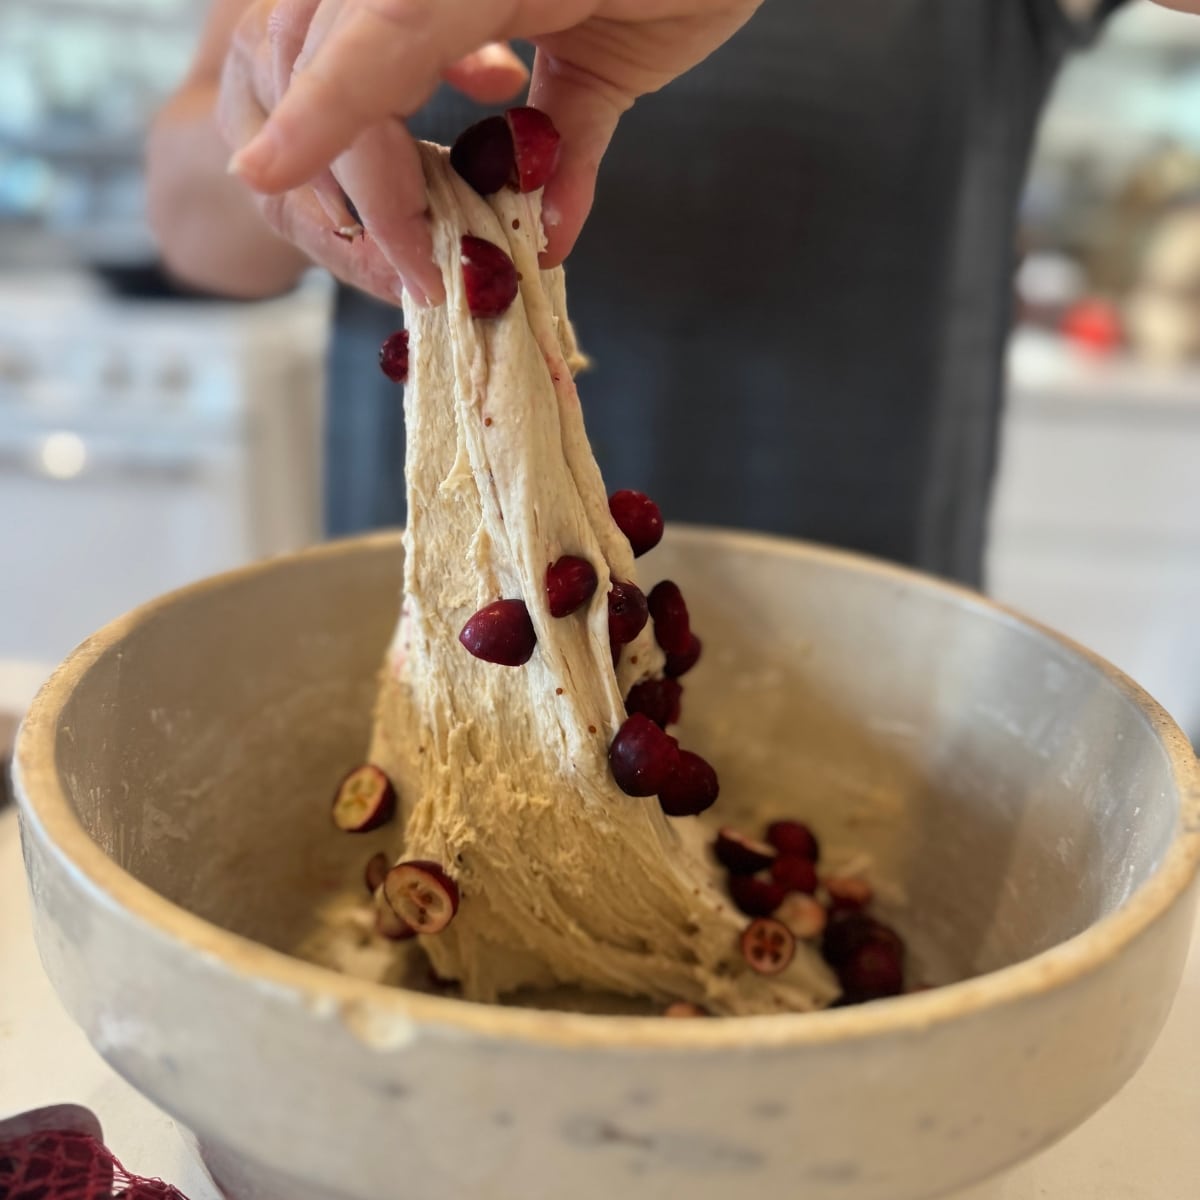
Adding the Cranberries: Notice we add the cranberries during the second set of folds? This is strategic! We want to introduce the fruit after the dough has started to gain some strength, but before it’s fully developed. Gently folding the chopped cranberries in during the last few rotations of that set ensures they are evenly distributed without tearing the delicate gluten network we’ve worked so hard to build.
Be Gentle: You are encouraging strength, not fighting the dough. The stretch should be firm but not forceful—stretch until you feel tension, then fold it over the center. If the dough starts to tear, stop, rest for 5 minutes, and then resume.
Feel the Difference: The most satisfying part is noticing how the dough changes. After the first set of folds, the dough will be loose. By the final set, it should feel tighter, smoother, and much firmer—that’s how you know you’re ready to move on to the bulk fermentation!

I want to know what YOU think, Please review the recipe card!
Sourdough Cranberry Bread
Ingredients
- 100 grams Active Sourdough Starter 1/2 a cup
- 480 grams Bread Flour about 3 3/4 – 4 cups
- 360 grams Water warm (about 1 1/2 cups)
- 12 grams Salt
- 1 1/2 cups Cranberries sliced
Instructions
- Combine: In a large, non-metal mixing bowl, combine the active sourdough starter and warm water. Whisk until mostly combined.
- Mix: Add the sifted flour and salt to the bowl. Use a large spoon to mix until a shaggy dough forms.
- Rest (Autolyse): Cover the bowl with a damp kitchen towel and let it rest in a warm place for 2 hours.
- First Stretch & Fold: Uncover the dough, wet your hands, grab one side of the dough, stretch it upwards, and fold it over the center. Rotate the bowl 90 degrees and repeat this 4-6 times.
- Rest: Cover the bowl and let the dough rise for 1 hour, or until it has visibly puffed up.
- Second Stretch & Fold (add cranberries): Perform your second set of stretches and folds. Before you finish, gently sprinkle the 1 1/2 cups of sliced fresh cranberries over the dough. Fold them in lightly during the last 2-3 rotations, making sure they are distributed without tearing the dough.
- Repeat Folds: Repeat the stretch and fold process two more times (totaling 4 sets of folds), with a 1-hour rest in between each set.
- Bulk Ferment: After the final set of folds, cover the dough and let it rest until it has visibly increased by 30-50% in volume (this could take 1-4 hours depending on your kitchen temperature).
- Shape: Gently turn the dough out onto a lightly floured surface and shape it into a round loaf.
- Refrigerate: Generously dust a kitchen towel or proofing basket with flour. Place the shaped dough seam-side up in the towel or basket. Dust the top with flour and cover tightly. Place the bowl or basket in the refrigerator for at least 4 hours, and up to 24 hours.
- Preheat: Preheat your oven to 425F (200C) with your Dutch oven (lid on) inside for at least 30 minutes.
- Score: Gently invert the dough onto a piece of parchment paper. Use a sharp knife or razor blade to score the top of the dough.
- Bake: Carefully lift the dough into the hot Dutch oven. Cover with the lid. Bake for 25 minutes with the lid on. Remove the lid and lower the temperature to 400F (200C) and bake for another 25 minutes, or until the crust is golden brown and the internal temperature reaches around 200F (93C).
- Cool: Let it cool completely on a wire rack before slicing and enjoying.
Notes
Nutrition

About Juliea
Juliea is a mother of six, a sourdough baker, and a homestead builder living in Idaho. Alongside her husband and their horse, Dude, she manages a busy farmhouse and shares her love for scratch-cooking and simple homemaking. Through her blog and YouTube channel, she helps millions of families every year master the art of the handmade home.