


This easy, low-sugar raspberry jam recipe uses Pomona’s Pectin and a splash of lemon juice to lock in a gorgeous bright color and pure, fresh fruit flavor that’s perfect on sourdough bread!
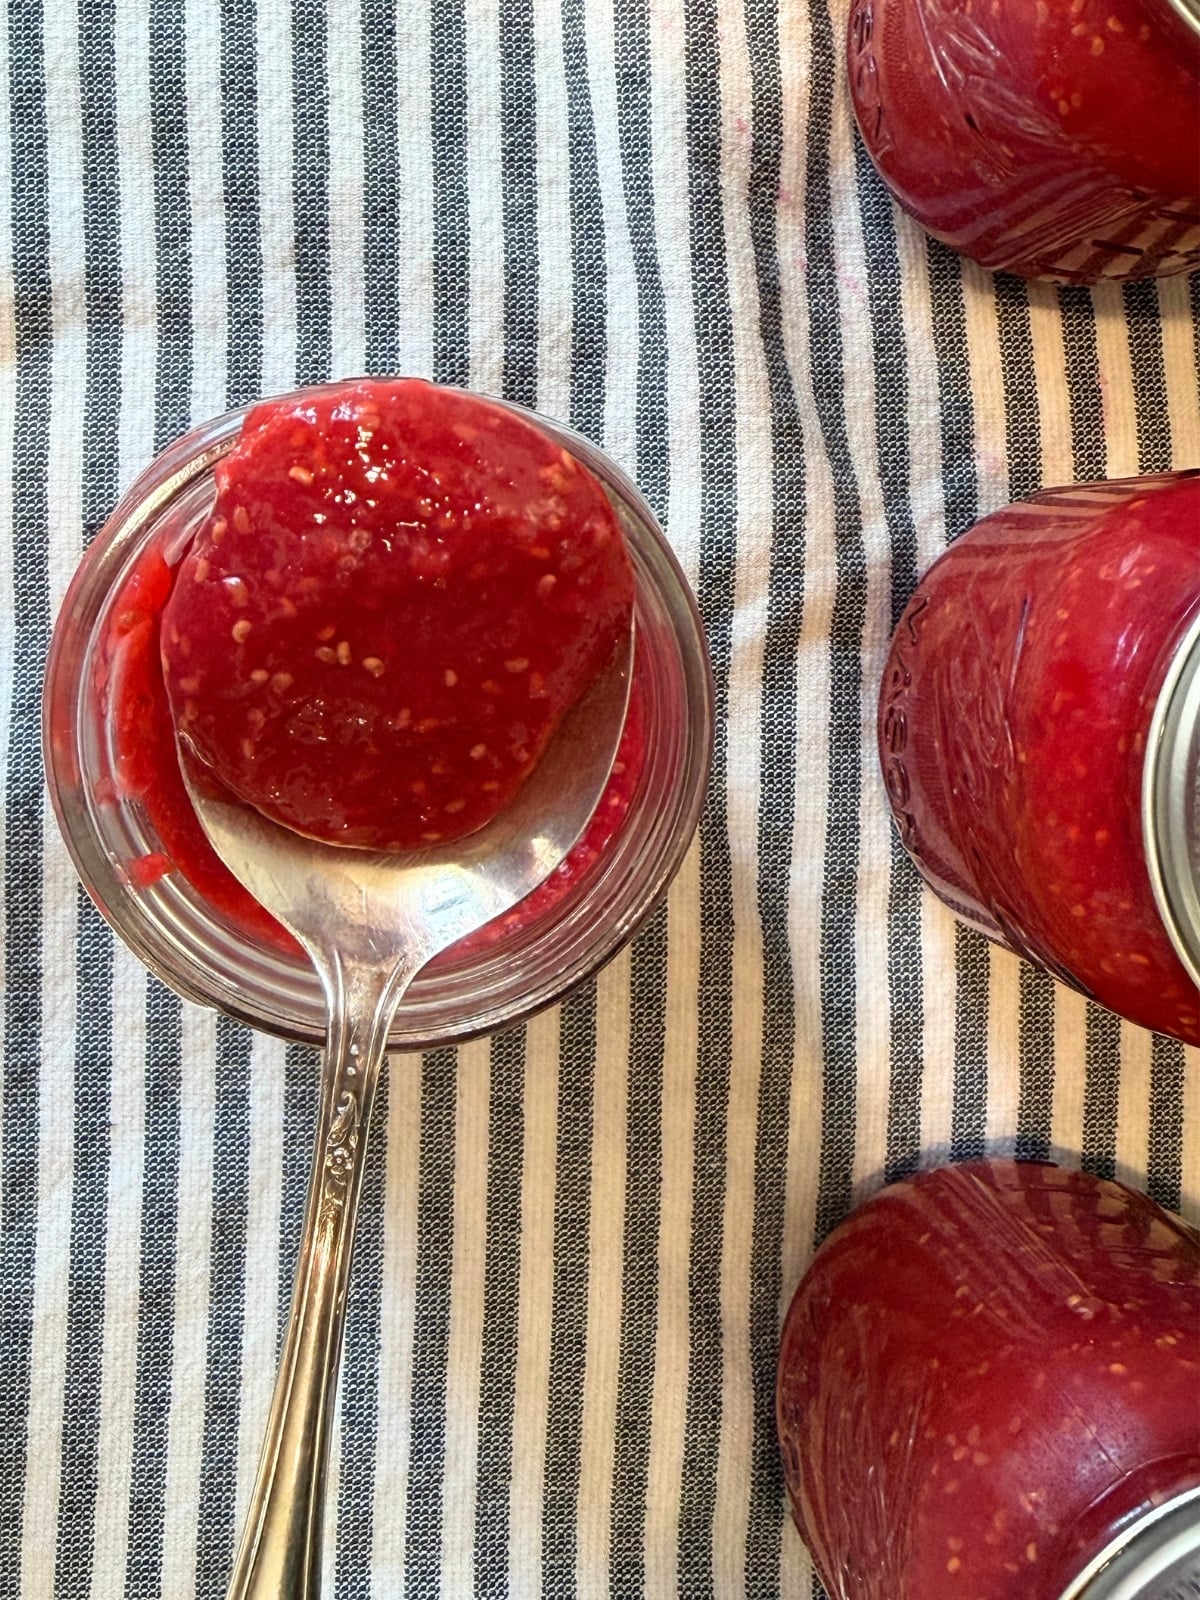
Why This Raspberry Jam Canning Recipe Works
If you’ve ever canned a gorgeous jar of homemade preserves and watched it fade into a dull color after processing, you know how disappointing that can be. I’ve experienced that firsthand with strawberry jam, and I was determined not to let it happen to this raspberry batch!
Most traditional canning methods require a massive ratio of sugar-to-fruit just to get a proper set… For this raspberry jam canning recipe, we’re throwing that rulebook out the window and using Pomona’s Pectin instead! Pomona’s relies on calcium water rather than a mountain of sugar to activate the gelling process, so the true flavor of fresh raspberries shines!
My trick for keeping that color stunningly bright: lemon juice. Raspberries are naturally high in acid and don’t technically need lemon juice to safely gel or preserve… BUT adding an extra 1/2 cup of lemon juice acts as a natural color lock. It keeps the jam looking brilliantly red on your shelves for months to come. Even better? I completely tripled this batch.
Scaling & Batching Guide
If you’ve been canning for long, you know that doubling or tripling a standard grocery-store pectin recipe is a recipe for disaster – you usually end up with expensive ice cream syrup. Because of how Pomona’s works, you can scale this up confidently without losing that perfect spreadable texture!
Tripling a raspberry jam canning recipe is a great way to stock your pantry in a single afternoon, but large batches require a bit of extra care. If you don’t adjust your kitchen tools and measurements carefully, you can run into trouble.
Ingredient Breakdown Table
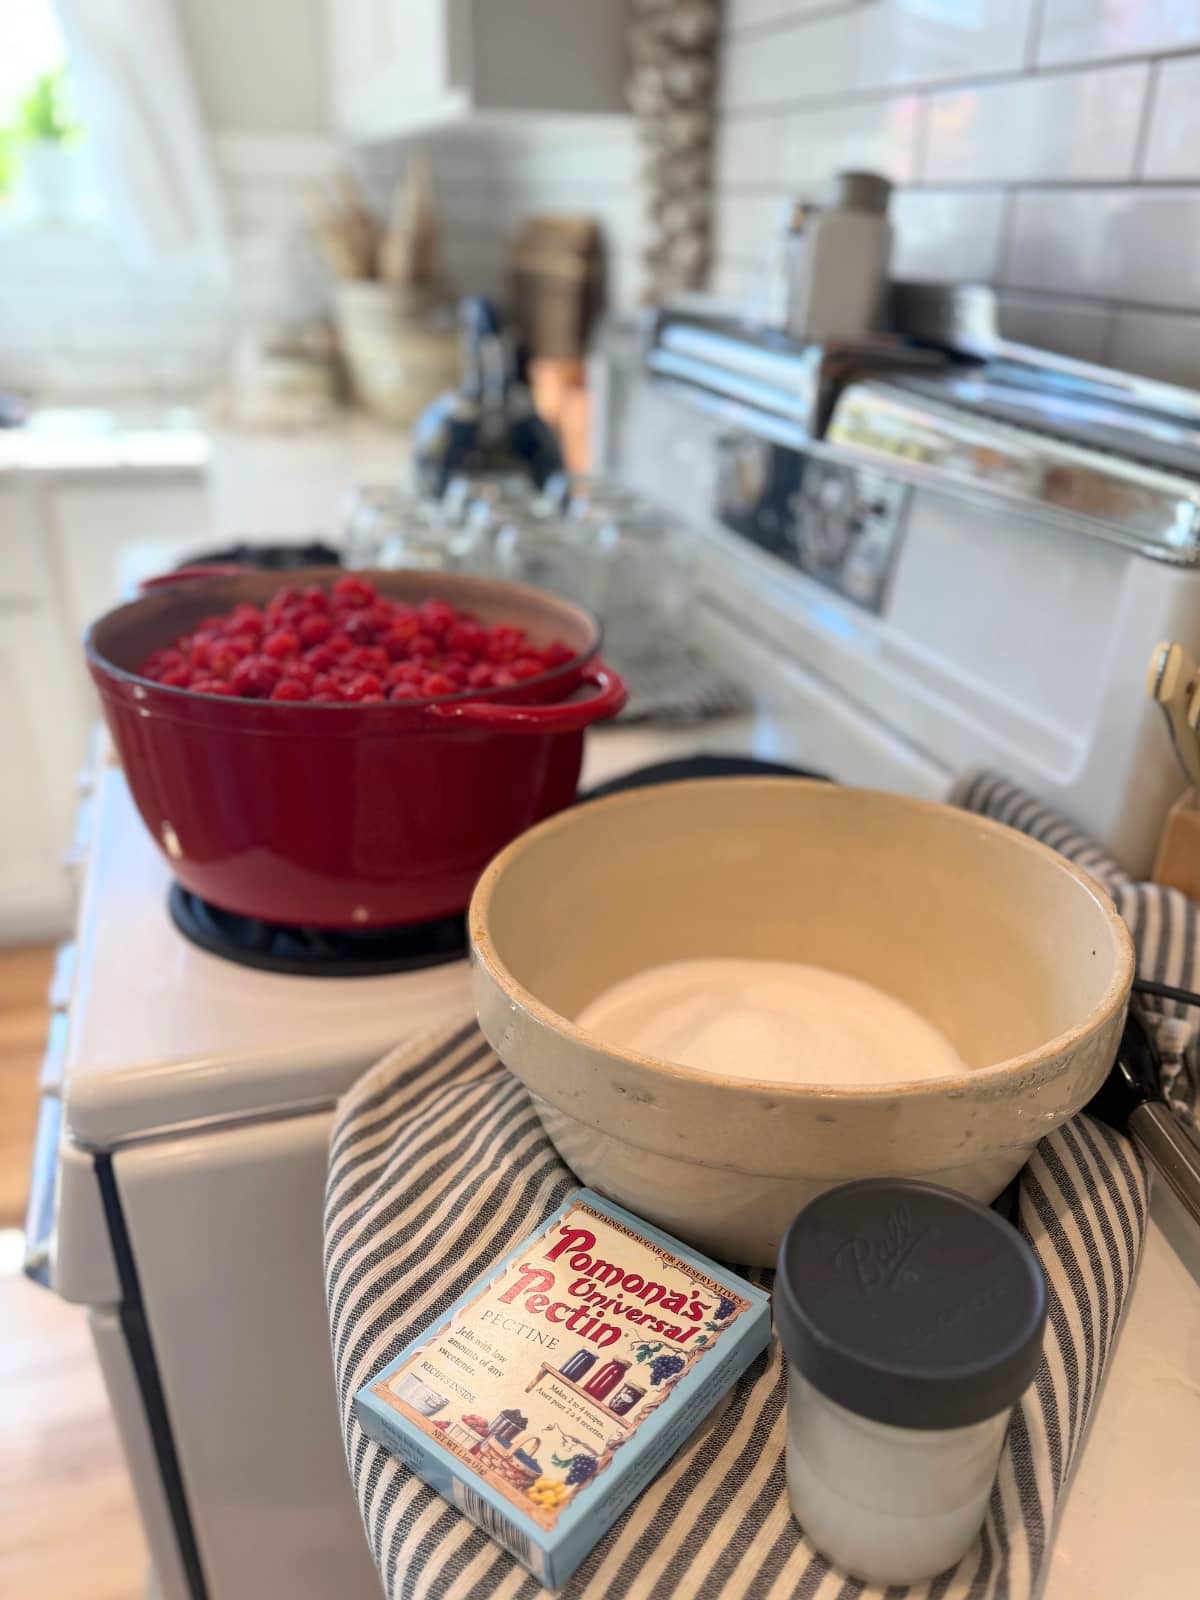
You can use this quick reference guide to decide how big of a batch you want to tackle today. Just always mix your calcium water, in a small mason jar, before starting! In Your Pomona’s Pectin Box you will fing their recipe for raspberry jam and 1 batch makes 4-5 cups of jam. Their original raspberry jam recipe calls for:
Ingredient ———- Single Batch
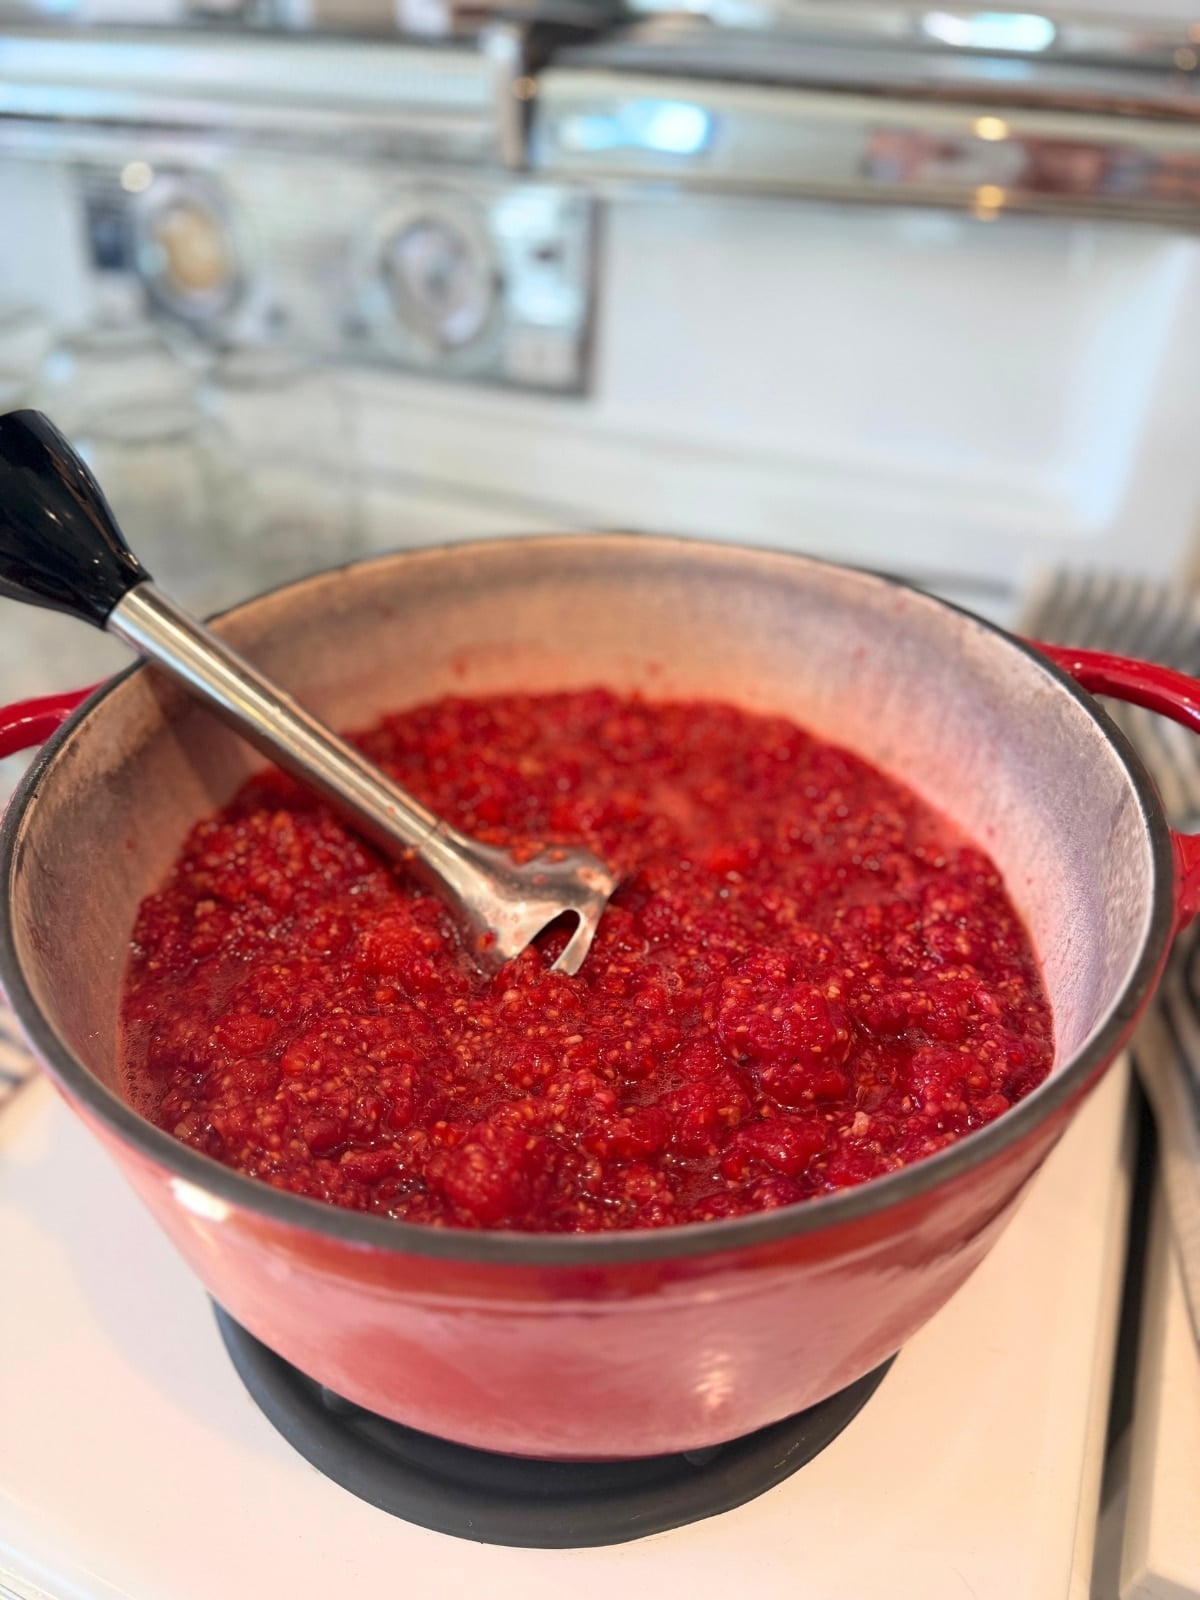
- Mashed Raspberries ——- 4 Cups (I mash mine with an immersion belnder in the pot, saves dishes.)
- Sugar (or Honey)———– 1/2 cup – 2 cups (I’m usig 1 cup sugar per batch)
- Pectin ———————– 2 tespoons
- Calcuim Water ————– 2 teaspoons
- For other berry varieties they call for 1/4 a cup of lemon (or lime) juice…. So I’m adding 1/2 a cup of lemon juice to this trippled recipe for the color and flavor preservsation. 😉
Equipment Note: A tripled batch expands when it hits a boil. Don’t crowd this into a smaller saucepan. You’ll need a big, heavy-bottomed stockpot. I use my cast iron dutch oven. The heavy bottom prevents the low-sugar fruit from scorching on the heat, and the high sides prevent a messy, sticky boil-over.
Step-by-Step Instructions & Visual Cues
Step 1: Preparing the Fruit. When you first mash your raspberries and stir in the calcium water and lemon juice, the mixture will look thick, textured, and deeply red. Let it macerate for a few minutes to let the juices fully release.
Step 2: The Pectin-Sugar Blend. Never dump your pectin powder straight into liquid! It will clump instantly. Mix your Pomona’s powder thoroughly into your dry sugar or alternative sweetener first. When you stir this dry blend into your boiling fruit, it should dissolve smoothly into a glossy, velvety consistency.
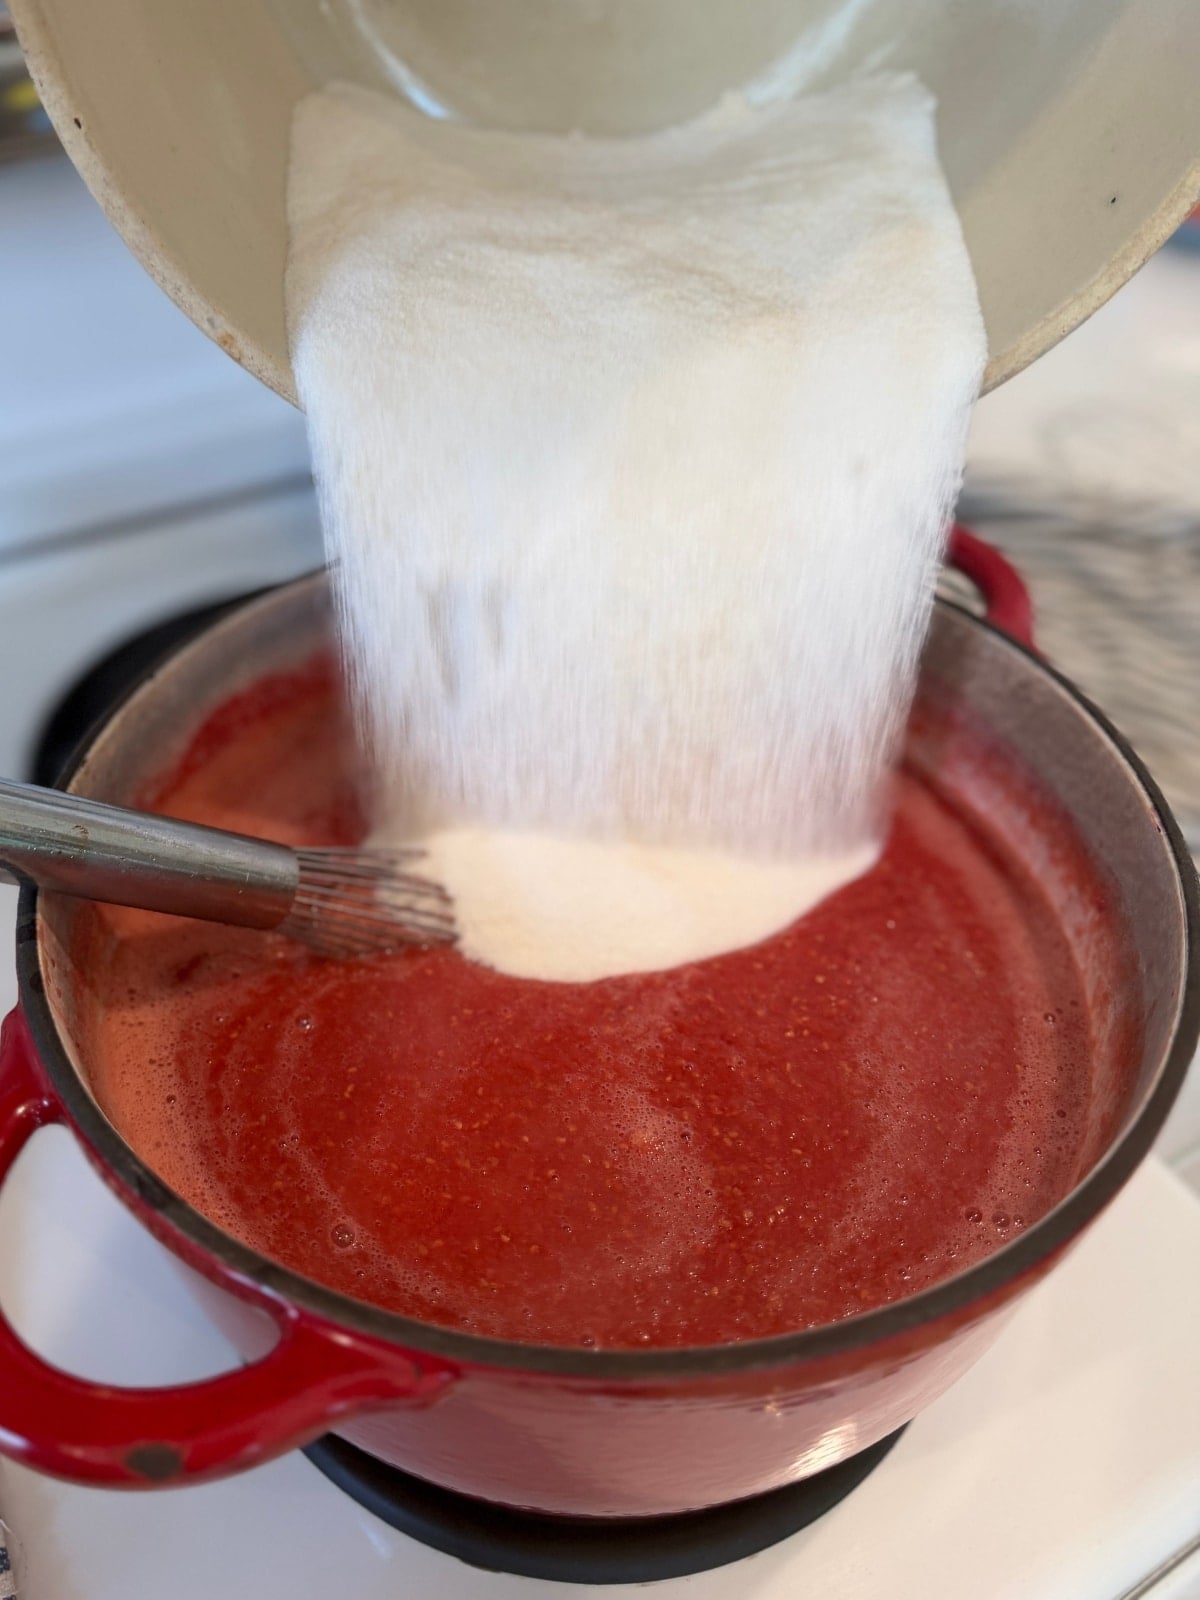
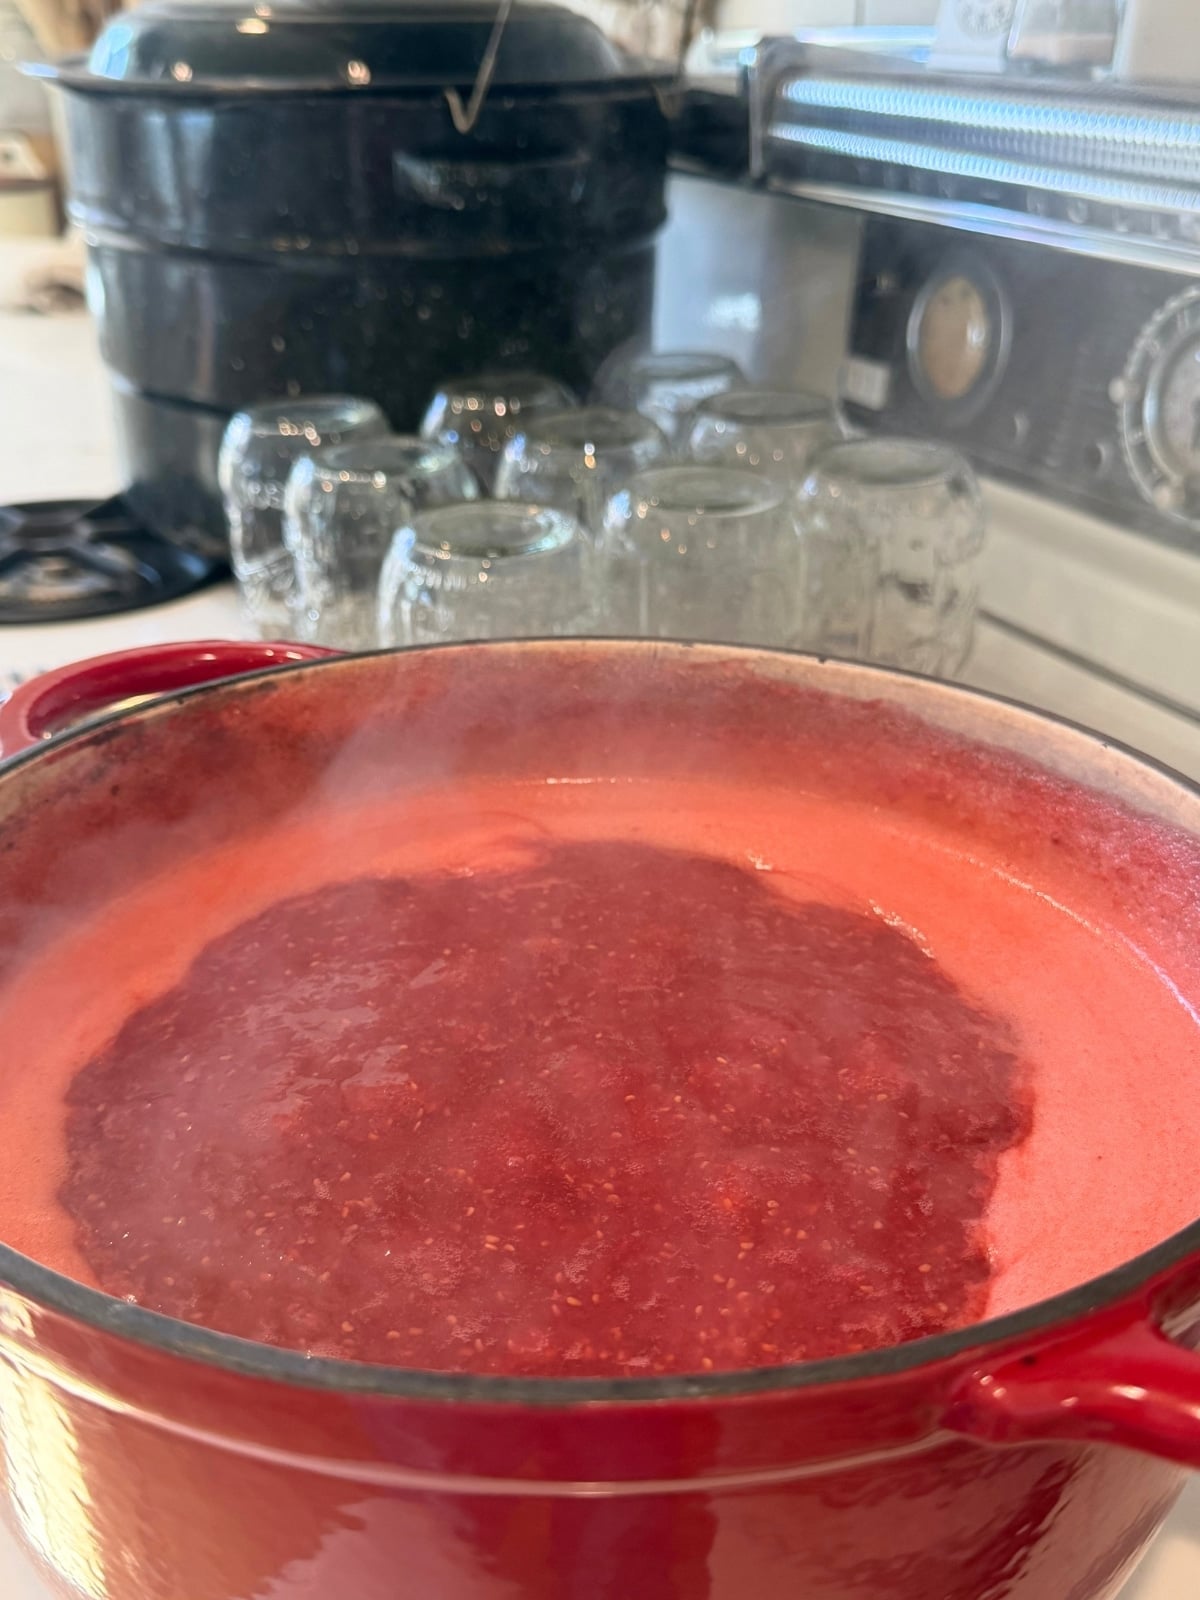
Step 3: Achieving the Set. Bring the pot to a full rolling boil. You are looking for a vigorous, aggressive boil that keeps bubbling furiously even while you are actively stirring it down with a long-handled spoon. Once it hits this stage, let it boil hard for exactly one minute.
Troubleshooting Your Raspberry Jam
Even with a foolproof raspberry jam canning recipe, sometimes things look a little different than expected… Here’s how to handle the most common issues:
Why is my jam cloudy? If your jars look a bit hazy, it’s usually just tiny air bubbles trapped during the pour. To prevent this, skim the foam off the top of your pot before ladling it into jars!
Why did my pectin clump into small balls? This happens if the pectin powder wasn’t completely integrated into the dry sugar before you poured it into the hot raspberries, or if it wasn’t stirred in fast enough. Don’t panic – you can usually fix it by blending it with your immersion blender or running the mixture through a fine-mesh strainer.
My jars sealed, but the jam hasn’t set yet! Be patient! Unlike other pectins that set immediately as they cool, Pomona’s Pectin can take anywhere from 24 to 48 hours till its final, firm set in the jar! Leave them undisturbed on your counter overnight before checking the texture. 😉 Trust me!
How to Jar and Water Bath Can Your Raspberry Jam
Once your tripled batch of jam has hit that beautiful, one-minute hard rolling boil, it’s time to get it into your sterylized pint jars!
Step 1: Filling the Jars with Proper Headspace
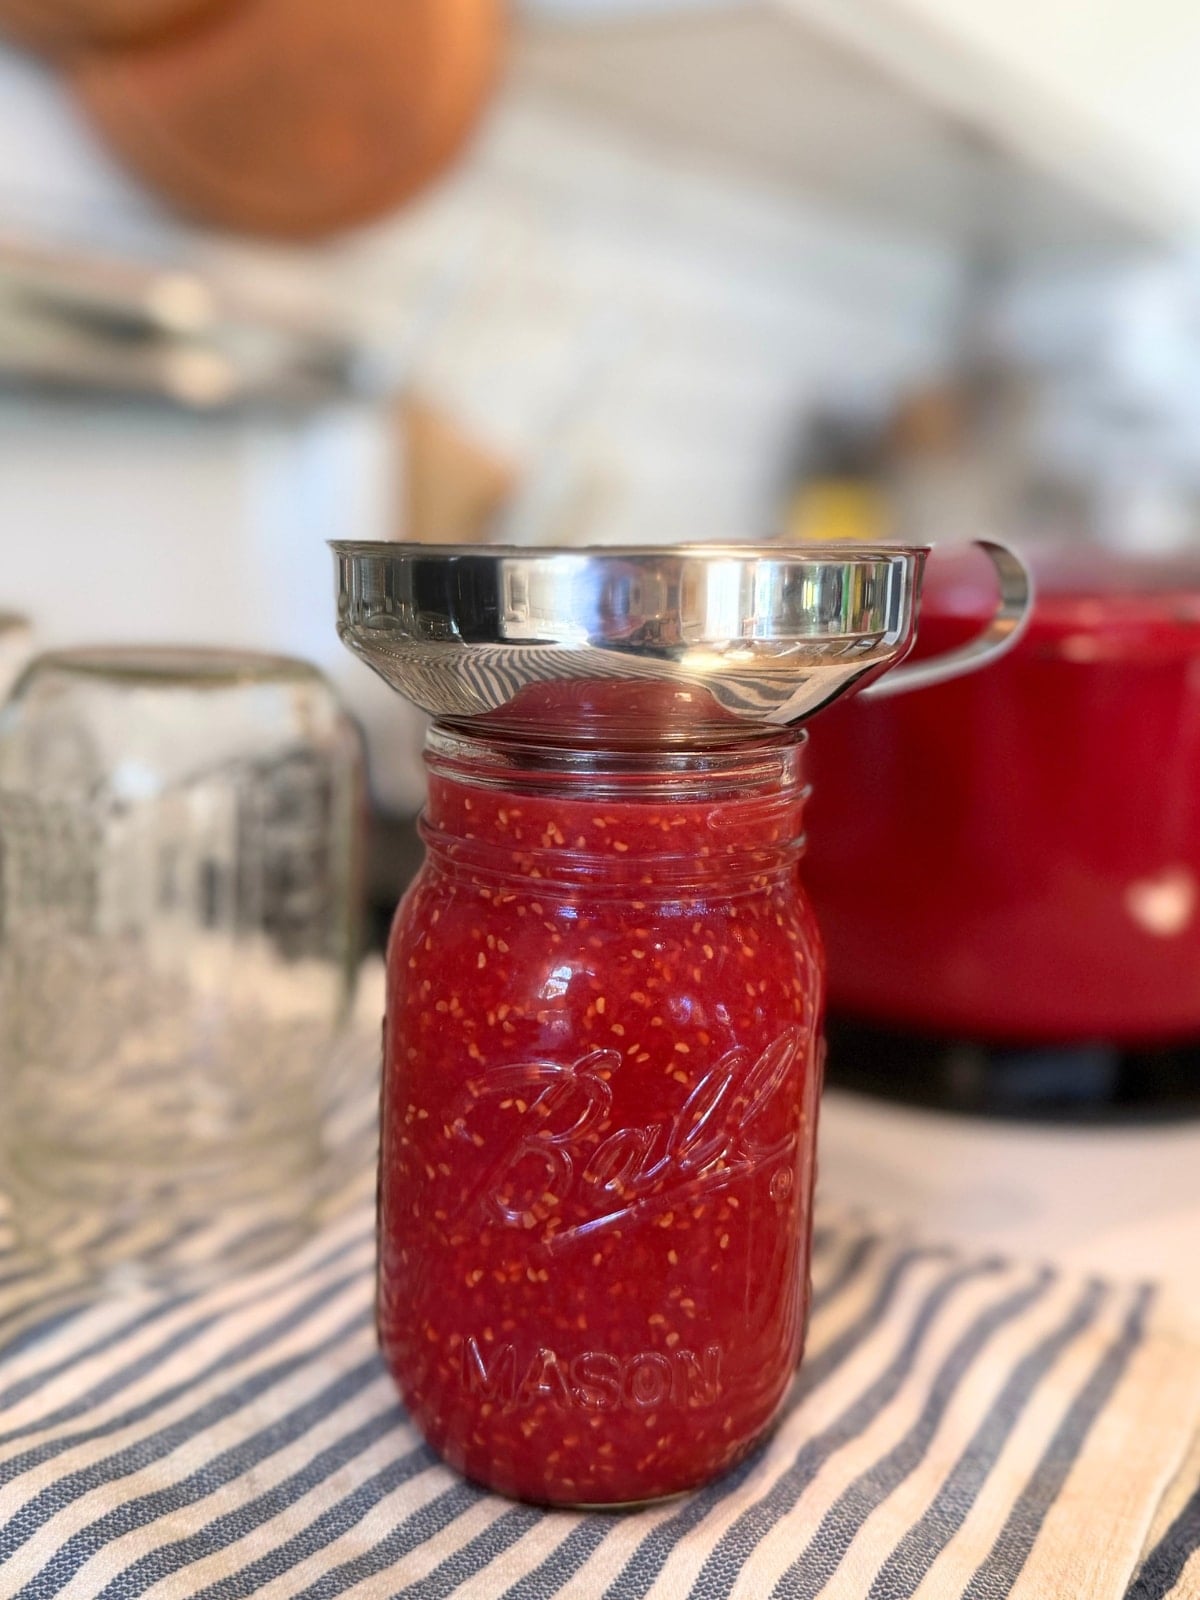
Carefully ladle your hot raspberry jam into your warm, sterilized pint-sized mason jars. Make sure to leave exactly 1/4-inch of headspace at the top of each jar. This little gap is crucial because it gives the food room to expand during processing and still ensures you get a strong, airtight vacuum seal as the jars cool. 😉
Step 2: Cleaning the Rims & Prepping the Lids
Even the tiniest drop of sticky jam on the rim of a jar can prevent a lid from sealing correctly. Take a clean, damp paper towel or cloth and thoroughly wipe down the rims and threads of every single jar. Once they’re spotless, center your flat canning lids directly on top of the clean rims.
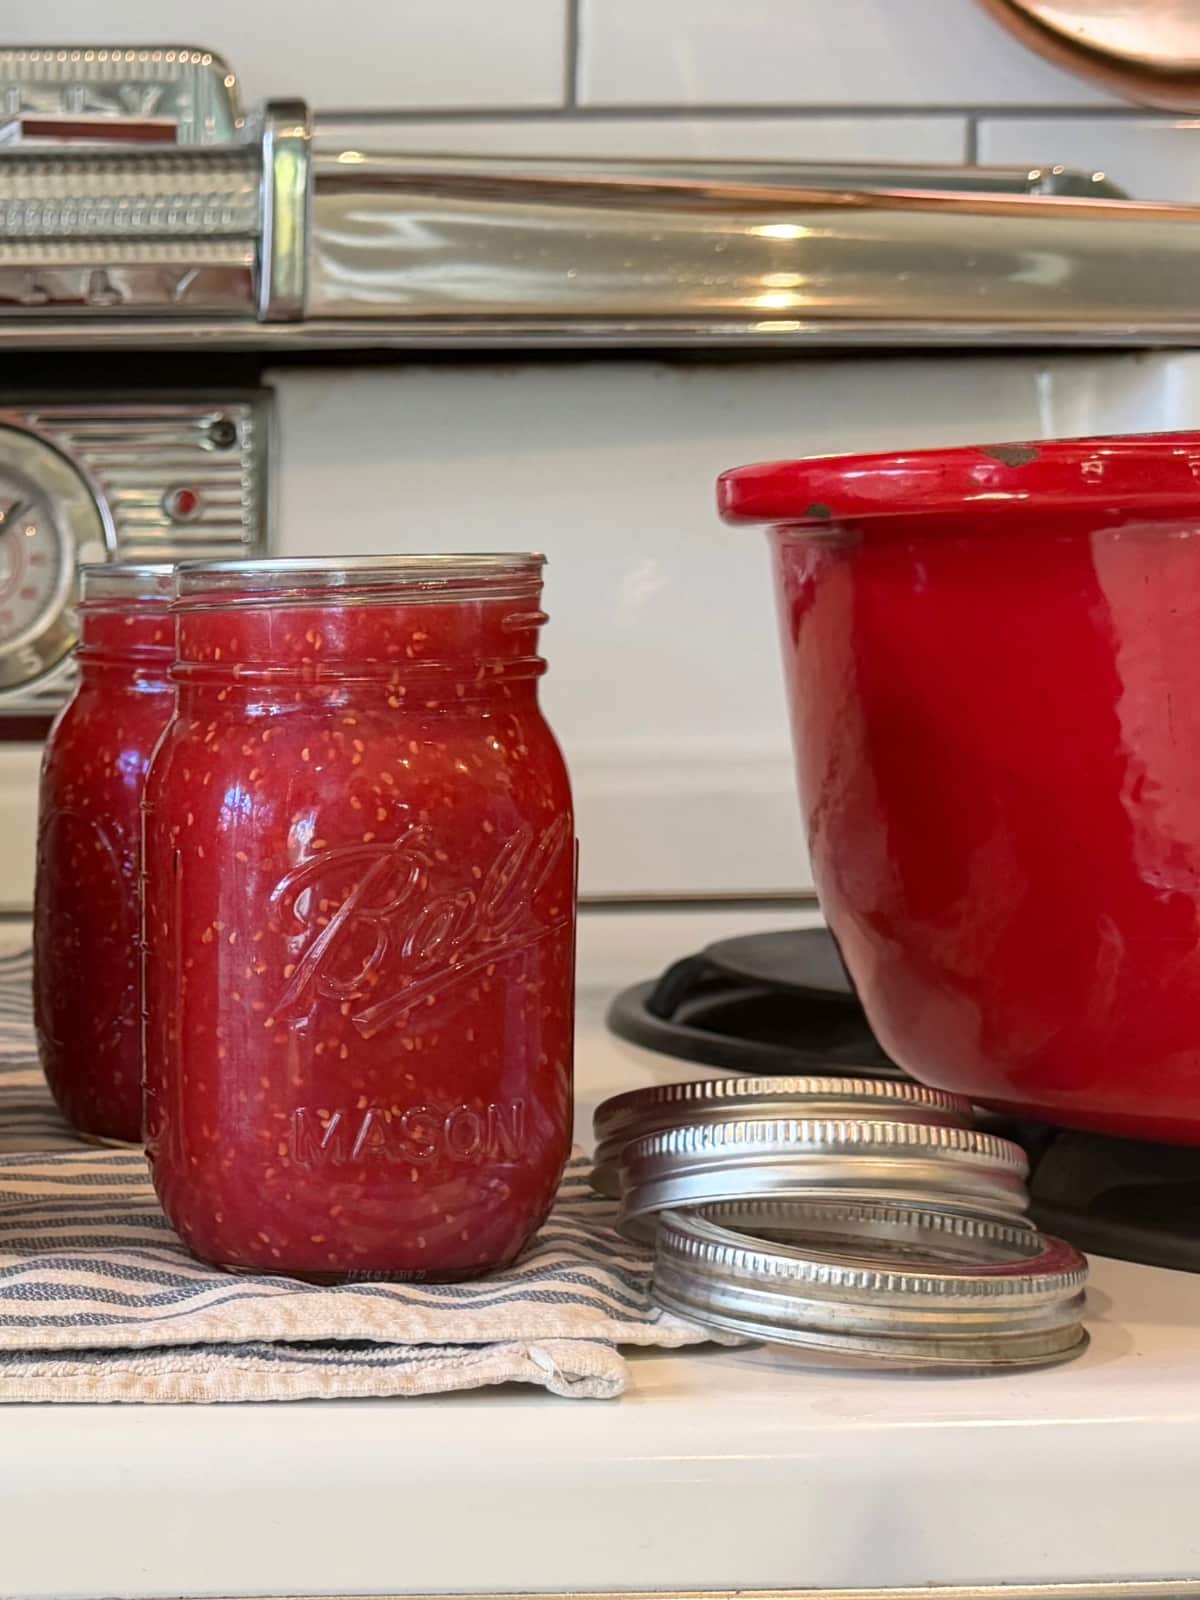
Step 3: Screwing the Bands to Finger-Tight
Place your metal bands over the lids and screw them down until they are fingertip tight… Turn the band until you meet resistance, and then just use the tips of your fingers to give it a snug finish. Don’t crank down on them with all your strength! If the bands are too tight, the air inside won’t be able to escape during the boiling process, which can buckle your lids or ruin your seal.
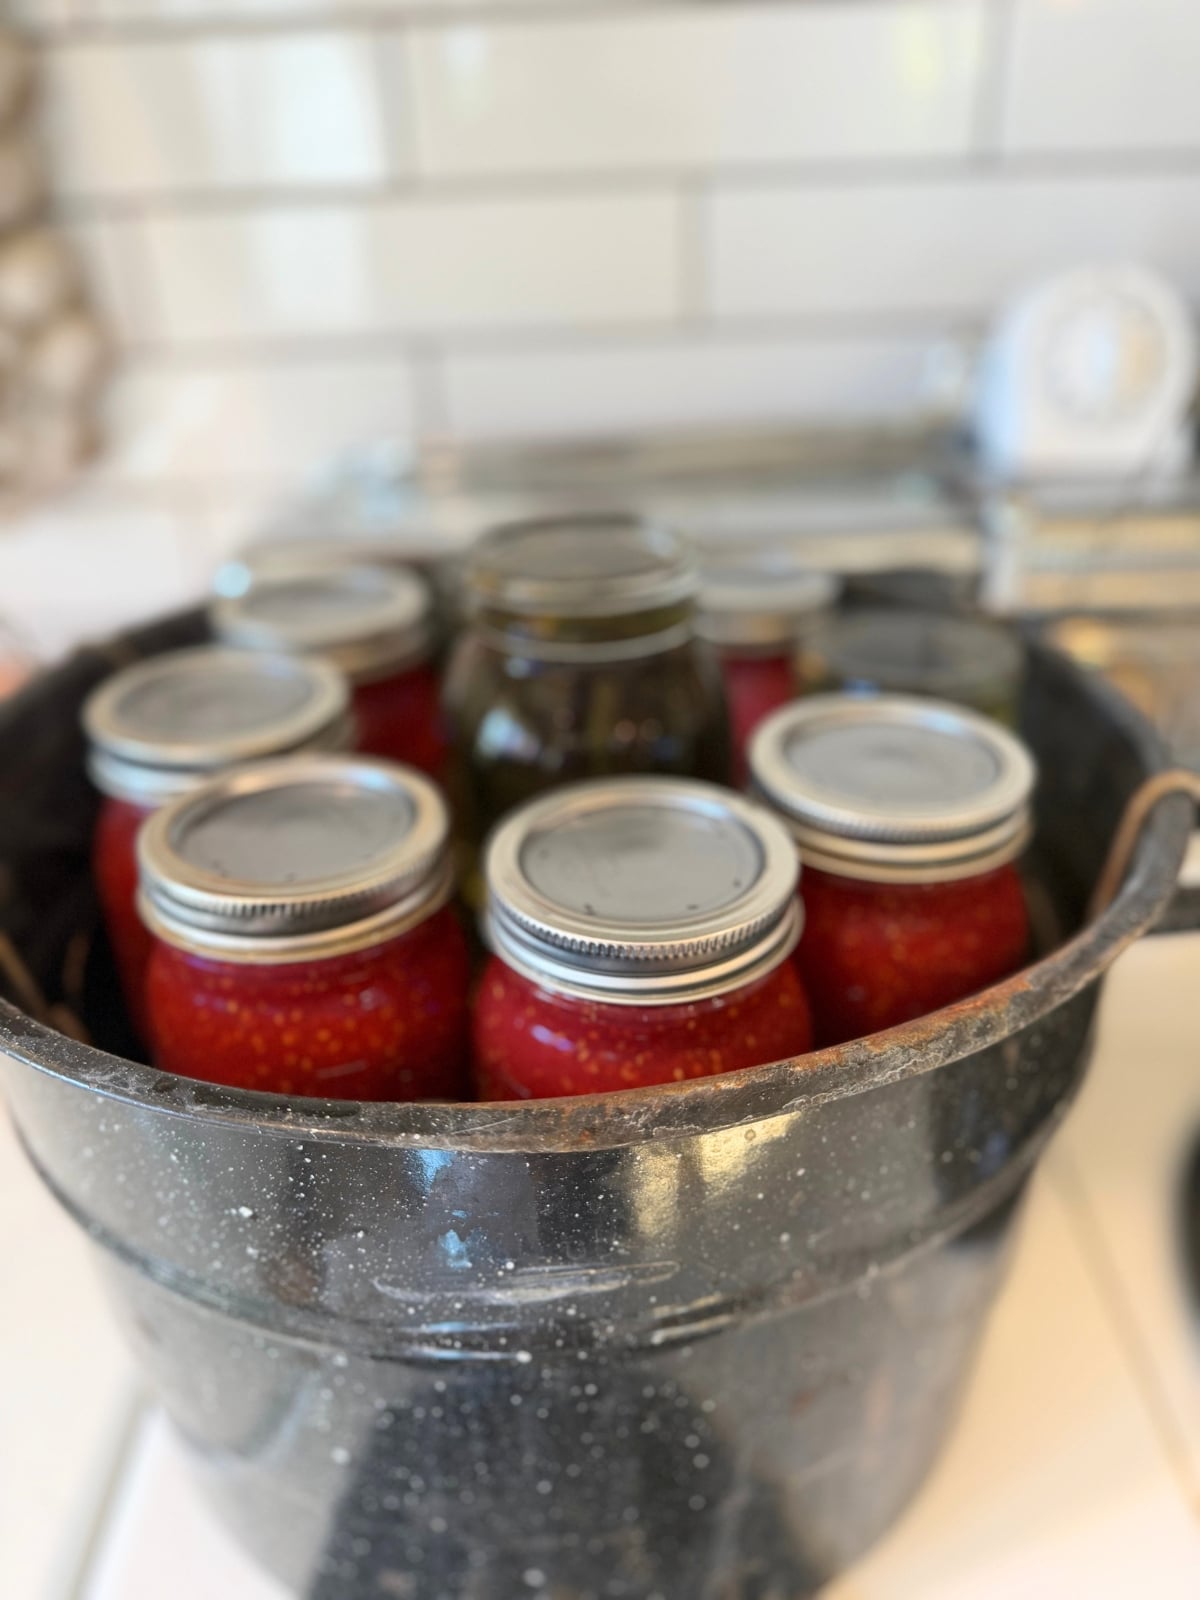
Step 4: Loading the Water Bath Canner
Make sure your water bath canner is already filled with hot water and ready to go on the stove. Using your jar lifter, carefully lower each filled pint jar onto the rack inside the canner. Once all your jars are loaded, check the water level – the hot water needs to cover the tops of the jars by at least 1 to 2 inches. If it doesn’t, add a little extra boiling water from a kettle.
Step 5: Processing the Jam
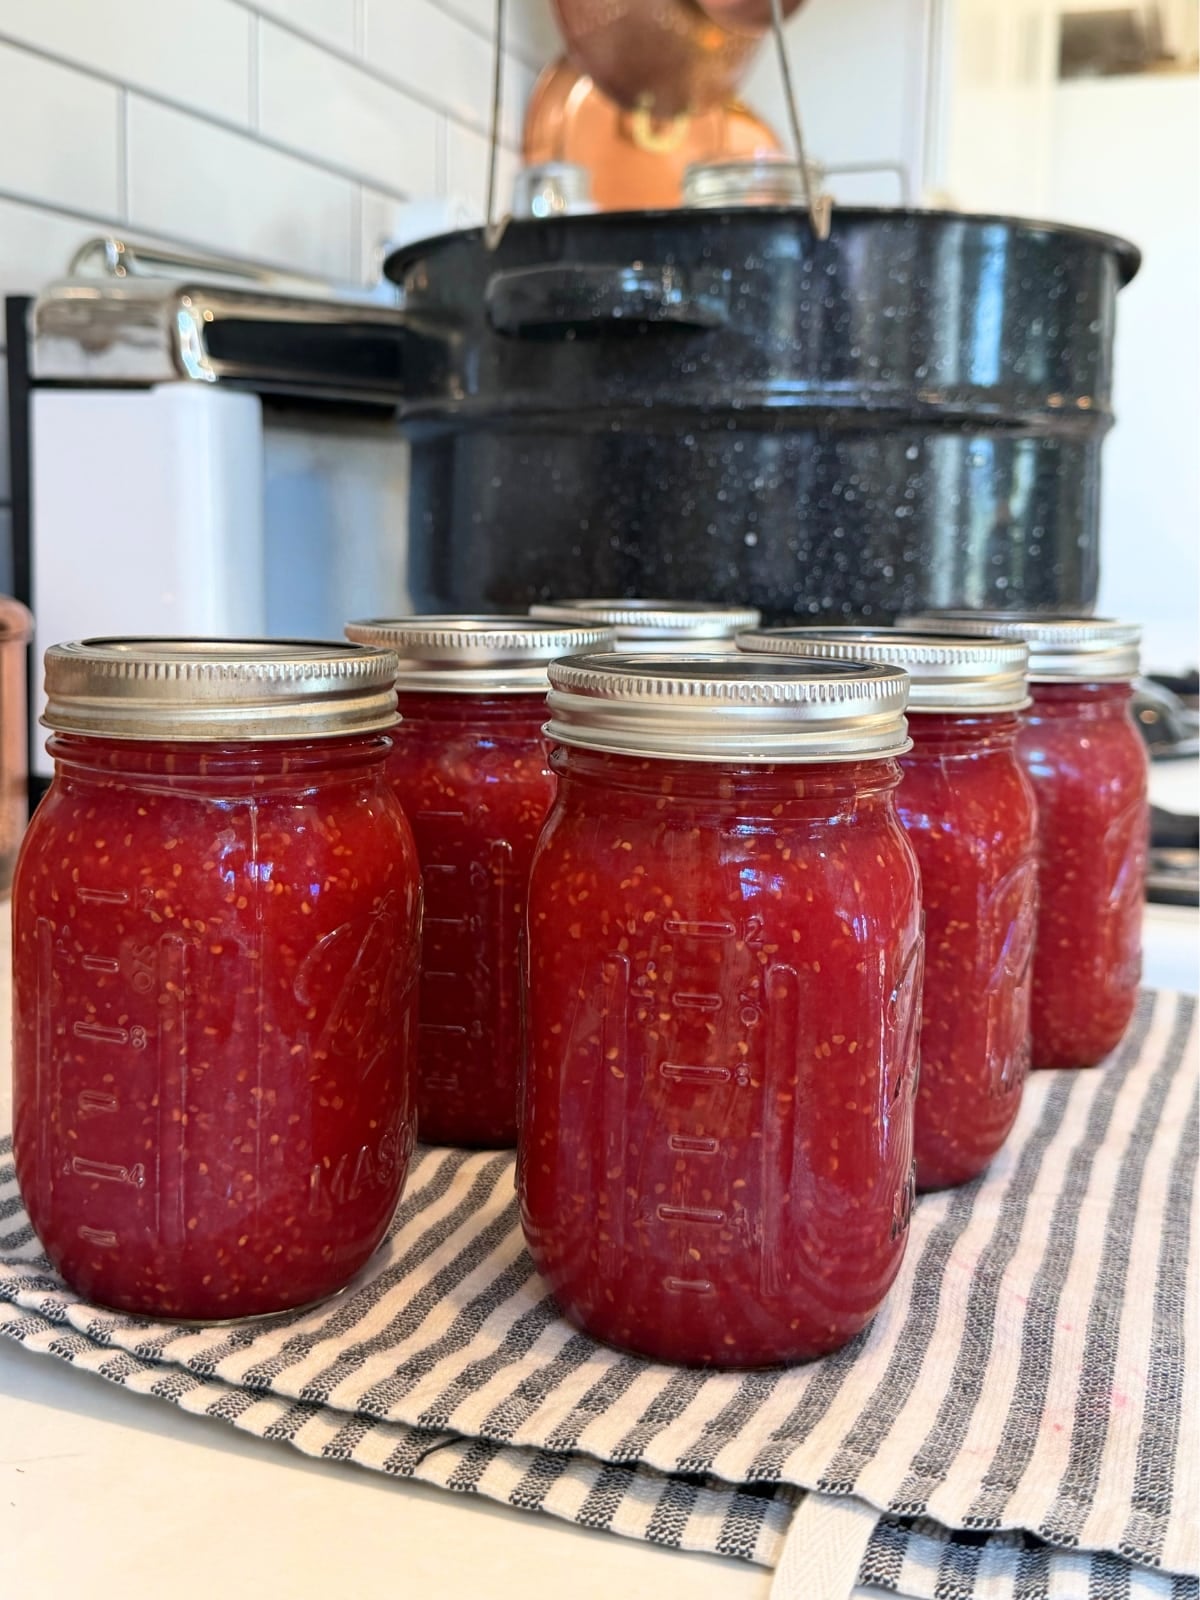
Place the lid on your canner and turn the heat up high. Wait until the water reaches a full, vigorous rolling boil before you start your timer! Once it is boiling hard, set your processing timer based on your local elevation (check the Altitude Adjustment chart below). Keep the heat steady to maintain that boil for the entire duration. Once your time is up, turn off the heat, remove the canner lid, and let the jars sit in the hot water for 5 minutes before lifting them out to cool on a towel-lined counter.
Altitude Adjustments for Water Bath Canning
When it comes to home canning, safety and proper shelf-life are my top priorities. Because water boils at a lower temperature the higher up you are, you must adjust your processing times based on your local elevation to ensure your jars are fully preserved.
Find your specific elevation below to determine your water bath processing time for this raspberry jam canning recipe:
- Your Elevation (Feet) Processing Time (Quarter-Pint & Half-Pint Jars)
- 0 – 1,000 feet 10 Minutes
- 1,001 – 3,000 feet 15 Minutes
- 3,001 – 6,000 feet 20 Minutes
- 6,001 – 8,000 feet 25 Minutes
- 8,001 – 10,000 feet 30 Minutes
I want to know what YOU think, Please review the recipe card!
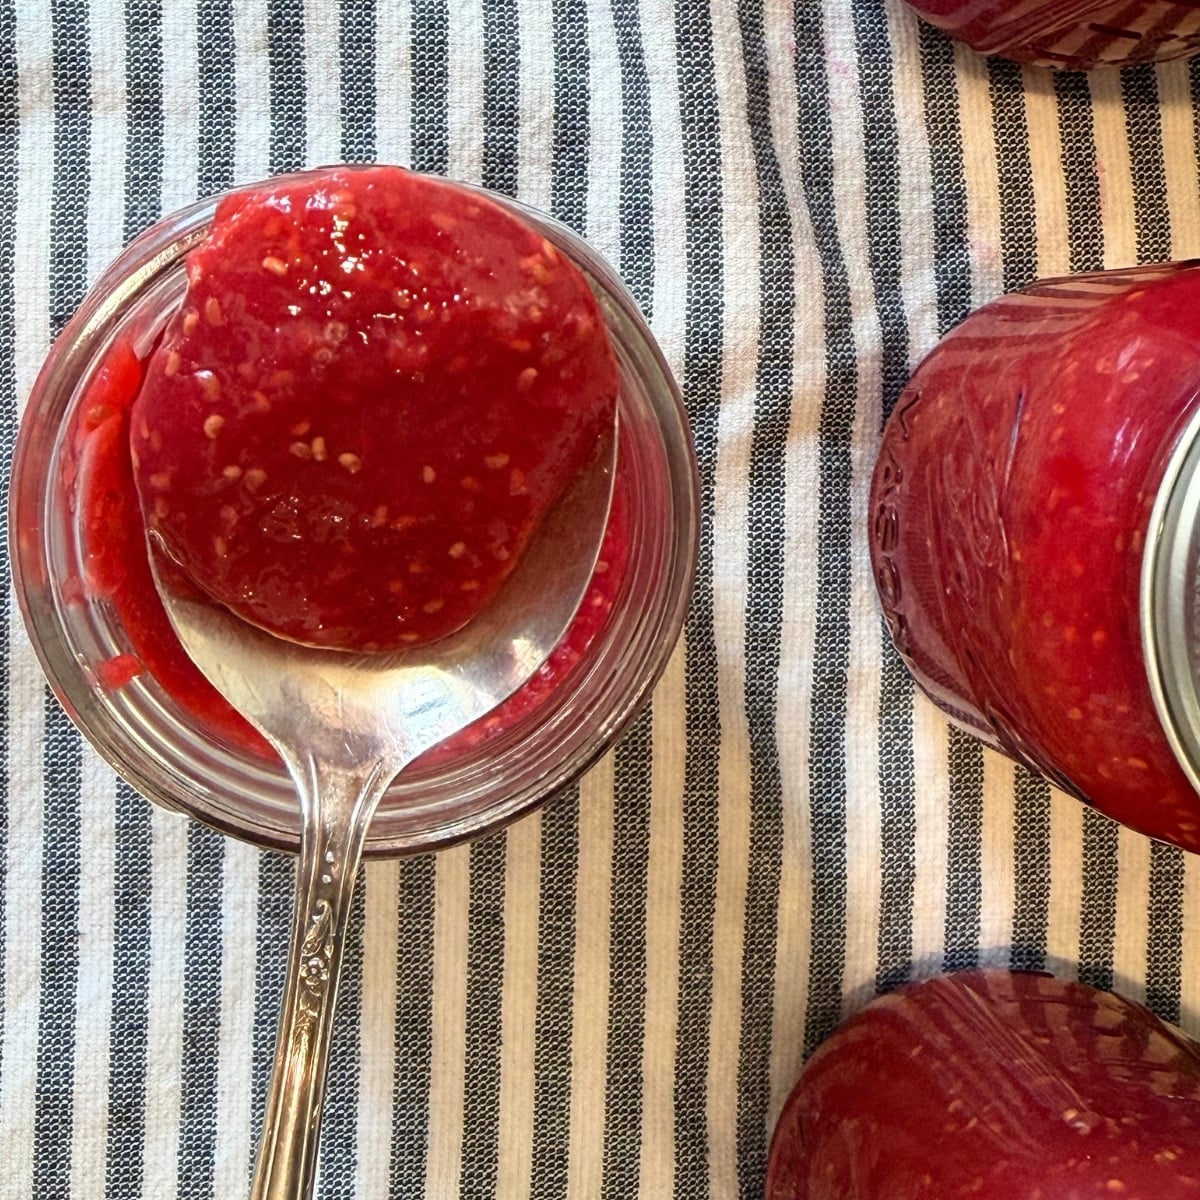
Raspberry Jam Canning Recipe – Low Sugar
Equipment
- 1 large heavy-bottomed stockpot Crucial for a tripled batch to prevent scorch and boil-overs
- 1 Immersion Blender For mashing the raspberries right in the pot.
- 1 Water Bath Canner with rack
- 6 Pint-Sized Mason Jars with fresh lids and bands
- 1 Canning Funnnel – Jar Lifter – Ladel
Ingredients
- 12 cups mashed raspberries
- 3 cups granulated sugar or honey
- 6 teaspoons Pomona’s Pectin powder
- 6 teaspoons calcium water
- 1/2 cup lemon juice
Instructions
- Prepare the Canner: Place your water bath canner rack inside the pot and fill it with hot water. Set it on the stove over low-medium heat so it is hot and ready to go.
- Prep the Fruit: In your large heavy-bottomed stockpot or Dutch oven, mash your fresh raspberries using an immersion blender (or potato masher) until they reach your desired consistency.
- Add Base Ingredients: Measure exactly 12 cups of your mashed raspberries in the pot. Stir in the calcium water and the 1 cup of lemon juice. Let the mixture sit for a few minutes to macerate.
- Mix Pectin and Sugar: In a separate dry bowl, thoroughly mix the 6 teaspoons of Pomona's Pectin powder into your 3 cups of granulated sugar. Stir it well so the pectin is completely blended into the sugar.
- Bring Fruit to a Boil: Turn the heat up to medium-high and bring your raspberry mixture to a boil, stirring occasionally to prevent scorching.
- Add the Pectin Blend: Once the fruit is boiling, add your sugar and pectin mixture. Stir vigorously for 1 to 2 minutes to completely dissolve the sugar and prevent the pectin from clumping.
- Hit a Rolling Boil: Bring the entire pot back up to a full, aggressive rolling boil that cannot be stirred down with a spoon. Once it hits this stage, let it boil hard for exactly 1 minute. Turn off the heat.
- Skim the Foam: Use a ladle to carefully skim any foam off the top of the jam so your jars stay beautifully clear.
- Fill the Jars: Place your canning funnel over your warm, sterilized pint jars. Carefully ladle the hot jam into the jars, leaving exactly 1/4-inch of headspace at the top.
- Clean the Rims: Take a clean, damp paper towel and thoroughly wipe the rims and threads of each jar to remove any sticky residue.
- Add Lids and Bands: Center the flat lids on top of the clean rims. Screw the metal bands on until they are snug and fingertip-tight (do not overtighten).
- Load the Canner: Use a jar lifter to carefully lower each filled pint jar onto the rack inside your hot water bath canner. Ensure the water covers the jar tops by 1 to 2 inches.
- Process the Jam: Cover the canner and turn the heat to high. Once the water reaches a vigorous, full rolling boil, start your timer and process the jars according to your local altitude chart.
- Cool and Set: When the timer goes off, turn off the heat, remove the lid, and let the jars rest in the water for 5 minutes. Use your jar lifter to remove them and place them on a towel-lined counter to cool undisturbed for 24 to 48 hours to complete the set.
Notes
Nutrition

About Juliea
Juliea is a mother of six, a sourdough baker, and a homestead builder living in Idaho. Alongside her husband and their horse, Dude, she manages a busy farmhouse and shares her love for scratch-cooking and simple homemaking. Through her blog and YouTube channel, she helps millions of families every year master the art of the handmade home.


1 comment
Timber
This is a great recipe for beginners!!! Well formatted and delicious!