


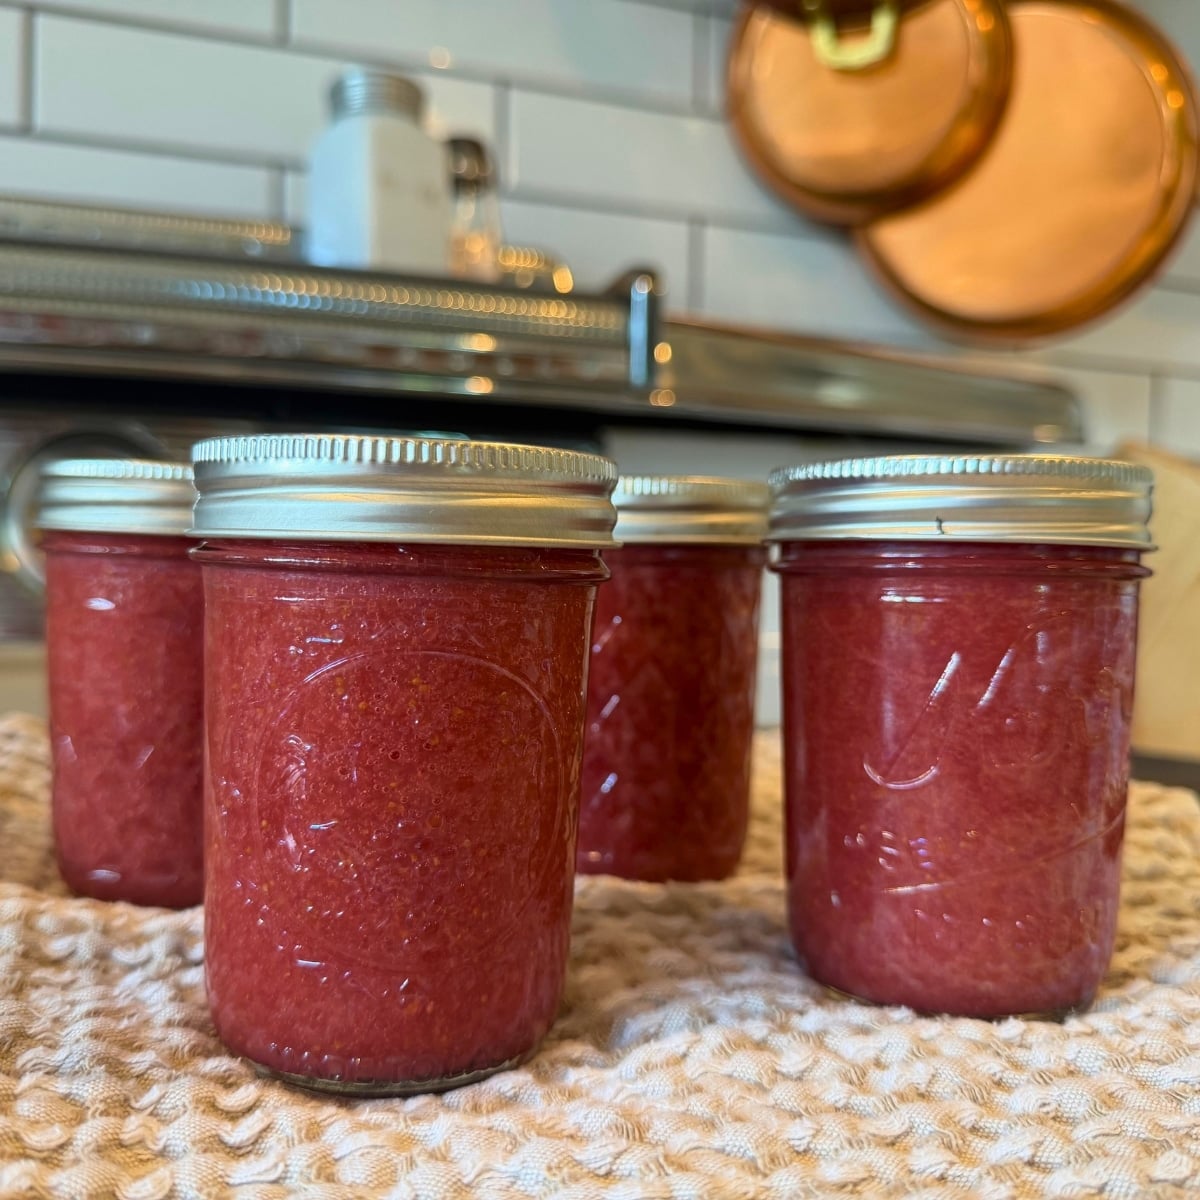
The first true sign of spring on our farmstead is the arrival of fresh strawberries… And this low sugar strawberry jam canning recipe is the BEST way to preserve them!
Our current strawberry patches are older (plants usually peak around three years before the berries become smaller and sweeter), which means my basket is filled with small, flavor-packed gems perfect for preserving!
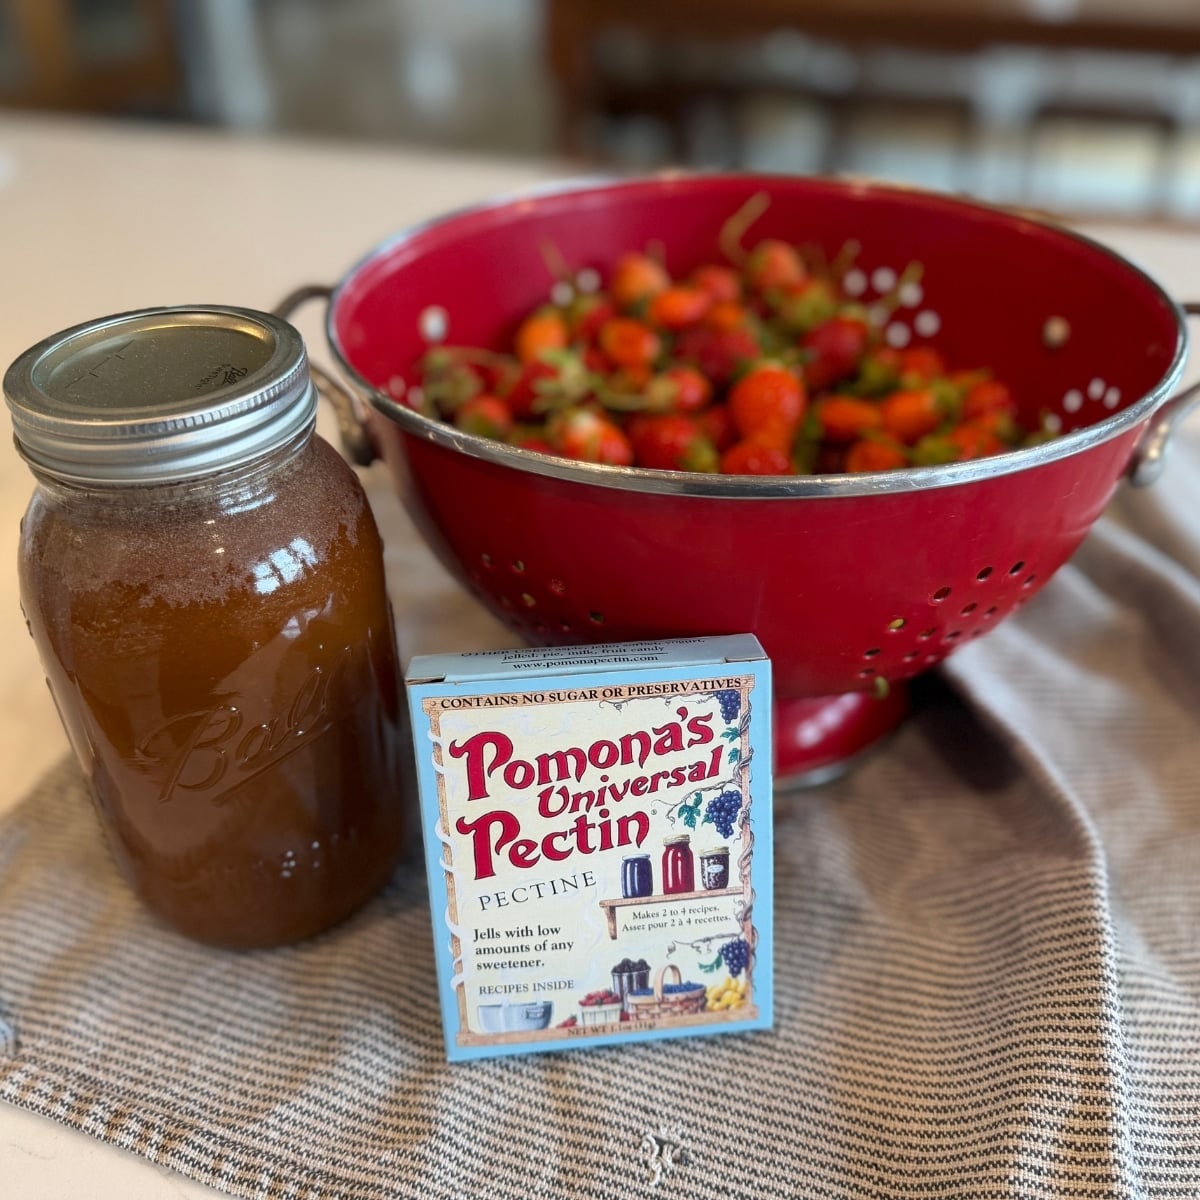
Today, I am walking you through the entire process of making a classic, traditional strawberry jam using Pomona’s Universal Pectin and natural honey as the sweetener… This is a great way to preserve strawberries when your you don’t have room in the freezer for strawberry freezer jam!
If you are a beginner to water bath canning, don’t worry! This step-by-step guide is designed to make your first batch completely stress-free, relaxing, and successful.
Why Use Pomona’s Pectin & Honey?
Traditional store-bought pectins require massive amounts of refined white sugar to get a proper set. Pomona’s Universal Pectin is unique because it is a pure citrus pectin that activates with calcium rather than sugar.
This means we can use a natural sweetener like raw honey (or even maple syrup) and drastically cut down the sweetener content to let the real, vibrant flavor of the garden strawberries shine through.
Recipe At-A-Glance
- Yields: 4 to 5 half-pint (8 oz) jars
- Processing Method: Water Bath Canning
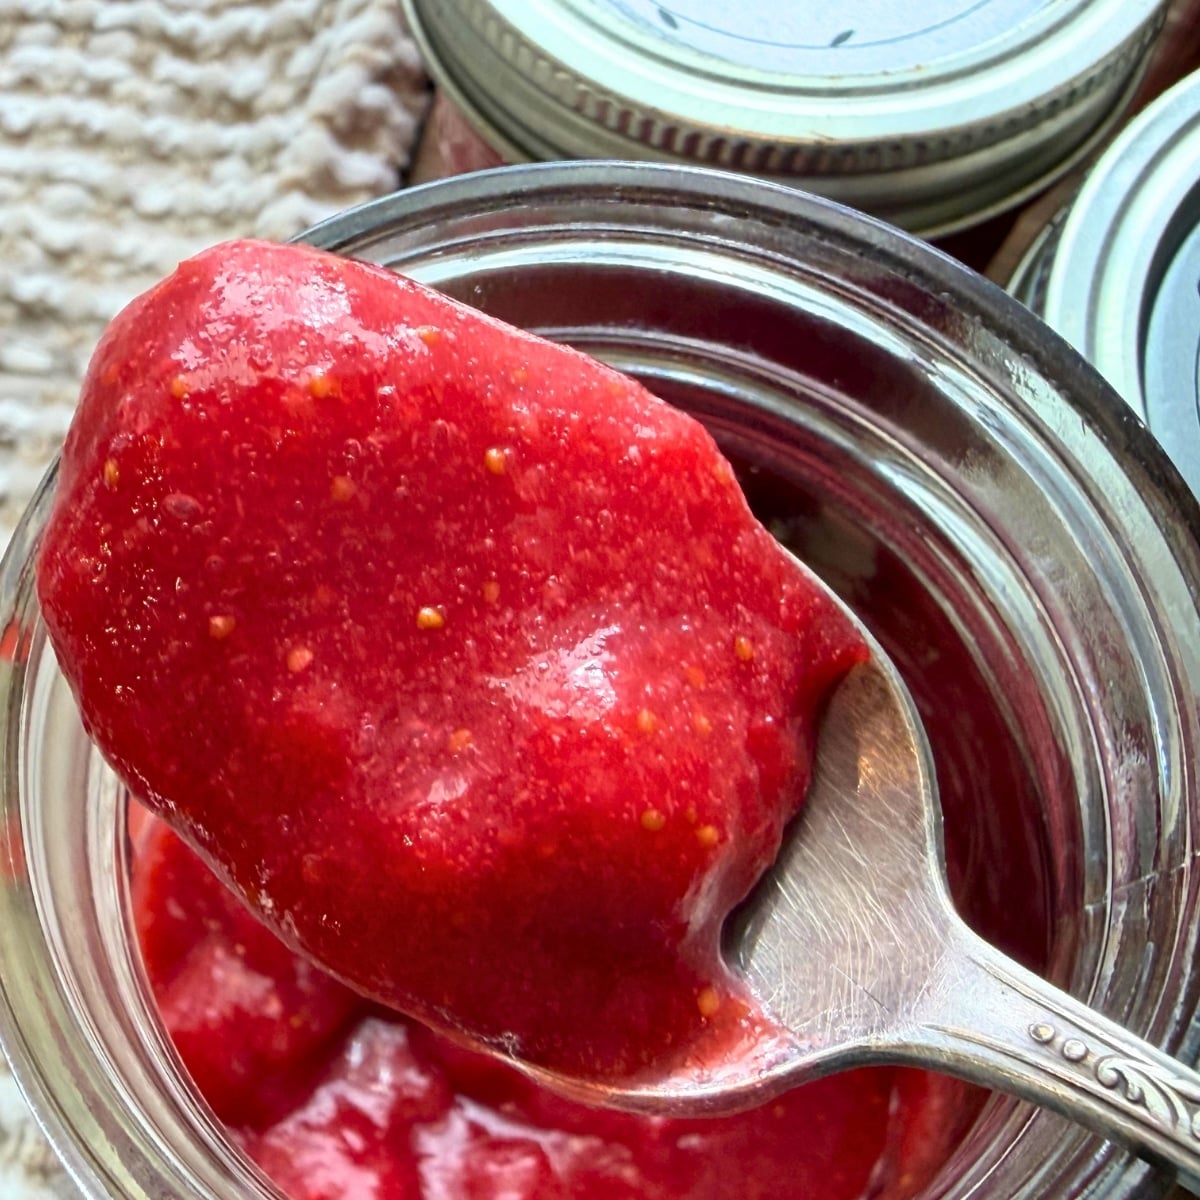
- Texture: Mostly smooth with a few tiny chunks
- Shelf Life: Up to 1–2 years in a cool, dark pantry
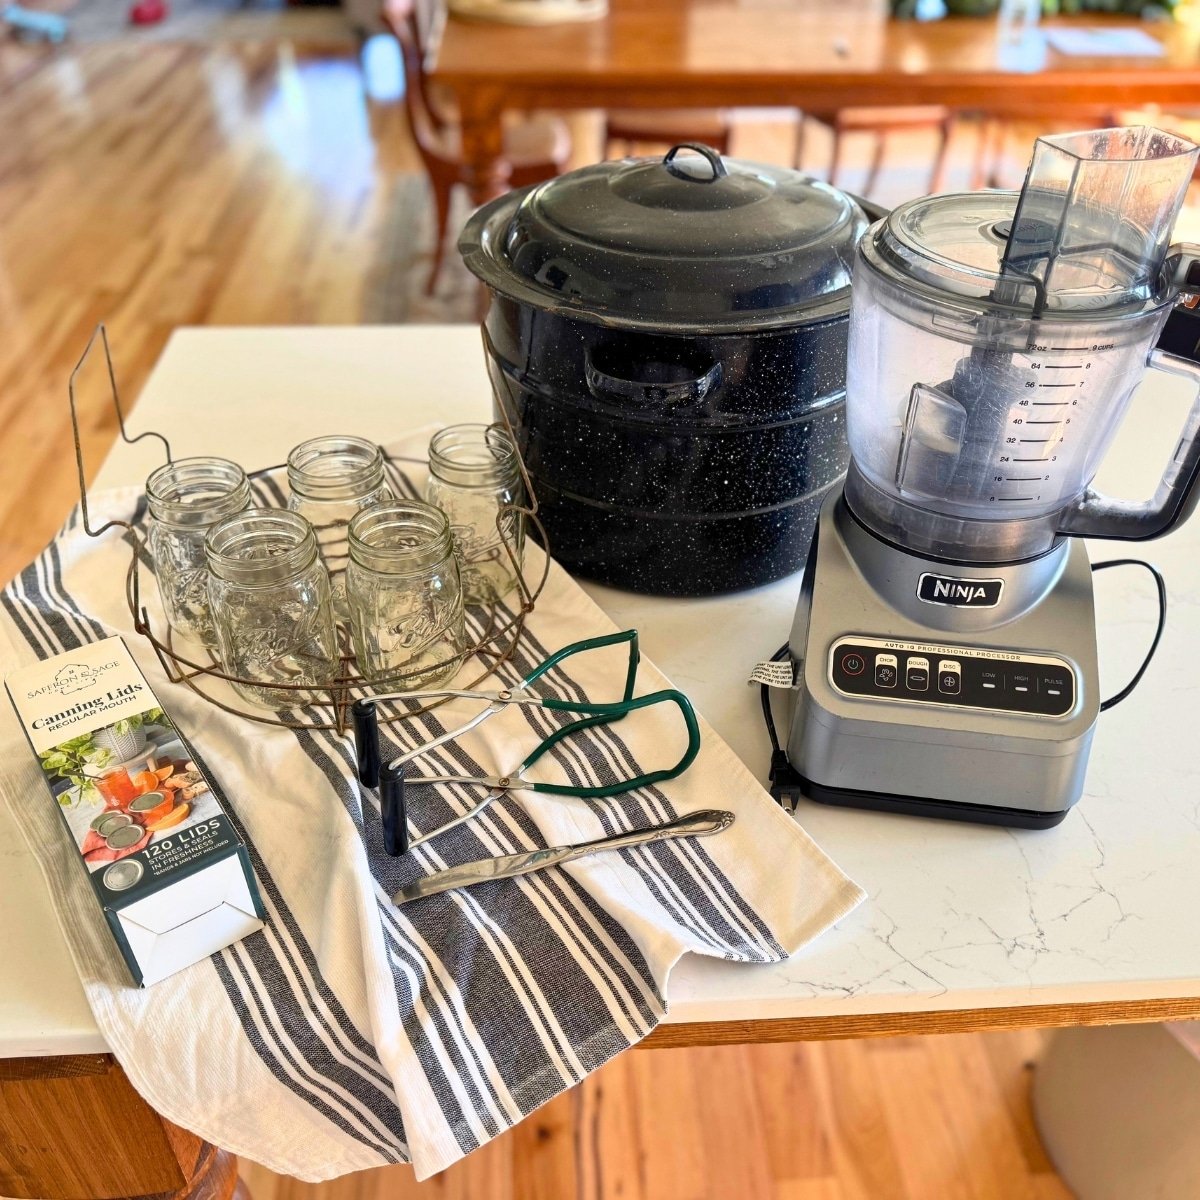
Equipment You’ll Need
Before turning on the stove, make sure you have these kitchen tools ready to go:
- A Blender or Food Processor (A potato masher works great too if you like a chunkier texture!)
- A Large, Deep Stockpot (You don’t necessarily need a massive water bath canner; just a pot deep enough to cover the jars by at least 1 inch of water).
- 4 to 5 Cleaned Half-Pint Mason Jars with Brand New Lids and bands.
- Canning Funnel & Ladle (Highly recommended to prevent sticky messes on the rims!)
- Jar Lifter (Crucial for safely extracting hot jars from boiling water).
- White Vinegar (For cleaning jar rims).
Step-by-Step Instructions
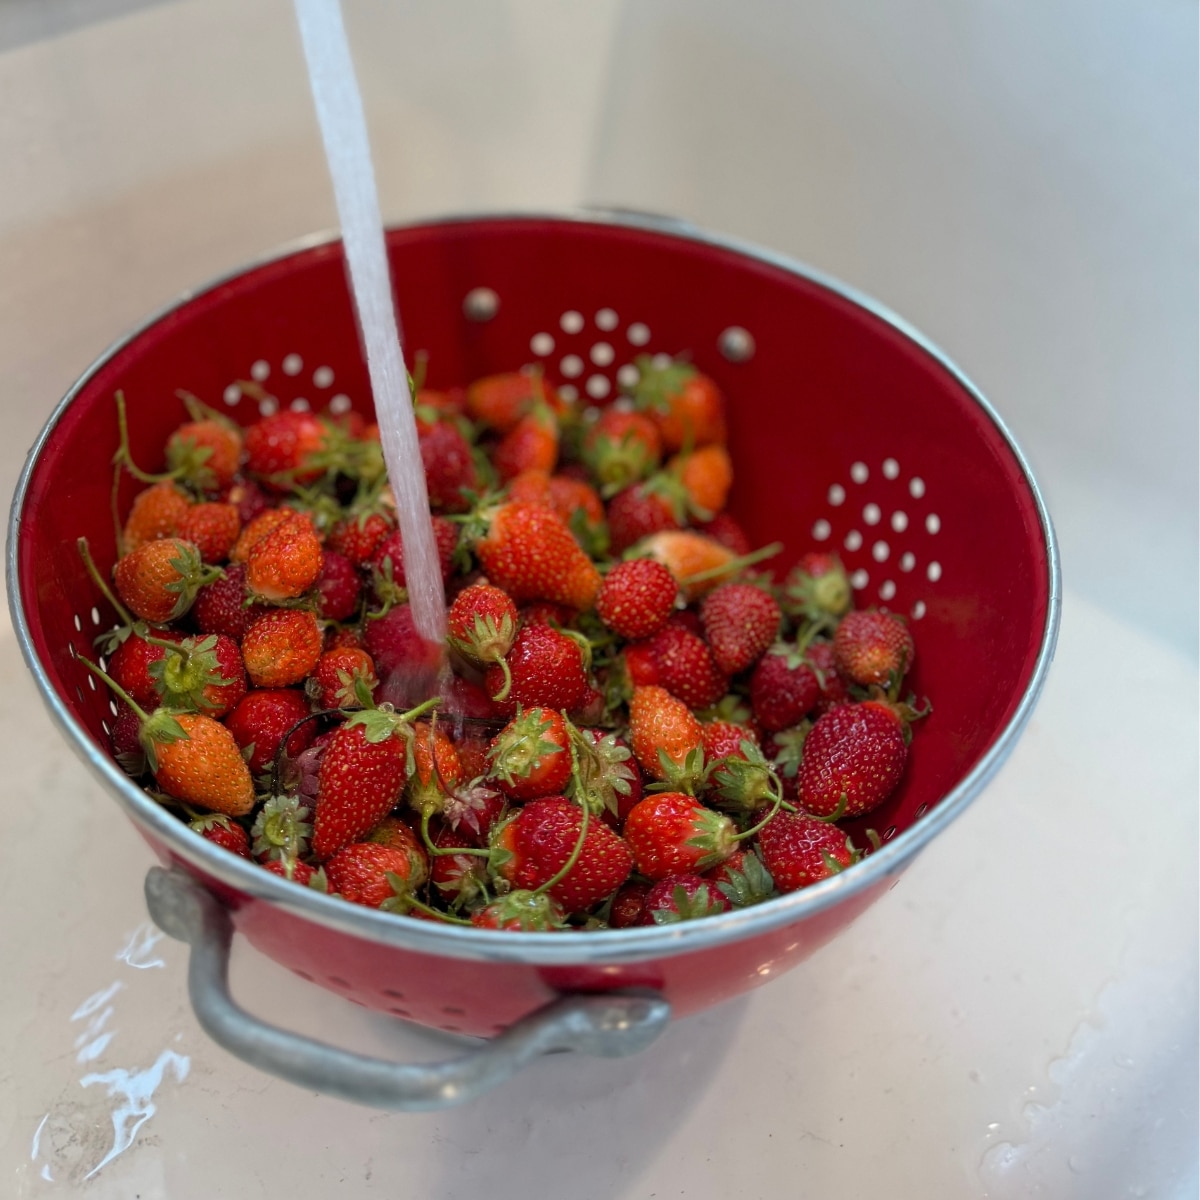
Step 1: Prep the Strawberries
- Wash your strawberries thoroughly under cool water.
- Hull them by removing the green stems and slicing away any bruised or damaged spots.
- Transfer the clean berries into a blender or food processor.
- Blend to your family’s preferred texture. On our farmhouse, we love it mostly smooth with just a tiny bit of chunkiness.
Pro Tip:
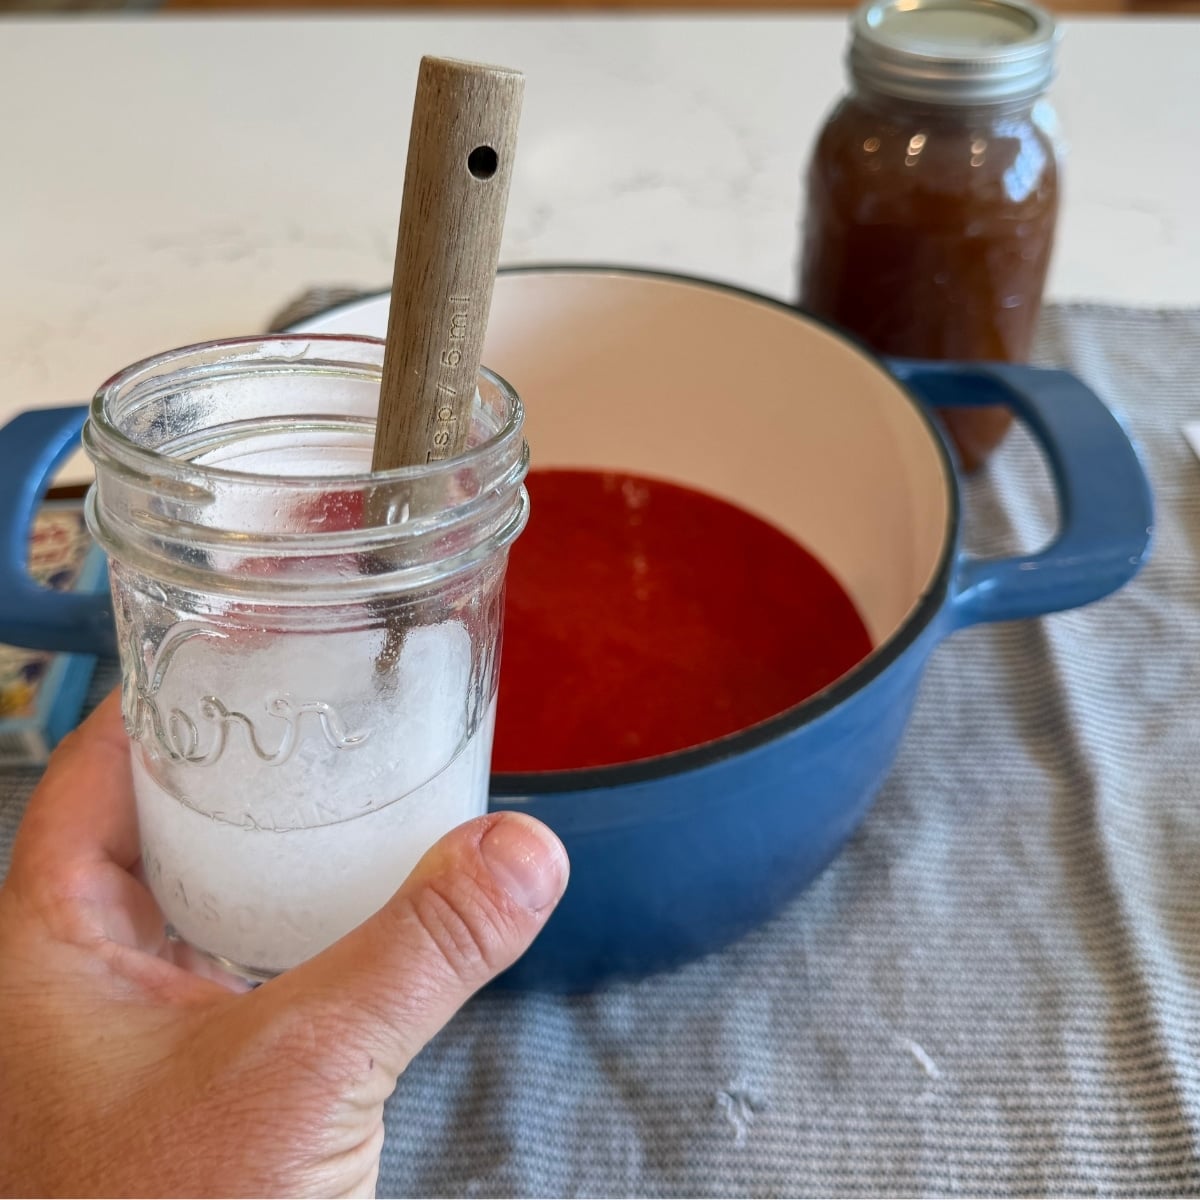
Step 2: Mix the Calcium Water
Every box of Pomona’s Pectin comes with two packets: a large pouch of pectin powder and a small pouch of calcium powder.
- Mix 1/2 teaspoon of the calcium powder with 1/2 cup of water in a small glass jar. Stir well.
- Measure out 2 teaspoons of this calcium water and stir it directly into your strawberry puree in a large saucepan.
- Put the rest of the calcium water jar in your refrigerator! It keeps for months and can be used for your next batches of jam. Always shake it before using, as the powder settles.
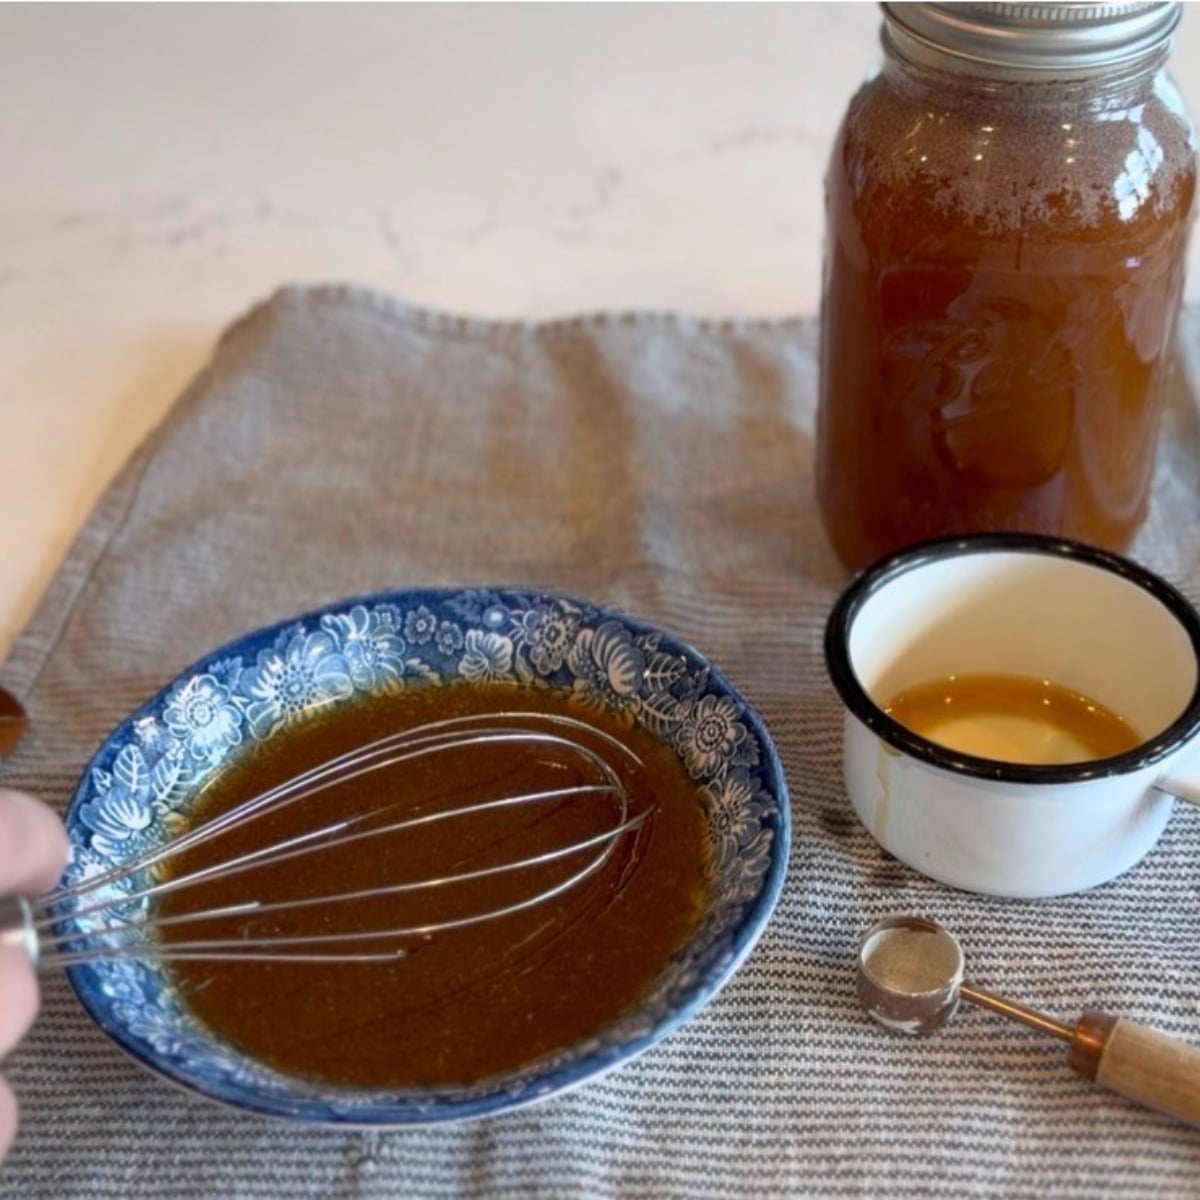
Step 3: Whisk the Honey and Pectin
In a separate bowl, measure out 3/4 cup to 1 cup of honey (I find 3/4 cup is the sweet spot).
Measure exactly 2 teaspoons of Pomona’s pectin powder and thoroughly whisk it into the honey until completely smooth and combined. Do not skip this step! Whisking the pectin directly into the sweetener prevents it from clumping up when it hits the hot fruit.
THE POMONA’S RATIO FOR THIS BATCH
- Strawberry Pureed or Mashed – 4 Cups
- Honey (Or other Sweetener) – 3/4 to 1 Cup
- Prepared Calcium Water – 2 Teaspoons
- Pectin Powder – 2 Teaspoons
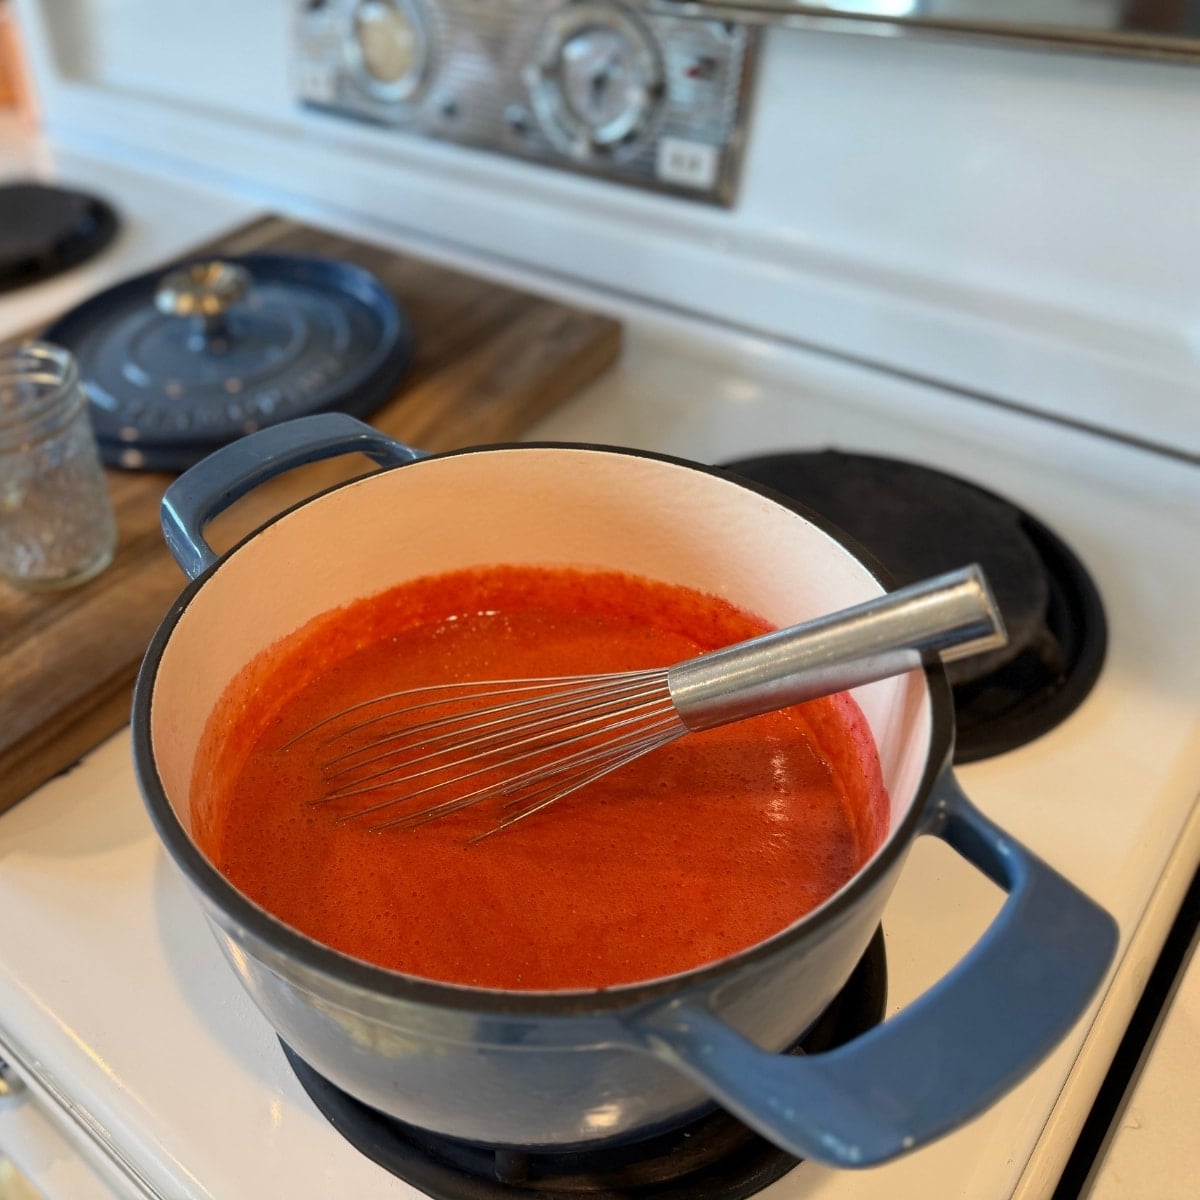

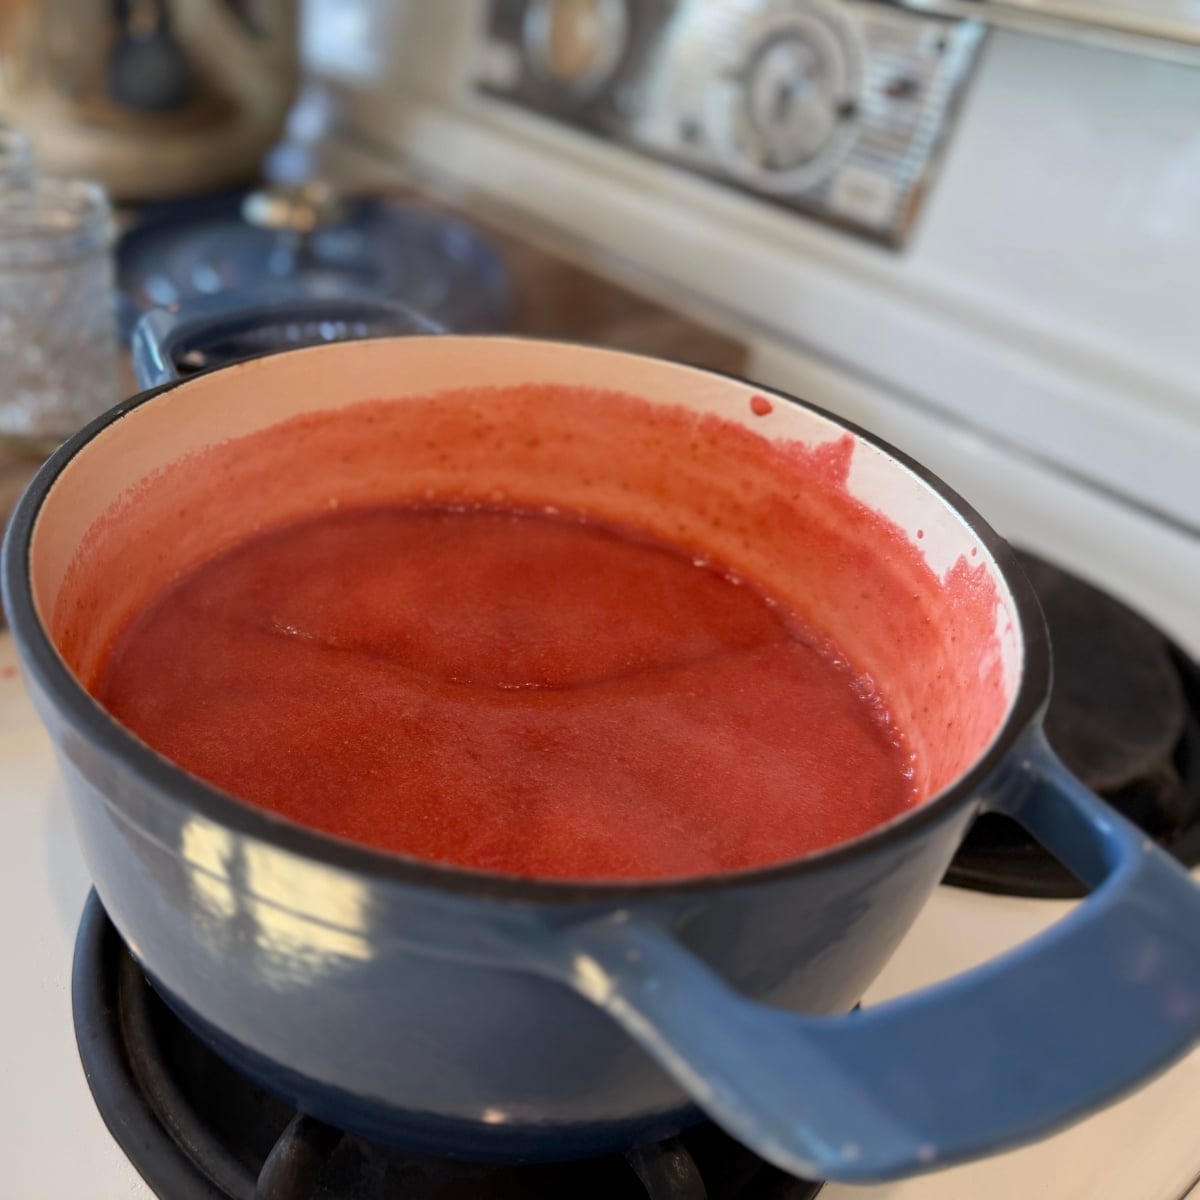
4: Cook the Low Sugar Strawberry Jam Recipe
- Bring your saucepan of strawberry puree and calcium water to a boil over medium-high heat.
- The moment it reaches a boil, quickly pour in your honey-pectin mixture. Whisk vigorously.
- Bring the mixture back up to a full rolling boil and let it boil hard for exactly 2 minutes, stirring constantly to prevent scorching. You will feel the magical chemical reaction happen as the jam thickens right before your eyes! Turn off the heat.
How to Jar and Pack Your Jam
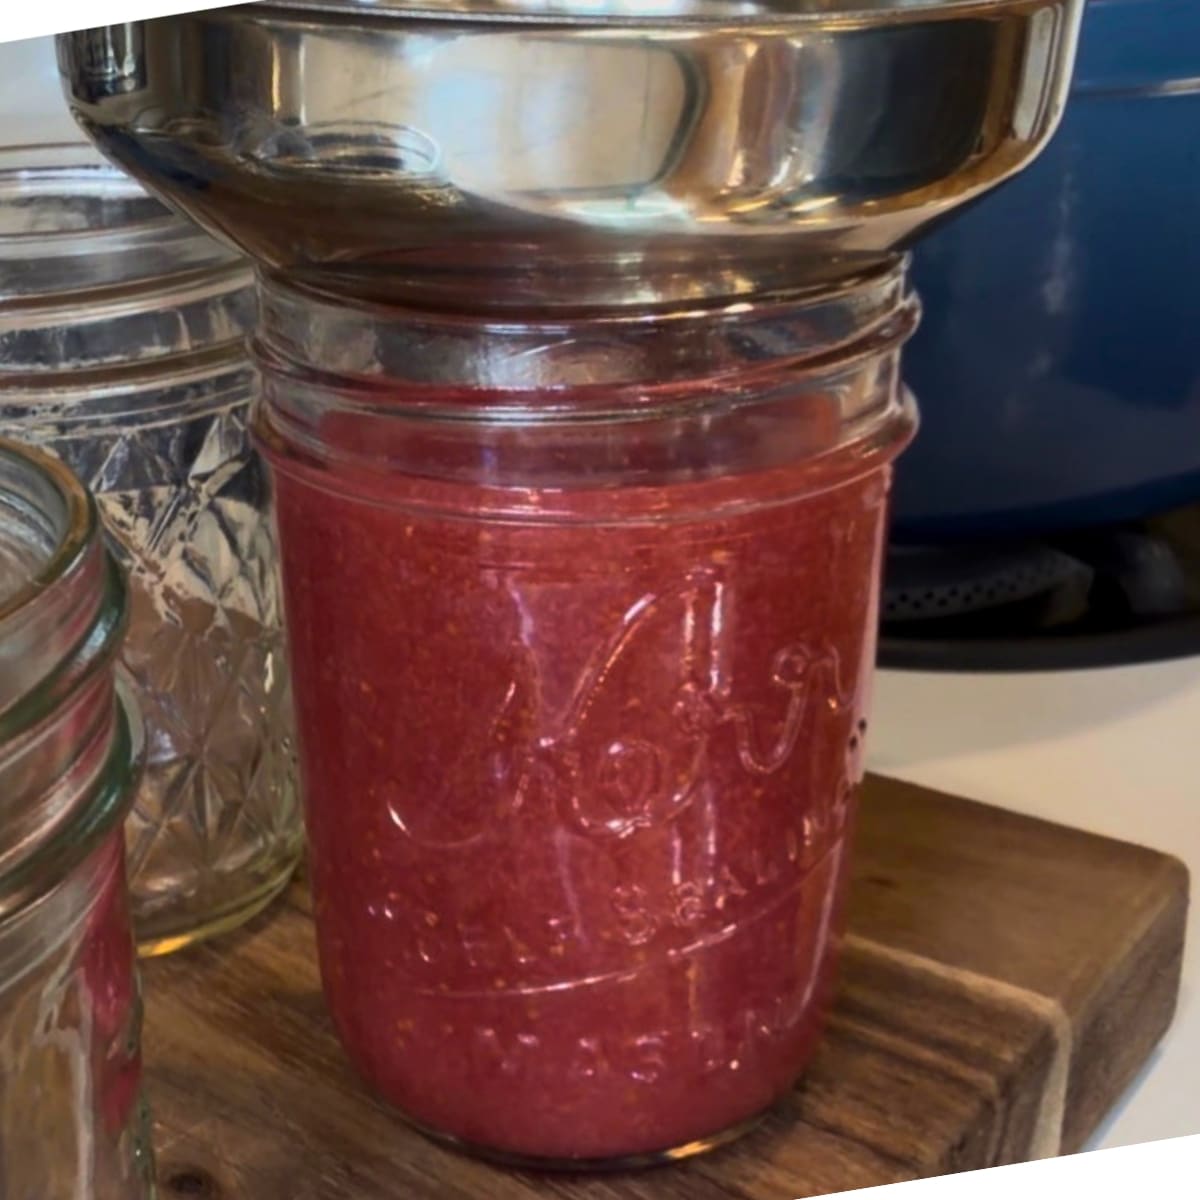
Step 1: Fill the Jars (The 1/4-Inch Rule)
Place your canning funnel over your clean, hot jars. Use a ladle to transfer the hot jam into the jars. Leave exactly 1/4-inch of headspace from the top of the jar (usually right where the bottom screw thread begins).
Step 2: The Secret to a Perfect Seal
Dip a clean cloth or paper towel into a little bit of white vinegar. Carefully wipe down the top glass rim of every single jar. Any microscopic drop of jam left on the rim can cause a seal failure later. The vinegar cuts right through the sugar and ensures a pristine surface.
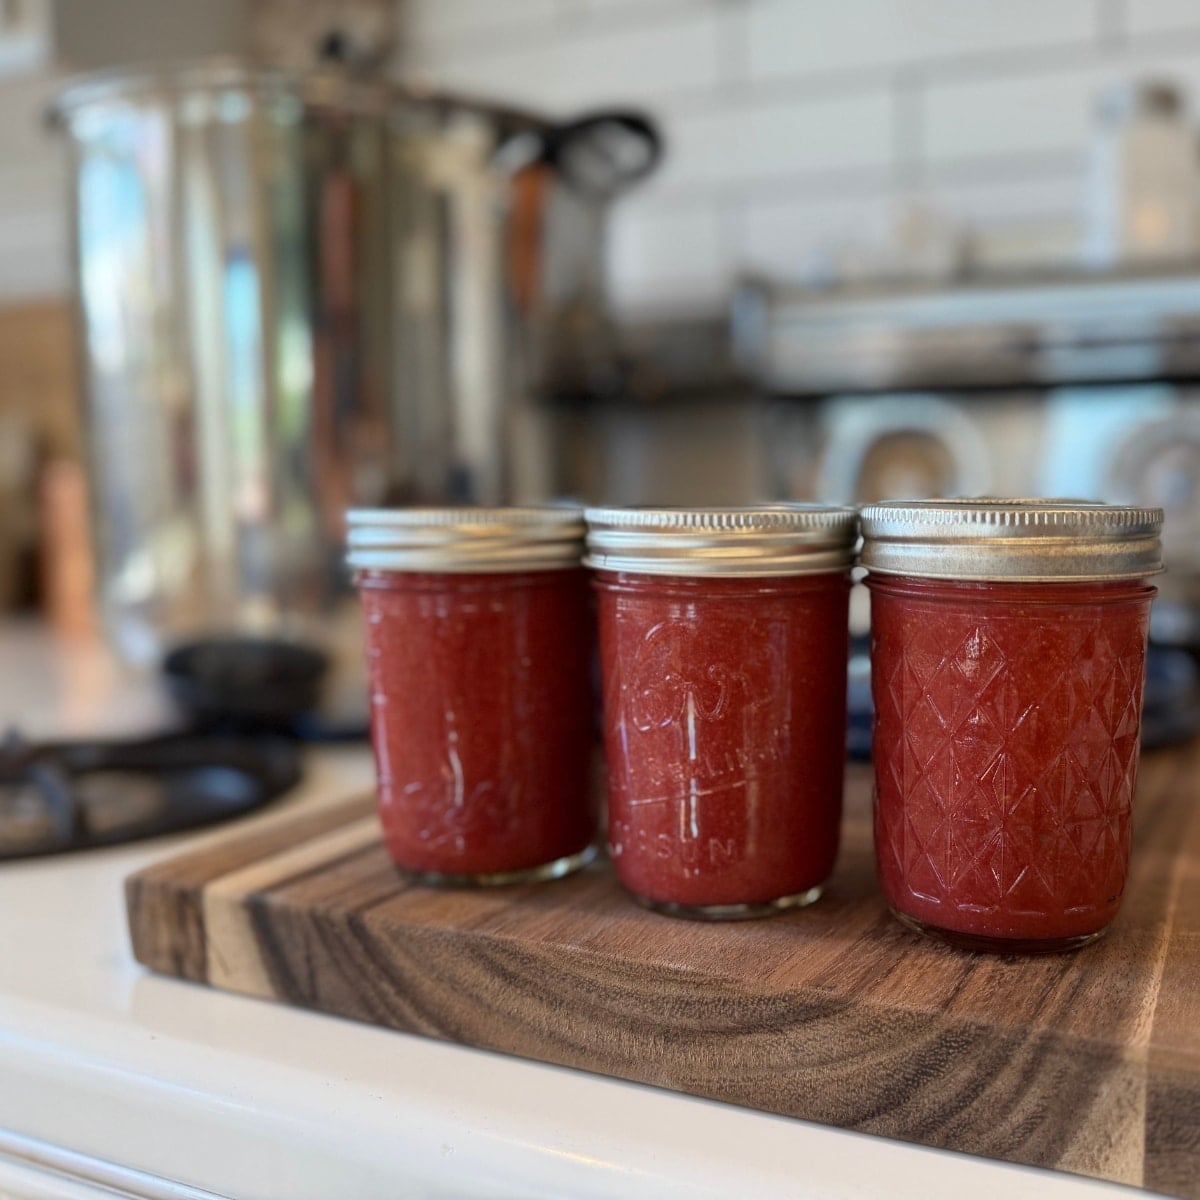
Step 3: Lid and Banding
Center a fresh lid onto the jar. Screw the metal band on until it is finger-tight. Do not overtighten! If you screw it down too hard, air can’t escape during the boiling process, which will buckle your lids.
Don’t Burn Your Fingers!
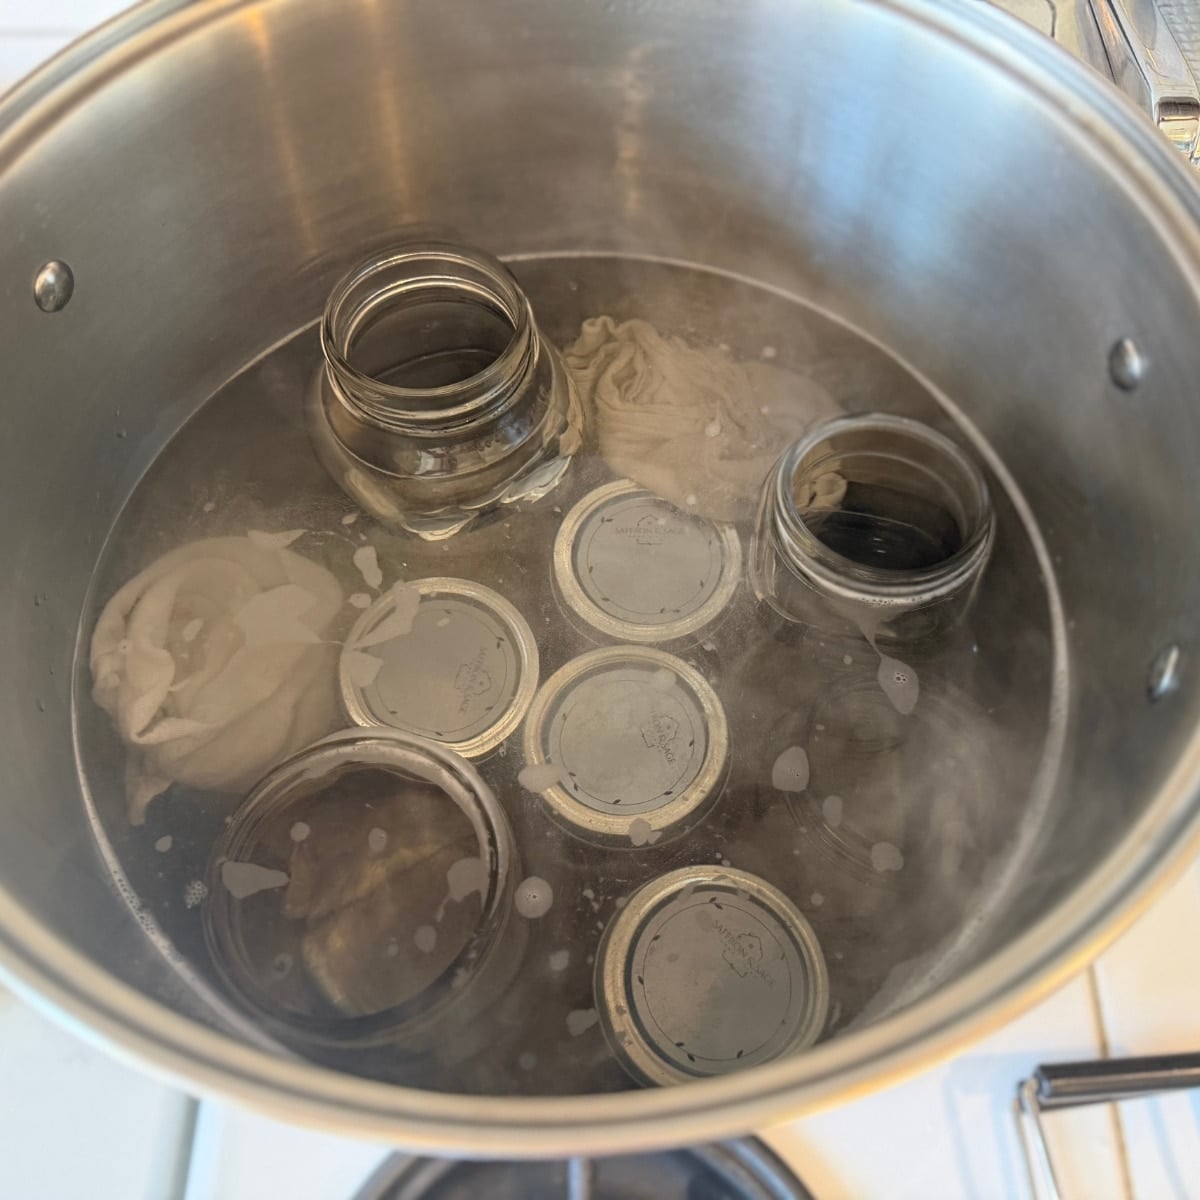
Water Bath Canning Process
If you are only processing 4 or 5 jars, they might slide around in a large pot. To prevent them from tipping over and ruining the seals, place a clean kitchen towel at the bottom of the pot, and use extra jars filled with water as “place savers” to keep your jam jars snug and upright.
- Lower your filled jars gently into your pot of hot water. Ensure the water level sits at least 1 to 2 inches above the lids.
- Cover the pot and bring it to a rolling boil.
- Set your timer based on your elevation (see altitude chart below).
Water Bath Processing Times by Altitude
Standard water bath recipes dictate a base time of 10 minutes, plus 1 minute for every 1,000 feet you live above sea level. On our homestead, we are located at 2,500 feet, which means our perfect time is 13 minutes.
- 0 – 1,000 Feet: 10 Minutes
- 1,001 – 2,000 Feet: 11 Minutes
- 2,001 – 3,000 Feet: 13 Minutes
- 3,001 – 4,000 Feet: 14 Minutes
Cooling & Storing Your Harvest
When the processing time is up, turn off the heat and remove the pot lid. Use your jar lifter to pull the jars straight up and out of the water.
Important: Do not tilt the jars to get water off the lids! Tipping them can force hot liquid jam into the sealing compound, causing the seal to fail.
Place the hot jars on a towel-lined countertop in a draft-free area. Now comes the hardest part: Leave them completely alone for 24 hours. Do not touch, move, or press down on the lids.
Checking the Seals
After 24 hours, push down on the center of each lid. If it is firm and doesn’t pop up and down, your jar is successfully sealed! Remove the metal screw bands (this prevents “rust-locking” and hidden spoilage), wipe the jars down, label them, and store them away in your pantry.
Enjoy your home-canned strawberry jam on freshly baked sourdough bread, warm pancakes, or morning waffles!
Have Questions? I wanna know what YOU think, please review the recipe card!
If you’re unsure about any part of the water bath canning process, or if you’re trying Pomona’s pectin for the first time, drop a comment below! Don’t forget to subscribe to the blog for more from-scratch farmhouse recipes. Happy canning!
Low Sugar Strawberry Jam Canning Recipe (with Pomona’s Pectin & Honey)
Equipment
- 1 Blender (or food processor / potato masher)
- 1 Water Bath Canner or Large deep stockpot (for water bath canning)
- 5 Half-pint mason jars (with brand new lids and bands)
- 1 Canning funnel & ladle
- 1 jar lifter
- 1 Small glass jar (for calcium water)
Ingredients
For the Calcium Water:
- 1/2 tsp Calcium powder included in the Pomona’s box
- 1/2 cup Water
For the Jam Batch:
- 4 cups Strawberry puree from washed, hulled fresh strawberries
- 2 tsp Prepared calcium water
- 3/4 cup Honey up to 1 cup if you prefer it sweeter
- 2 tsp Pomona’s pectin powder
Instructions
- Puree the Fruit: Wash and hull your fresh strawberries, removing any bruised parts. Blend or process them to your preferred consistency until you have exactly 4 cups of strawberry puree.
- Prepare the Calcium Water: In a small glass jar, thoroughly mix 1/2 teaspoon of calcium powder with 1/2 cup of water. Stir well and set aside. (You will have extra left over for future batches; store it in the fridge).
- Add Calcium Water: Pour the 4 cups of strawberry puree into a large saucepan and stir in exactly 2 teaspoons of your prepared calcium water. Make sure to shake the calcuim water before measuring out of the jar as calcium will settle to the bottom.
- Mix Pectin and Honey: In a separate small bowl, measure out your honey (3/4 to 1 cup) and thoroughly whisk the 2 teaspoons of pectin powder directly into it until completely smooth with no clumps.
- Boil Fruit: Bring the saucepan of strawberry puree and calcium water to a boil over medium-high heat.
- Add Sweetener & Hard Boil: The moment the fruit boils, quickly pour in the honey-pectin mixture. Whisk vigorously to combine. Bring the mixture back up to a full rolling boil and let it boil hard for exactly 2 minutes, stirring constantly. Turn off the heat.
- Fill the Jars: Ladle the hot jam into clean, hot half-pint jars using a canning funnel, leaving 1/4-inch of headspace.
- Clean Rims & Cap: Wipe the rims of the jars perfectly clean with a cloth dipped in white vinegar. Center a fresh lid on top and screw the metal bands on until finger-tight.
- Water Bath Process: Lower the jars into a deep stockpot filled with hot water (ensure water covers the lids by 1–2 inches). Bring to a rolling boil and process for 10 minutes (add 1 minute for every 1,000 feet above sea level—process for 13 minutes if at 2,500 feet).
- Cool and Set: Use a jar lifter to remove the jars straight up out of the water and place them onto a towel-lined counter. Leave undisturbed for 24 hours before checking the seals.
Video
Notes
Nutrition

About Juliea
Juliea is a mother of six, a sourdough baker, and a homestead builder living in Idaho. Alongside her husband and their horse, Dude, she manages a busy farmhouse and shares her love for scratch-cooking and simple homemaking. Through her blog and YouTube channel, she helps millions of families every year master the art of the handmade home.


2 comments
Timber
This is my favorite jam!!! It’s delicious and genuinely taste like pure strawberries. Is it possible to make it without sugar?
Dixie
Super easy recipe to follow! I love that it’s low sugar, and the instructions are very simple.