



It’s time for a much-needed glow-up on one of my absolute favorite preserving recipes: Sweet Peach and Pear Salsa canning recipe from the venerable Ball Blue Book!
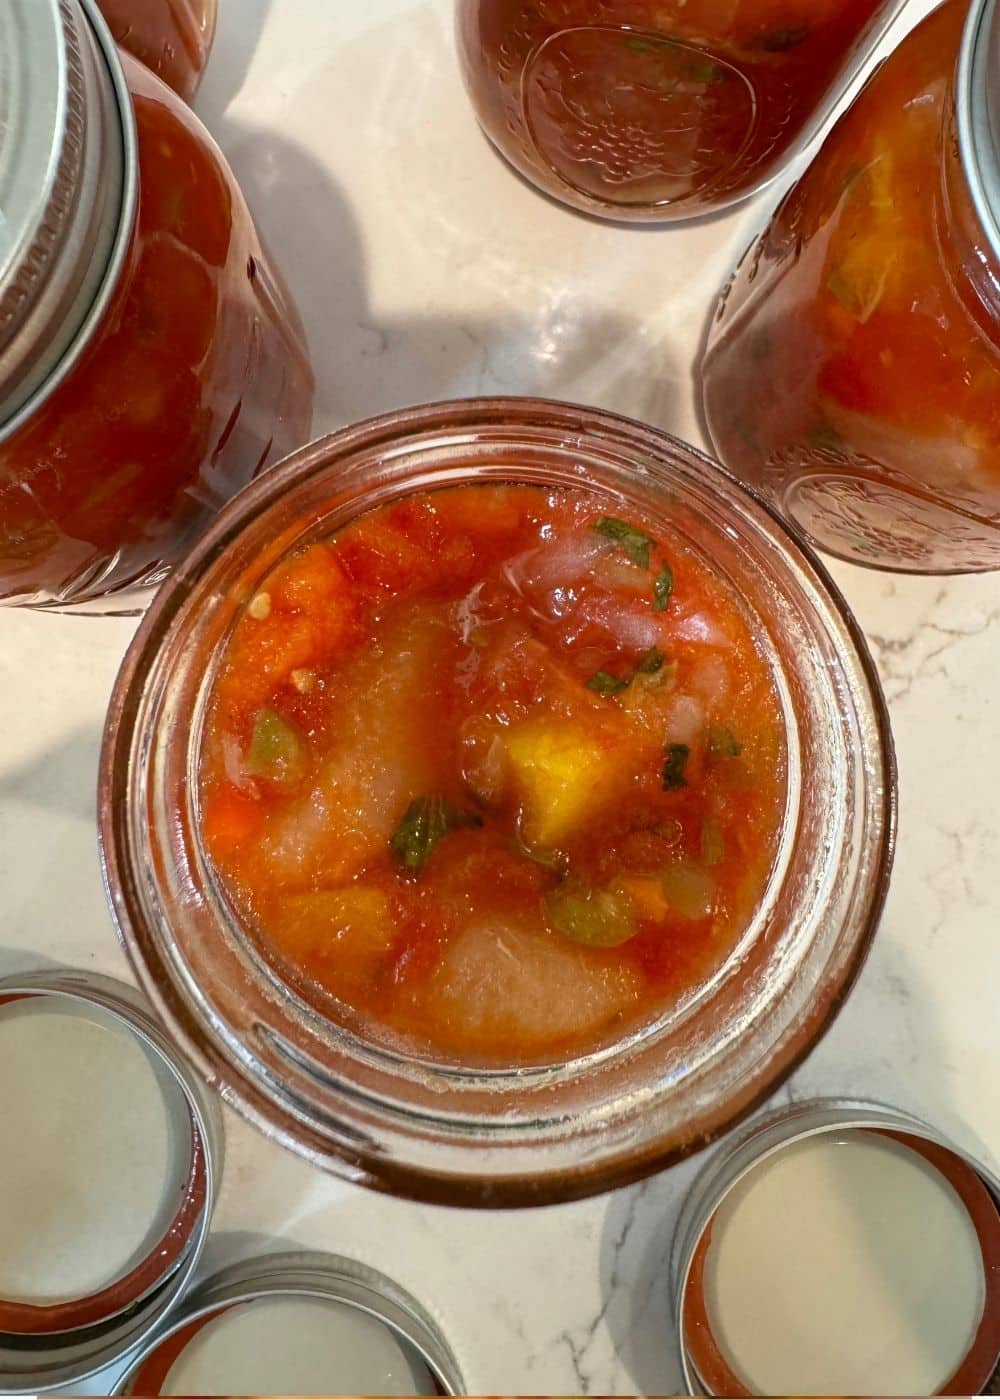
This isn’t your average, run-of-the-mill salsa. It’s a beautifully balanced blend that brings the best of late-summer sweetness right to your pantry. If you’ve got an abundance of garden tomatoes, or just love a salsa that leans sweet over spicy, this is your new canning project
Table of Contents
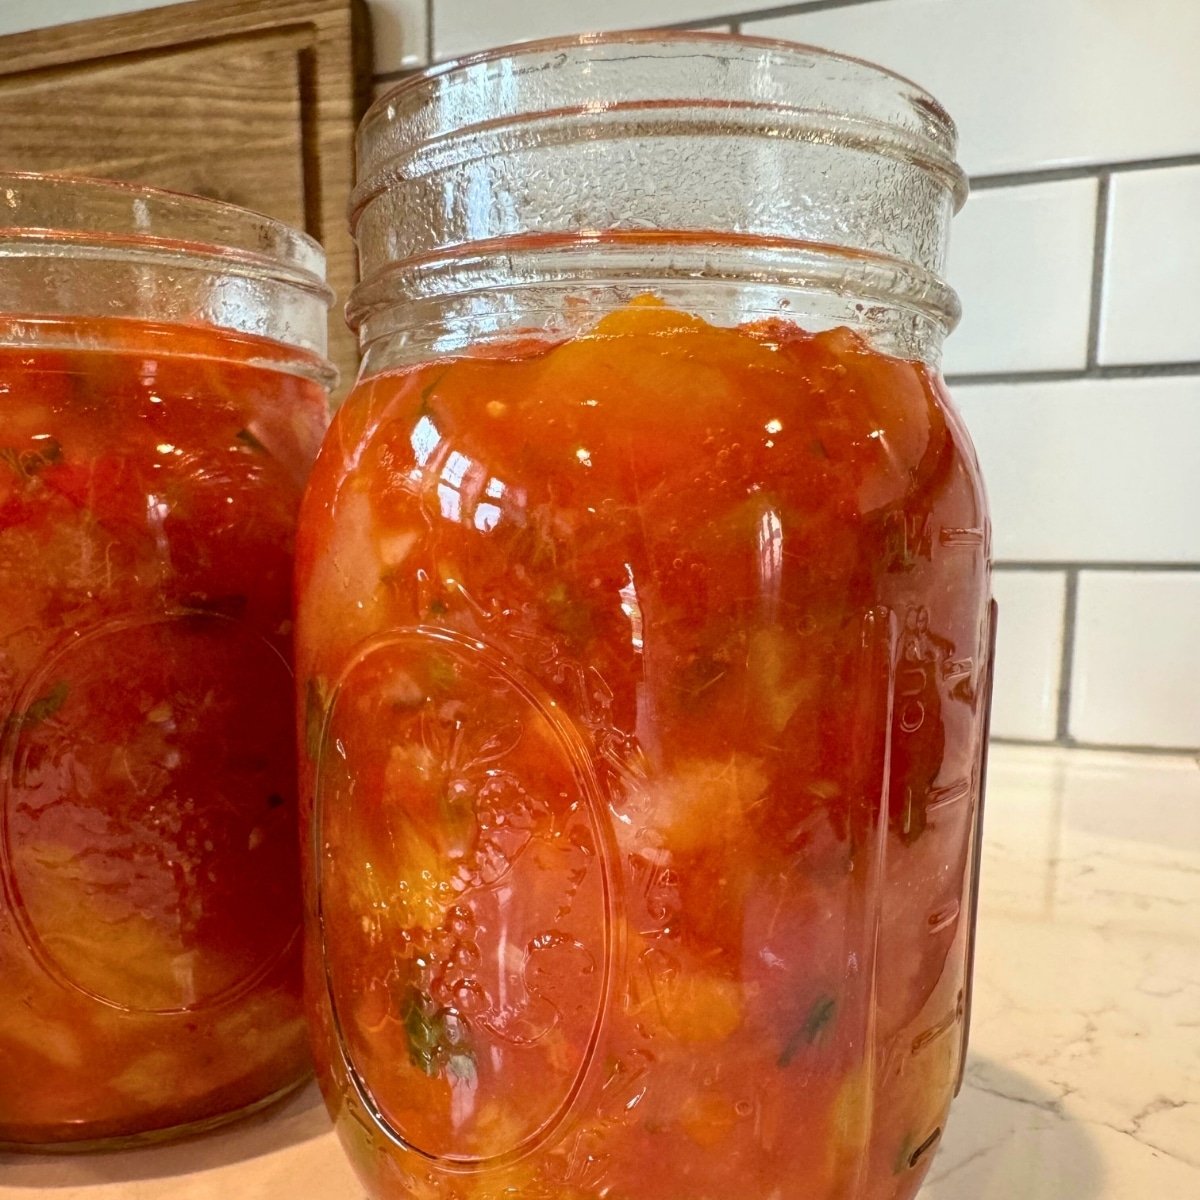
The Ultimate Guide to Canned Sweet Peach and Pear Salsa (Ball Blue Book Recipe)
This recipe is a keeper, adding the mellow, delightful sweetness of peaches, pears, and local honey to tame the traditional salsa heat. The result? A vibrant, flavor-packed condiment that elevates everything from grilled salmon and chicken to simple scrambled eggs.
My son practically eats this by the spoonful (seriously, I have to make a double batch to keep up!), so trust me when I say this 6-pint recipe is a must-try. Pro-tip: The flavors seriously marry and deepen after about 3-4 weeks on the shelf. Patience is a virtue, but shelf-stable salsa is its own reward!
The Fresh Ingredients & Tools
This recipe is a professionally tried and true tested recipe adapted from the trusted Ball Home Preservation Cookbook. This means its acidity levels are precisely balanced for safe water bath canning. Crucially: DO NOT add or subtract ingredients (especially low-acid ones) before canning. This could alter the pH and make your salsa unsafe. You can always customize after you pop the lid!
- Fresh Tomatoes: 4 cups peeled and chopped ROMA tomatoes. (Romas have lower water content, making for a thicker salsa!)
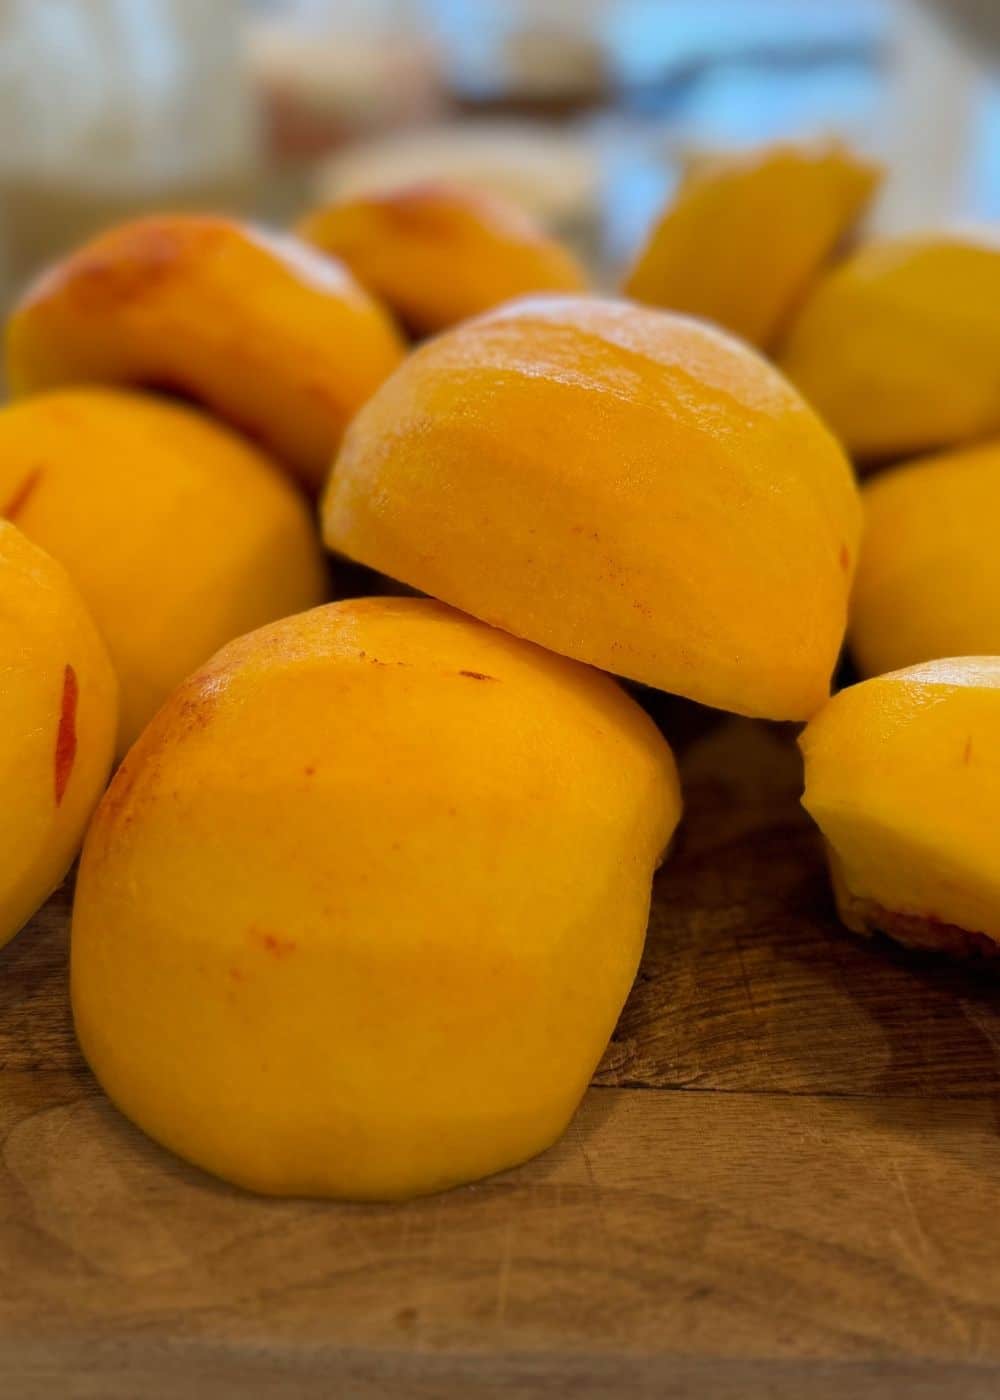
- Peaches: 2 cups peeled, pitted, and chopped. (Pro Tip for Browning: Submerge fruit in 1/4
cup lemon juice before using to keep them vibrant!) - Pears: 2 cups peeled, cored, and chopped. (Again, use the 1/4 cup lemon juice dip for color preservation!)
- Red Bell Pepper: 1 large, seeded and chopped.
- Red Onion: 1 cup finely chopped.
- Jalapeño Peppers: 3, seeded, deveined, and chopped small. (See my Spicy Tip below!)
- Fresh Cilantro: 1/2 cup chopped.
- Sweetener: 1/2 cup local honey.
- Acidity/Flavor: 1 whole lemon (juice and zest).
- Acidity/Flavor: 1/4 cup quality balsamic vinegar.
- Secret Ingredient: 1 tablespoon fresh mint, chopped fine. (Trust me on the mint—it’s a game-changer!)
Essential Tools for Large Batch Canning – Don’t start without your gear! Being organized makes canning smooth and safe.
- Hot Water Bath Canner: A must for safely processing.
- Pint Size Mason Jars: (6 of them, sanitized!)
- Canning Lids and Bands: Fresh lids for a guaranteed seal.
- Jar Lifter: Prevents burns and dropped jars.
- Canning Funnel: Keeps jar rims clean (critical for sealing!).
- Canning Lid Magnet Lifter: For hygienically moving hot lids.
- Large-Sized Stainless Steel Pot: For simmering the salsa.
- Colander: For draining excess liquid from chopped tomatoes.
Prep Ingredients, Tomatoes, Peaches, Pears
You can peel peaches and pears with a peeler… Or, place them in a pot of boiling water for 30 seconds till the skins start to crack! Then immediately dip them in cold water, and slip the skins off easily! Then chop, pit, and core your peaches and pears.
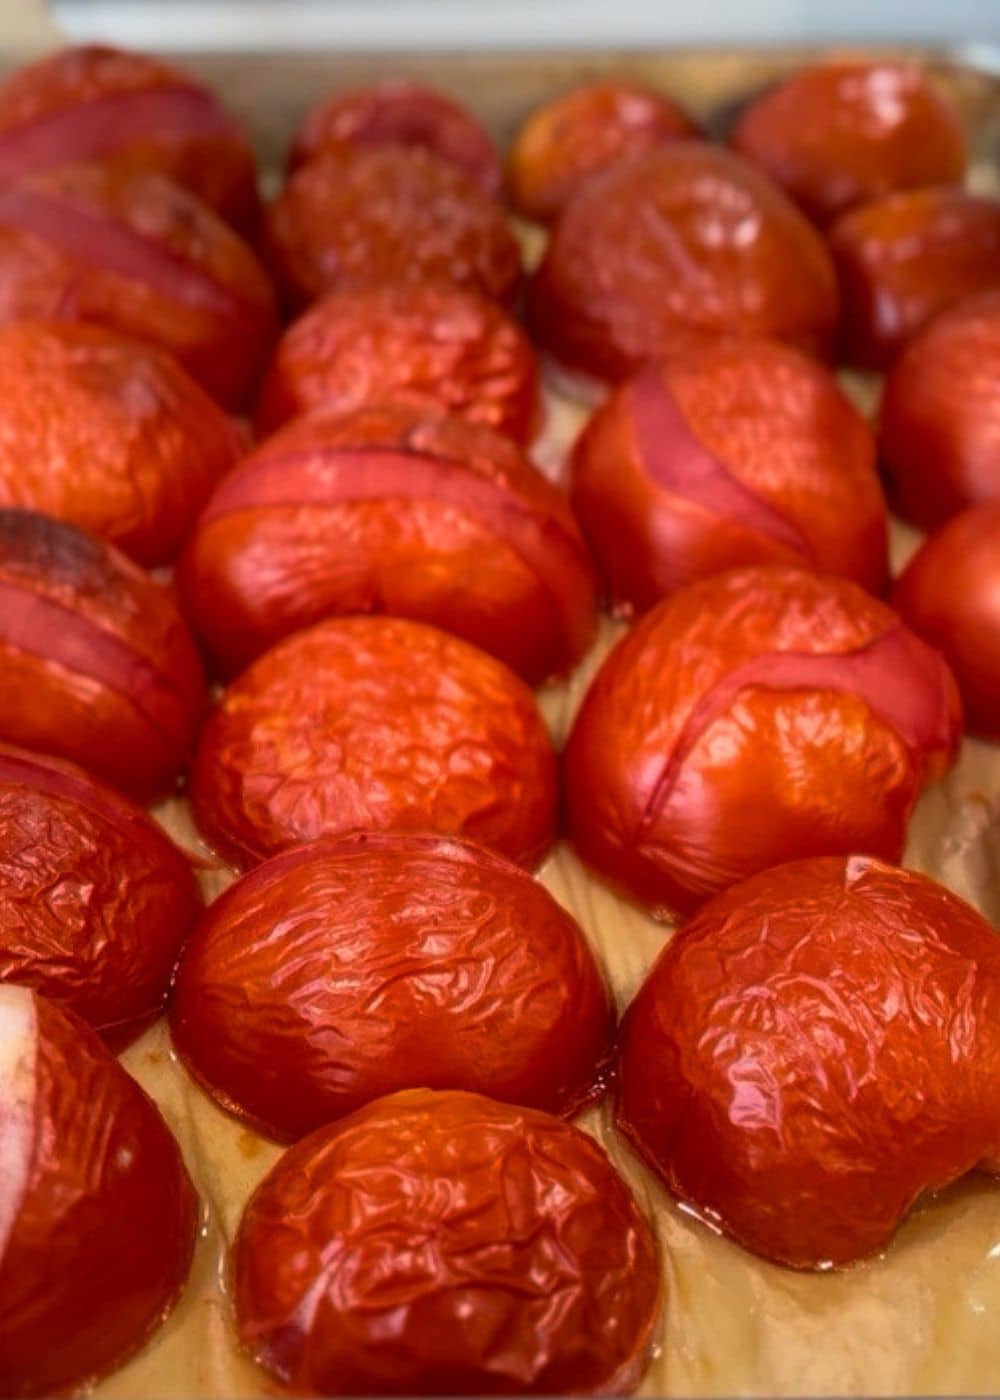
Alternative Prep: Oven-Roasting Tomatoes for Easy Peeling & Richer Flavor
If you prefer not to boil your tomatoes, roasting them is a fantastic way to slide the skins right off while deepening their natural flavor! Simply slice your fresh Roma tomatoes in half lengthwise and place them face-down on a parchment-lined baking sheet.
Roast at 400°F (200°C) for about 12 to 15 minutes, or just until the skins become soft and wrinkled. Remove the pan from the oven and let them cool for a few minutes until they are comfortable to handle. The skins will pinch and pull off effortlessly—leaving you with tender, flavor-rich tomatoes ready to be chopped and drained for your salsa!

Pro Tips & Serving Ideas
Prevent Fruit from Browning (The pH Trick)
When you chop fruit, oxygen causes enzymatic browning. My simple method? The lemon juice bath! Place your chopped peaches and pears in a bowl of the 1/4 cup lemon juice mentioned in the ingredients, and drain them just before adding them to the pot. Easy peasy!
How to Control the Heat
Mild Salsa: Always wear plastic gloves! Use a sharp paring knife to quarter the jalapeños lengthwise. Carefully cut away and discard the seeds and the white, fleshy ribs (the placenta). This is where most of the heat resides.
- Want Spicier Salsa? Just leave the seeds and membranes intact!
- Need it to me Mild? For mild salsa, Use gloves and wash your hands thoroughly after handling hot peppers.
Serving Suggestions (Beyond the Chip!) This sweet, mild salsa is incredibly versatile:
- Gifts: Jars of homemade salsa and a bag of tortilla chips make a fantastic, thoughtful holiday gift!
- The best Appetizer: Stir 1 1/2 cups salsa with 16 oz cubed cream cheese, heat in the microwave for 3 minutes, stir well, and serve hot with crackers, sliced sourdough, or grilled flatbread.
- Toppings: Spoon it over grilled fish, baked chicken, or even your morning eggs!

More Canning Recipes You’ll Love
- Chunky Salsa Canning Recipe
- Mild Salsa Canning Recipe
- Sweet Salsa Canning Recipe
- Cowboy Candy, Candied Jalapenos Canning Recipe
- Applesauce Canning Recipe without sugar!
- Perfect Pickled Beets
- Pickled jalapenos
- Zesty Salsa Canning Recipe
- Pie Cherry Canning Recipe
- Zucchini Pineapple Canning Recipe (Mock Pineapple)

Sweet Peach & Pear Salsa: FAQ’s
Can I reduce the amount of honey or switch the sweetener?
Yes. Honey adds a smooth sweetness that balances the acidity of the tomatoes and fruit, but you can reduce the amount or swap it for equal parts granulated sugar or brown sugar. Sweetener choices do not impact the acid safety of water bath canning, so feel free to adjust to your taste.
Can I use frozen or canned fruit instead of fresh?
Fresh peaches and pears give the best firm texture. However, if using frozen fruit, thaw and drain them well before chopping so you don’t add excess liquid. Avoid using pre-canned peaches or pears in syrup, as they will turn mushy and add too much extra sugar.
Why do my pears or peaches float in the jar?
Fruit floating happens when air remains trapped in the fruit’s cells or inside the jar. Ladling the salsa hot (Hot Pack), gently debubbling with a non-metallic tool before sealing, and leaving exact 1/2-inch headspace will help prevent floating.
What should I do if a jar doesn’t seal after 24 hours?
If a jar lid doesn’t flex down or make the “pop” seal, place that jar directly into the refrigerator and consume it within 2–3 weeks. Alternatively, you can re-process it within 24 hours using a clean jar, fresh lid, and a full 25-minute boil (plus altitude adjustments).
How long does canned sweet salsa last on the shelf?
When processed correctly and stored in a cool, dark pantry without the screw bands, your canned salsa will maintain peak quality for 12 to 18 months. Always inspect the lid and seal before opening!
Because I live and can at about 2,200 feet here in Fruitland, Idaho, I process my pint jars for 25 minutes. Be sure to check your local elevation before setting your timer!
Altitude processing Chart for Water Bath Canning
| Altitude (Feet Above Sea Level) | Pint Jar Processing Time |
| 0 – 1,000 feet | 20 minutes |
| 1,001 – 3,000 feet | 25 minutes |
| 3,001 – 6,000 feet | 30 minutes |
| 6,001 – 8,000 feet | 35 minutes |
I want to know what YOU think, Please review the recipe card!
Sweet Peach and Pear Salsa Canning Recipe
Ingredients
- 4 cups Roma Tomatoes Fresh. Peeled and chopped. Romas have lower water content, making for a thicker salsa!
- 2 cups Peaches pitted, and chopped. (Submerged fruit in 1/4 cup lemon juice before using to keep them bright!)
- 2 cups Pears cored, and chopped. (Submerge fruit in 1/4 cup lemon juice before using to keep them vibrant!)
- 1 large Red Bell Pepper seeded and chopped.
- 1 medium Red Onion finely chopped
- 3 Jalapeño Peppers seeded, deveined, and chopped small. (See my Spicy Tip below!)
- 1/2 cup Cilantro fresh, chopped
- 1/2 cup honey
- 1 whole lemon juice and zest.
- 1/4 cup balsamic vinegar.
- 1 tablespoon fresh mint chopped fine. (Trust me on the mint—it’s a game-changer!)
Instructions
- Part 1: Prep Your Produce (The Skin-Slip Secret)
- Prep Time Saver: Get your canning setup ready—fill the canner, heat the water, and sanitize your jars and lids.
- The Easy Peel: To easily slip the skins off tomatoes, peaches, and pears, place them in boiling water for about 30 seconds until the skins start to crack.
- Ice Bath: Immediately transfer them to an ice bath (or very cold water). The skins will slide right off!
- Chop & Drain: Chop, pit, and core your peaches and pears. Chop your tomatoes and place them in a colander for at least 30 minutes to drain off excess liquids. This keeps your salsa chunky, not soupy!
- Part 2: Simmer & Blend the Flavors
- In your large stainless steel pot, combine the prepped drained tomatoes, peaches, pears, chopped red pepper, onions, and jalapeños.
- Bring the mixture to a full boil over medium-high heat, stirring constantly to prevent sticking.
- Add the remaining ingredients: cilantro, honey, lemon zest, lemon juice, balsamic vinegar, and chopped mint.
- Reduce the heat to a gentle simmer for about 5 minutes, stirring until the mixture is slightly thickened.
- Part 3: Hot Pack and Water Bath Process
- Ladle: Using a canning funnel, ladle the hot salsa into your sanitized pint jars, leaving 1/2 inch of headspace (the empty space at the top).
- Bubble Check: Remove any trapped air bubbles by sliding a non-metallic spatula or butter knife around the inside of the jar.
- Wipe & Seal: Crucial step! Wipe the rim of the jar impeccably clean with a damp, clean towel. A sticky rim prevents a seal!
- Center a hot lid onto the jar, and secure it with a screw band, tightening to finger-tight (just until resistance is met—don’t overtighten!).
- Process: Place the prepared jars into the canner. Water must cover the jars by at least 1-2 inches. Bring to a rolling boil and cover.
- Process pint jars for 20 minutes base time. (Note: I process for 25 minutes here in Fruitland, ID at ~2,200 ft—check the altitude chart in the post for your location!)
- Part 4: Cool, Check, and Store
- Turn off the heat and remove the canner lid. Let the jars cool in the canner for 5 minutes.
- Use your jar lifter to remove the hot jars and place them on a towel or wooden board (avoid cold, hard counters to prevent breakage!).
- Let them cool completely for 12-24 hours. You’ll hear the satisfying POP! as the lids seal.
- Check the seal—the lid should be curved down and not flex. Remove the bands, label, and store in a cool, dark place.
Notes
0−1,000 feet above sea level – 20 minutes processing time.
1,001−3,000 feet above sea level 25 minutes processing time
3,001−6,000 feet above sea level 30 minutes processing time
6,001−8,000 feet above sea level – 35 minutes processing time.
Nutrition

About Juliea
Juliea is a mother of six, a sourdough baker, and a homestead builder living in Idaho. Alongside her husband and their horse, Dude, she manages a busy farmhouse and shares her love for scratch-cooking and simple homemaking. Through her blog and YouTube channel, she helps millions of families every year master the art of the handmade home.




4 comments
Dixie
My absolute favorite salsa recipe! The perfect amount of sweet and savory! Delicious & a hit!
Beth
After the water bath is the salsa chunky like the photo or does it have a smoother texture?
Juliea Huffaker
Hi Beth… Yes this picture is after water bathed!
Abel Bleecker
Saved as a favorite, I like your website!