

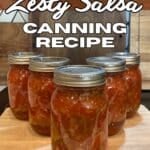
This easy salsa canning recipe was published by Ball, it’s easy enough for beginners…. And uses a ton of peppers!

I was looking for a salsa recipe that included loads of peppers so I could preserve my huge pepper harvest! True to it’s name is got a delightful zesty flare to it thanks to the addition of vinegar!
I started canning with apple sauce… Then moved to pie cherries, pickled beets, sweet, mild. and chunky salsa… Then on to this wonderful zesty salsa recipe for canning. I grow so many peppers every year, and need a good way to preserve them… This Zesty Salsa is perfect!
How To Make Zesty Salsa Canning Recipe
This salsa canning recipe is super easy… Just chop all your onions, and peppers. I used a grinder to turn my tomatoes into sauce, then add everything to your stock pot. Heat through and ladle into pint sized canning jars!
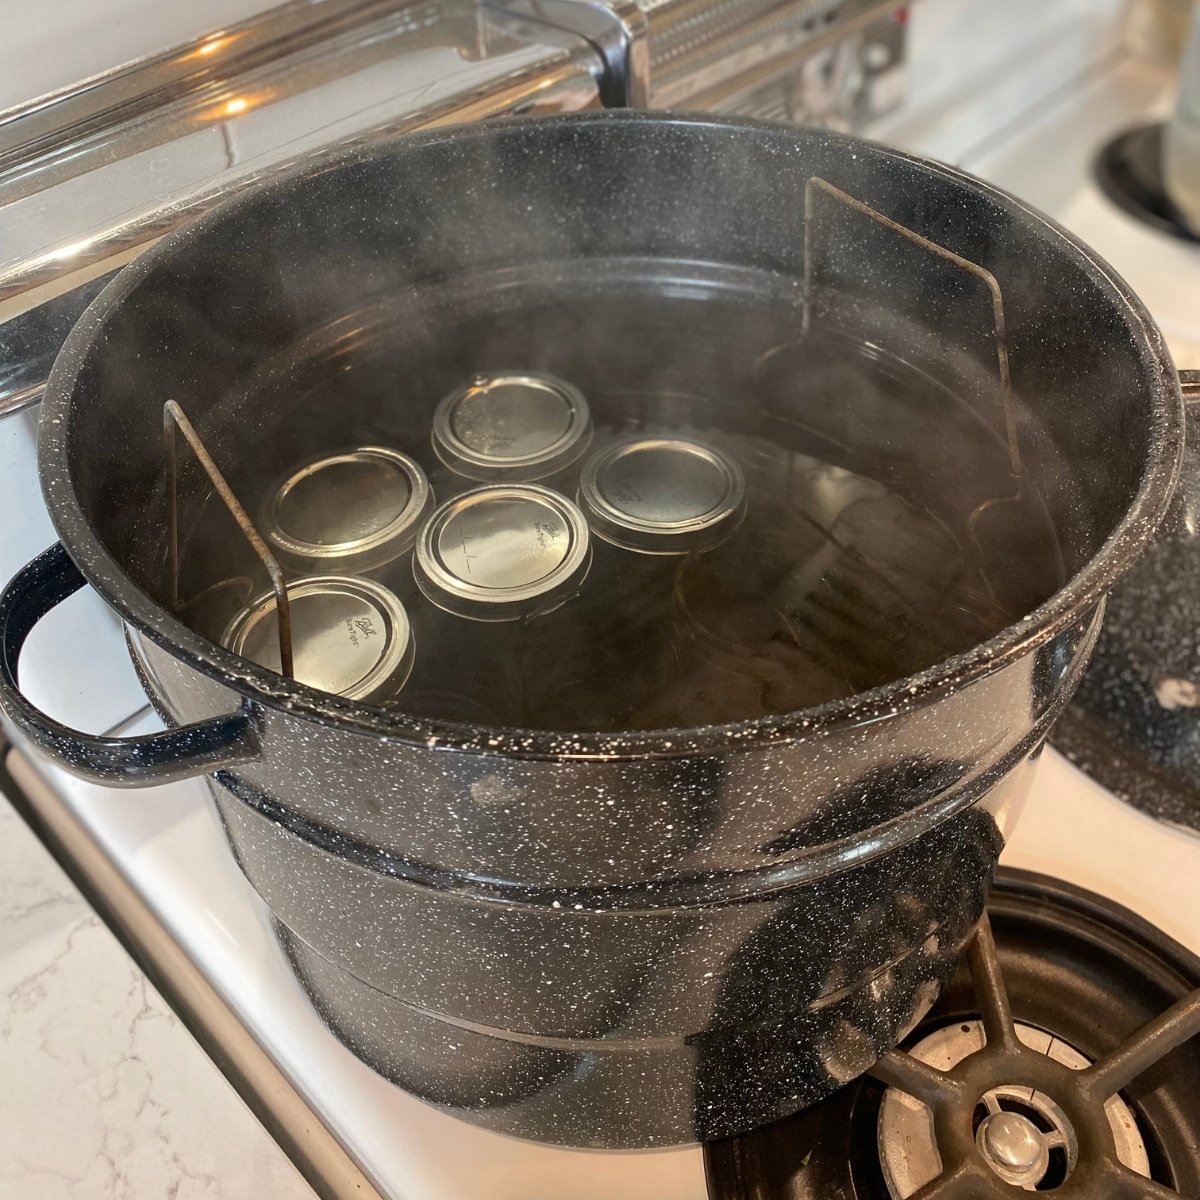
Wipe your rims, place lids and water bath them for about 20 minutes, give or take according to your altitude:
| Altitude (feet above sea level) | Adjustment to Processing Time |
|---|---|
| 1,000 – 2,000 | Add 5 minutes |
| 2,000 – 3,000 | Add 10 minutes |
| 3,000 – 4,000 | Add 15 minutes |
| 4,000 – 5,000 | Add 20 minutes |
| 5,000 – 6,000 | Add 25 minutes |
Equipment Needed
- Mason Jars, lids & rings.
- Water Bath Canner
- Good chopping Knife or Food Processor (I use both)
- Cutting Board.
- Jar Lifter
- Timer
Zesty Salsa Canning Recipe Notes
Fresh Ingredients: Use fresh, ripe vegetables for the best flavor.
Water-Bath Canning: Always follow the specific canning instructions provided in the Ball Blue Book of Canning.
Adjust Heat Level: You can adjust the heat level of the salsa by using different types of chili peppers or by adding more or less hot pepper sauce.
Prep Work: Chopping all the vegetables in advance can save time.
Sterilizing Jars: According to current USDA and Ball guidelines, if you are processing your jars for 10 minutes or more in a boiling water bath (which we are), you actually don’t need to pre-sterilize the jars! Just making sure they are hot and clean in soapy water is enough. 😉
Headspace: Leave the correct amount of headspace in the jars to allow for expansion during processing.
Cooling: Let the jars cool completely before checking the seals.

Zesty Salsa Ingredients
Tomatoes – I have a garden full of tomatoes, mostly the Roma tomato variety, that I need to preserve! You can use any type of tomato in the recipe, and you’ll need 10 cups of tomato sauce.
Onions – You need several cups of chopped onions here. I like to use the food processor with onions, because they make me cry so bad when chopping them!
Peppers – This canning salsa recipe calls for 7 1/2 cups of chopped peppers! That’s a lot of peppers, but I’ve got so many! I’m using 5 cups of chopped banana or sweet peppers, 2 cups of green bell peppers and 1/2 a cup of chopped jalapenos!
Vinegar – Vinegar adds a zippy kick to this salsa, and it’s also key for safe canning! Double win!
Garlic – The recipe calls for 3 cloves of garlic but I just used 3 teaspoons of the pre-chopped canned garlic… It’s so much easier!
Cilantro – I LOVE the flavor of cilantro… And this recipe uses 2 tablespoons of chopped cilantro.
Salt – I was surprised that this recipe only called for 1 tablespoon of salt… But it is plenty salty even though this makes 6 pints!
Zesty Salsa FAQ’s
Can I use lime juice instead of vinegar? For this specific Ball recipe, vinegar is the primary acidifier. While lime juice is more acidic than vinegar, it changes the flavor profile significantly. If you want to swap, make sure you use bottled lime juice (not fresh, as the acidity varies) and use a 1:1 ratio. But, the vinegar is what gives this salsa its signature ‘zesty’ flavor!
Why is my salsa so watery after canning? Tomatoes naturally release a lot of liquid when heated… If you find your salsa is too thin, try using only Roma or Paste tomatoes, and make sure to drain off some of the watery juice after chopping before you measure your 10 cups. You can also simmer the mixture for an extra 10–15 minutes before putting it into jars to thicken it up.
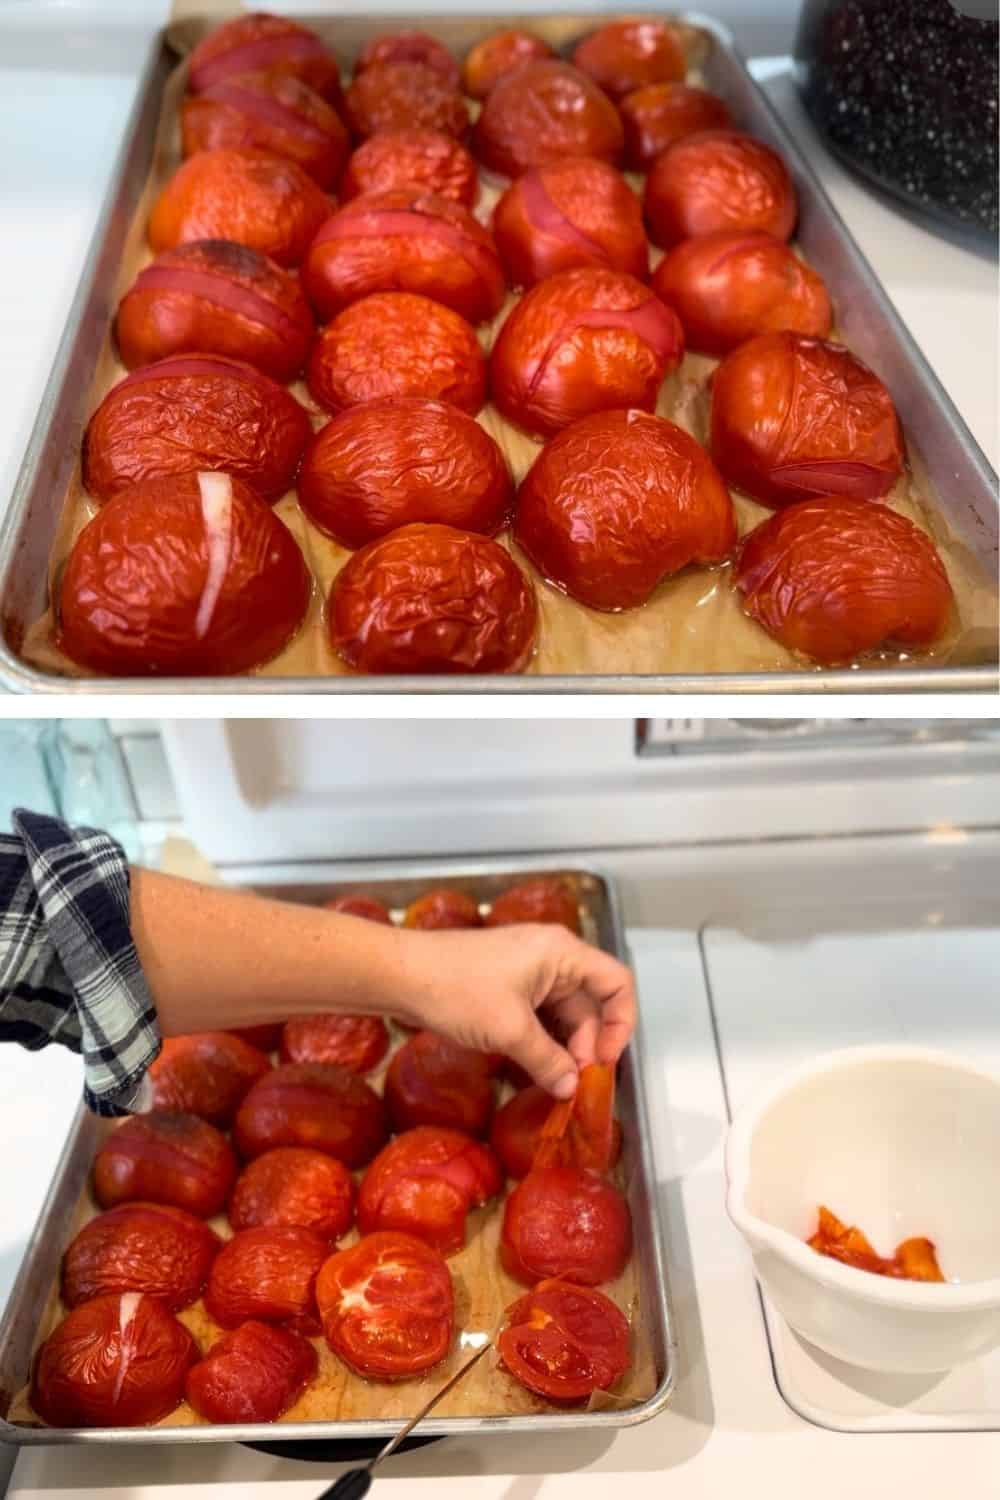
Do I really have to peel the tomatoes? Peeling the tomatoes is actually a safety recommendation… The skin of the tomato can harbor bacteria, and it becomes tough and floats to the top of the jar after you process it. For the best texture, and the safest shelf-life, removing the peel is the way to go! If you roast your halved tomatoes on a baking sheet at 450 degrees for about 10-15 minutes, the peels bubble up and you can just pull them right off;)
More Canning Recipes
Chunky Salsa for Canning Recipe
Sweet Salsa for Canning Recipe
I want to know what YOU think, Please review the recipe card!

Zesty Salsa For Canning (Loads of Peppers)
Ingredients
- 10 cups chopped cored peeled tomatoes
- 5 cups chopped green peppers
- 5 cups chopped onions
- 2 1/2 cups chopped and seeded hot peppers
- 1 1/4 cups vinegar Or you can use BOTTLED Lemon or Lime juice at 5% acidity.
- 3 cloves garlic
- 2 tablespoons chopped cilantro
- 1 tablespoon salt
- 1 tsp hot pepper sauce optional
Instructions
- This recipe is super easy… Just chop all your onions, and peppers. I used a grinder to turn my tomatoes into sauce, then add everything to your stock pot. Heat through, simmering for 10 minutes, and ladle into pint sized canning jars! Wipe your rims, place lids and water bath them for a full 20 minutes (give or take according to your altitude)!
- After processing time, turn off heat.
- Remove hot jars from hot water with a jar lifter, and set onto a cutting board or kitchen towel laid out on your counter.
- Let jars cool completely before removing rings, and storing jars!
Notes
Nutrition

About Juliea
Juliea is a mother of six, a sourdough baker, and a homestead builder living in Idaho. Alongside her husband and their horse, Dude, she manages a busy farmhouse and shares her love for scratch-cooking and simple homemaking. Through her blog and YouTube channel, she helps millions of families every year master the art of the handmade home.


1 comment
Juliea Huffaker
Great question Marcell!
There are 3 things I do with jars that don’t seal… 1. You can just keep those jars in the fridge and use it up within a week or two. It’s “fresh” salsa now! Have you ever made a Salsa Chicken Bake? It’s the ultimate “busy mom” meal… Plop some chicken breasts in a baking dish, pour an entire jar of unsealed salsa over the top, and bake at 375°F until the chicken reaches 165 internal temp. Top with some shredded Monterey cheese for the last 5 minutes, and serve it over rice! Or use it in Taco Soup.
2. If you have more jars to can, you can re-process it with those. Check the rim for nicks, wipe it clean, put on a brand-new lid, and water-bath it again for the full 20 minutes. But, the vegetables will be a bit softer the second time around.
3. Or you can pour the salsa into a freezer-safe bag or container, and tuck it into the freezer for later.