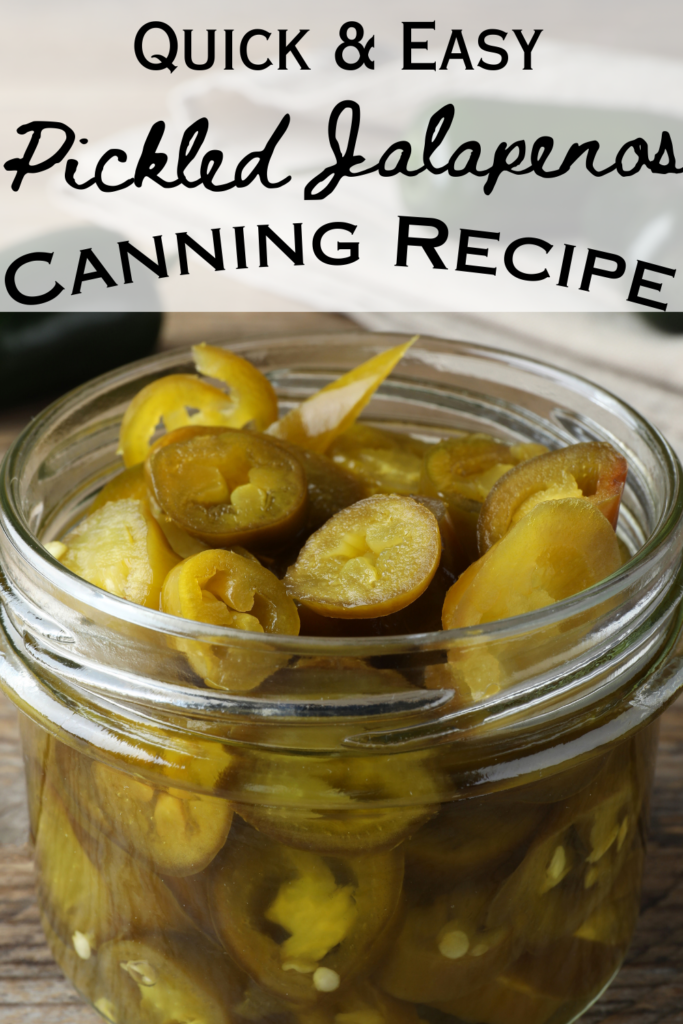
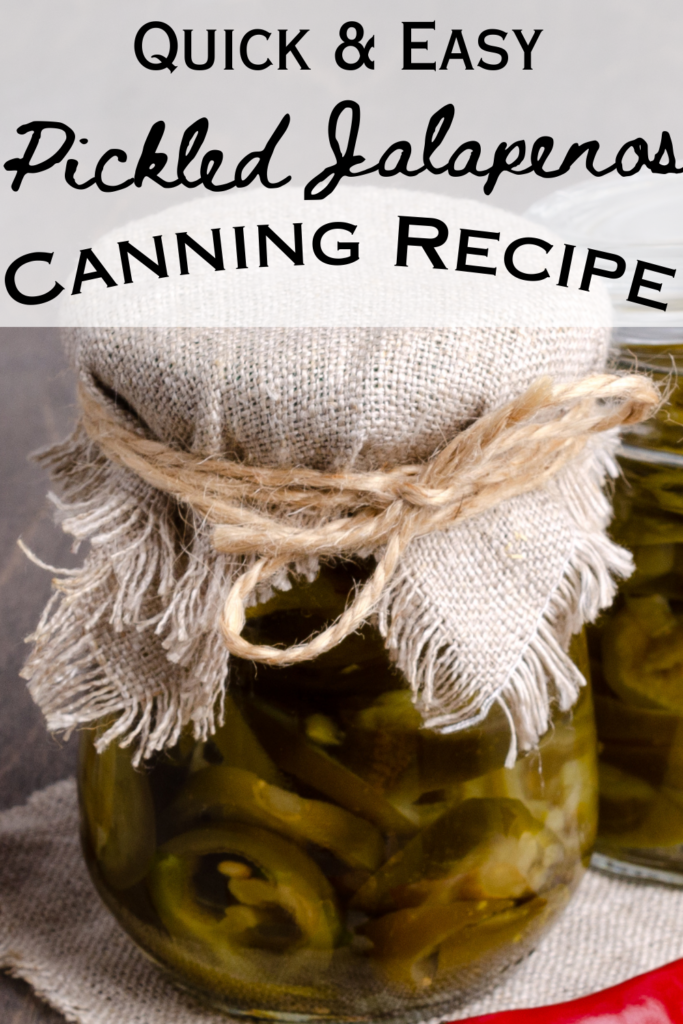
Hey there, friend! If you’ve been growing plenty of jalapeno peppers in your garden and you’re wondering what to do with all that fiery goodness… This quick & easy pickled jalapeno peppers recipe is great way for you to preserve those little spice bombs!

Canning jalapeños is a fantastic way to enjoy pepper plants zesty flavor all year round. Today, I’ll share a simple recipe to pickle those hot peppers using the USDA canning guidelines with simple ingredients that you probably already have on hand.
Pickled Jalapeno Peppers
Hey there, friend! Let me tell you about this fantastic kitchen secret I’ve discovered – pickled jalapeno peppers! These little spice bombs are an absolute game-changer when it comes to adding zing and flavor to your favorite dishes. Whether you’re a fan of bold and fiery flavors or prefer a milder touch, pickled jalapeños are the perfect pantry staple to keep on hand.
Trust me; they’ll become your go-to ingredient for transforming ordinary meals into extraordinary culinary delights. So, let me share with you why pickled jalapeños are an absolute must-have in your kitchen – they’re a game-changer, a flavor enhancer, and the ultimate way to add some spice to your life!
Recipe Card: Pickled Jalapeno Peppers (Water Bath Canning)
Simple Recipe Ingredients
- 2 lbs fresh jalapeños
- 2 cups white vinegar
- 2 cups apple cider vinegar
- 2 cups water
- 2 tablespoons kosher salt
- 2 tablespoons whole black peppercorns
- 1 tablespoon mustard seeds
- 1 tablespoon coriander seeds
- 2 bay leaves
- Optional: 1 cup sliced bell peppers or banana peppers for color variation
- 8-10 pint-sized Mason jars with lids and bands
- *Optional: Ball Pickle Crisp
Easy Canning Recipe Instructions
Preparation
Wash pint jars and lids in hot, soapy water. Rinse thoroughly and let them sit at room temperature until ready to use.
Wear rubber gloves while handling hot peppers to protect your hands.
Prepare a large pot for the water bath canning process.
Sterilize Jars
Place the pint jars in a large pot filled with enough hot water to cover them. Bring the water to a rolling boil and let the jars sit in boiling water for 10 minutes. Keep them warm until ready to fill.
Prepare Pickling Liquid – Vinegar Brine
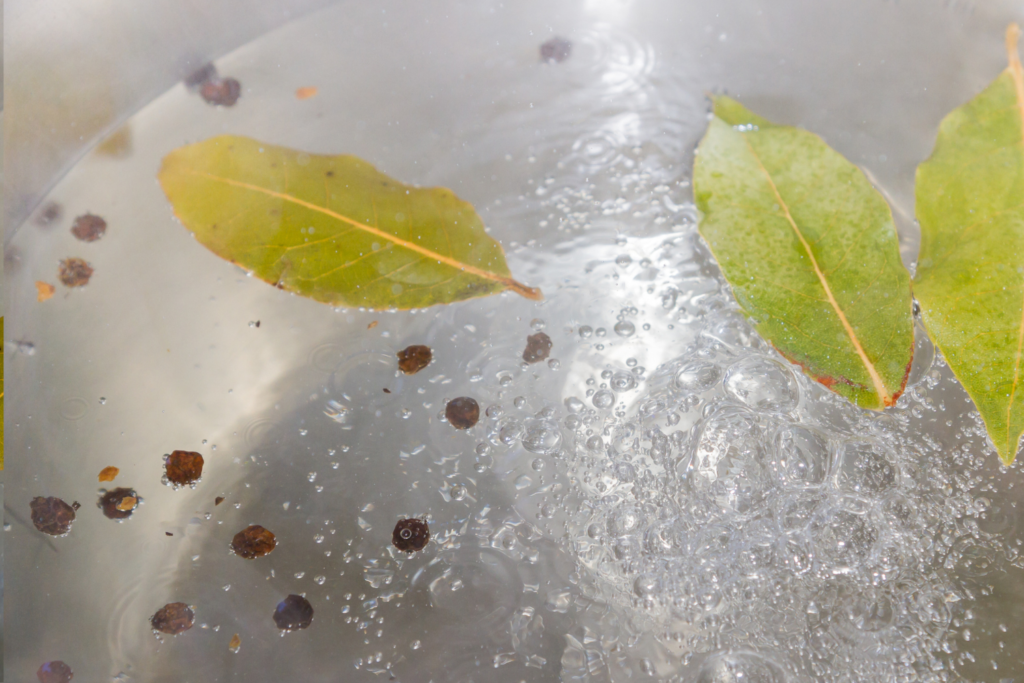
In a saucepan, combine the white vinegar, apple cider vinegar, water, kosher salt, peppercorns, mustard seeds, coriander seeds, and bay leaves. Bring the mixture to a rolling boil and let it simmer for 5 minutes.

Slice and Pack Jalapeños
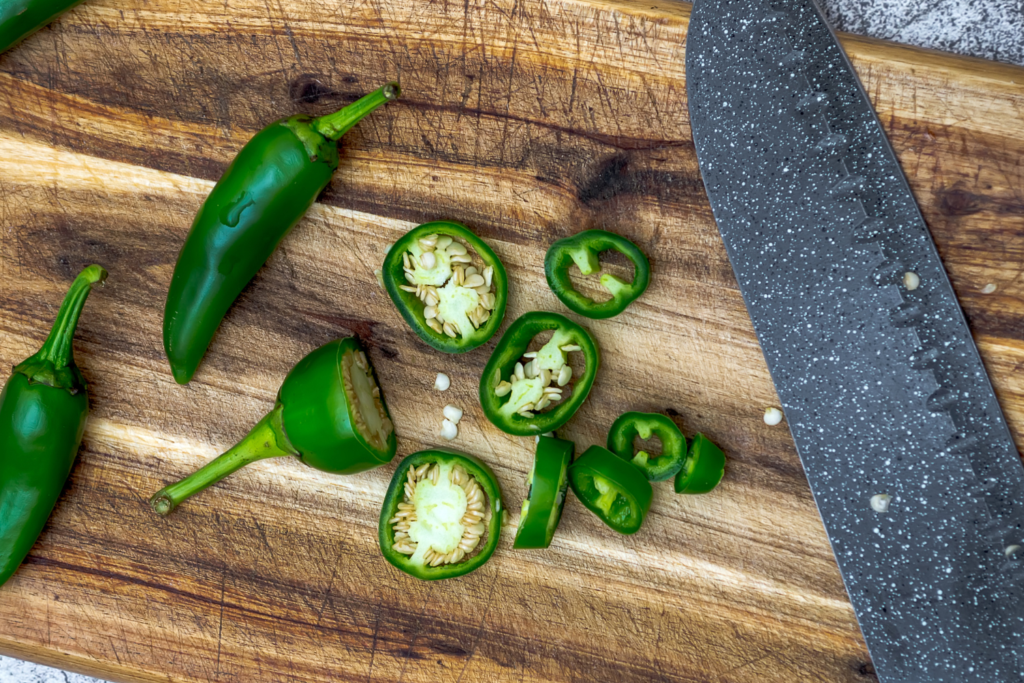
Slice the fresh peppers into rounds or lengthwise for jalapeño slices. Remove the stems and seeds for milder heat.
Optional: Add sliced bell peppers or banana peppers for color variation.
Take a hot jar out of the water and pack the sliced peppers inside, leaving about half an inch of headspace from the top of the jar.
Fill with Pickling Liquid:
Carefully ladle the hot pickling liquid into each jar, covering the sliced jalapeños and leaving the designated headspace.
Remove air bubbles by running a clean chopstick or plastic utensil along the inside of the jar.
Seal & Process Pickled Jalapeno Peppers
Wipe the rim of the jar with a clean, damp cloth to ensure a good seal. Place a lid and a band on top, tightening the band until it’s fingertip-tight.
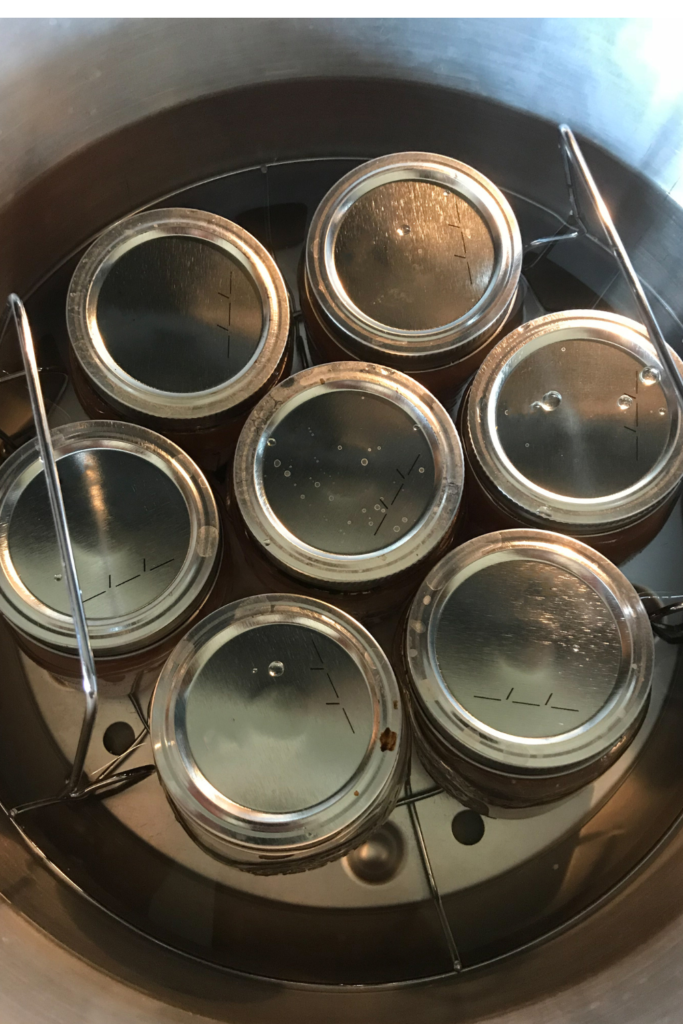
Carefully place the filled jars back into the large pot with boiling water, ensuring they are fully submerged. Add enough water to cover the jars by at least one inch.
Process the jars in the water bath canner for 10 minutes.
Cool & Store
Using a jar lifter, remove the jars from the water bath canner and place them on a towel-lined surface.
Allow the jars to cool completely. As they cool, you’ll hear a “ping” sound, indicating the lids have sealed.
Store the sealed pickled jalapeno peppers in a cool, dark place for at least a couple of weeks to allow flavors to develop fully.
Enjoy your homemade pickled jalapeno peppers in your favorite recipes or as a zesty topping for burgers, tacos, and more!
Store Your Homemade Pickled Jalapeno Peppers
Store the sealed jars in a cool, dark place for at least a couple of weeks to let the flavors develop. Refrigerate any unsealed jars and consume them within a few months.
Now you have a fantastic recipe for homemade pickled jalapeños that’ll spice up your dishes throughout the year! Whether you’re a first-timer or a seasoned canner, this easy recipe is sure to become your favorite way to preserve those hot peppers. Enjoy them on top of cream cheese with crackers or add them to your favorite recipes for a little extra heat. Happy canning!
Note
For safety and proper canning procedures, always follow guidelines from the National Center for Home Food Preservation or reputable sources when canning.
Tips for Making Pickled Jalapeno Peppers Canning (Water Bath Canning Recipe)
- Preparation is Key: Gather all your supplies before starting – pint jars, rubber gloves, a large pot for water bath canning, and a jar lifter. Make sure the jars are clean and at room temperature.
- Handle Hot Peppers with Care: Wear rubber gloves while slicing jalapeños to protect your hands from the heat. Remove stems and seeds for milder heat.
- Balanced Brine: Create a pickling liquid with a mix of 2 cups white vinegar, 2 cups apple cider vinegar, 2 cups water, and 2 tablespoons kosher salt. Add whole black peppercorns, mustard seeds, coriander seeds, and bay leaves for extra flavor.
- Play with Peppers: Add sliced bell peppers or banana peppers to the mix for color variation and taste.
- Clean Jars & Remove Lid Bands – Do not store jars with rings on because it can cause false seals.
- Cool & Store: Let the jars cool completely and listen for the “ping” sound, indicating a successful seal. Store the pickled jalapeños in a cool, dark place for a couple of weeks to develop flavors.
Water Bath Canning Step by Step
- Gather Supplies: Before you begin, make sure you have all the necessary equipment, including canning jars (Mason jars are commonly used), lids, bands, a water bath canner (or a large, deep pot with a rack), a jar lifter, a canning funnel, and a timer.
- Prep Your Jars: Wash the canning jars and lids in hot, soapy water, and rinse them thoroughly. Inspect the jars for any chips or cracks. Submerge the jars in a pot of hot water and keep them at a gentle simmer until you’re ready to fill them.
- Prepare the Food: Follow a reliable canning recipe to prepare the food you want to can. It’s essential to use high-acid foods to ensure safety during water bath canning.
- Fill the Jars: Using a canning funnel, carefully fill the hot, sterilized jars with your prepared food, leaving the appropriate headspace as specified in the recipe. Wipe the rim of the jars with a clean, damp cloth to ensure a good seal.
- Apply Lids and Bands: Place the lids on the jars and screw on the bands until they are fingertip-tight. The fingertip-tightness allows air to escape during processing but prevents water from getting inside the jar.
- Prepare the Canning Pot: Fill the water bath canner with enough water to cover the jars by at least one inch. The water level will rise when the jars are added. Place the canning rack at the bottom of the pot to keep the jars from touching the bottom directly.
Process Jars
- Process the Jars: Using a jar lifter, carefully lower the filled jars into the canning pot, ensuring they are fully submerged in the boiling water. Make sure there’s enough water to cover the jars by at least one inch.
- Start the Timer: Once all the jars are in the pot and fully covered with water, bring the water to a rolling boil. Start the timer for the processing time recommended in your canning recipe.
- Monitor the Process: Throughout the processing time, maintain a steady, rolling boil. Keep an eye on the water level to ensure it remains above the jar tops.
- Remove the Jars: Once the processing time is complete, use the jar lifter to carefully lift the jars out of the water and place them on a towel-lined surface. Allow the jars to cool completely.
- Check the Seals: As the jars cool, you’ll hear a “ping” sound as the lids seal. Press down on the center of each lid to check for a firm, concave seal. Any unsealed jars should be refrigerated and consumed promptly.
You May Also Enjoy These Canning Recipes
Cowboy Candy, Candied Jalapenos Canning Recipe
Applesauce Canning Recipe without sugar!
Zucchini Pineapple Canning Recipe (Mock Pineapple)
Thank You so much for stopping by the farmhouse! If you like this recipe, I’d love a 5 star review, and tag me on Instagram with your yummy creations @Farmhouse_Harvest!
Sources:
National Center for Home Food Preservation – USDA Applesauce Recipe

About Juliea
Juliea Huffaker is the creator of Farmhouse Harvest, and dedicated to teaching from-scratch cooking, sourdough baking, gardening, and food preservation. With over 25 years of hands-on experience she has preserved hundreds of jars of produce, mastered the art of meats and sourdough baking, and nurtured a thriving organic garden. Her recipes and articles have been featured across the web. And she’s passionate about inspiring others to embrace a simpler, self-sufficient life style.


