

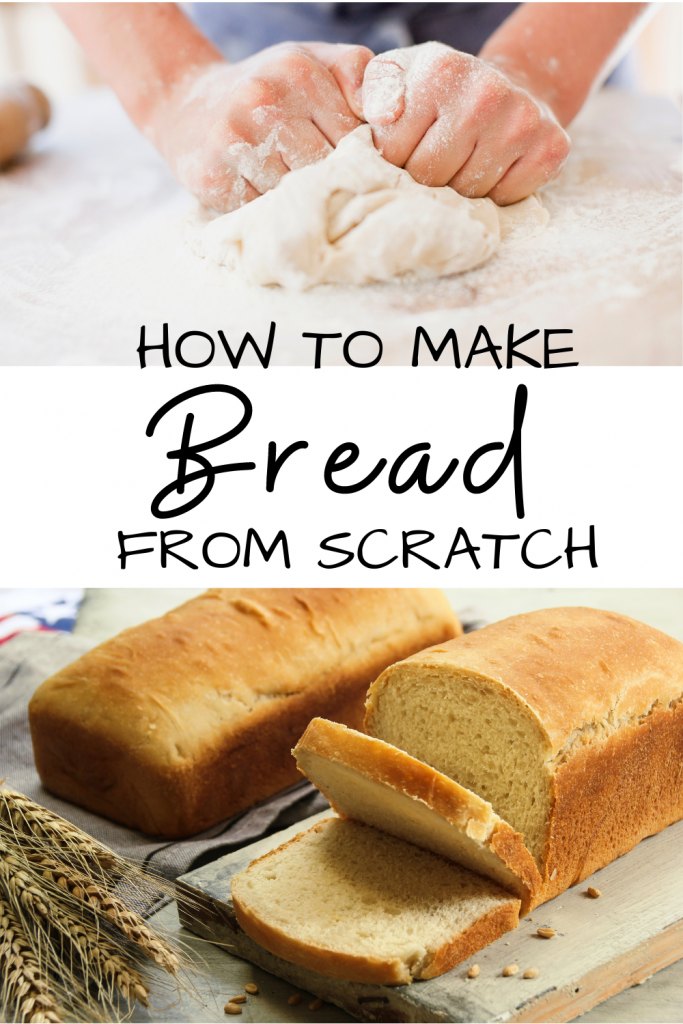
Learn how to make bread from scratch with me! Homemade bread baking may seem hard, but it’s really simple! With simple ingredients you provably have have in your pantry, and a little bit of patience, you can create your very own beautiful and delicious loaf of bread.
This easy bread recipe will guide you through each step, from activating your active dry yeast with warm water to allowing your dough to rise to golden brown perfection.
So, gather your basic ingredients, a large mixing bowl, and your favorite way to knead bread dough, and let’s get started on crafting a truly amazing loaf of homemade bread.
Whether you’re making your first attempt or you’re a seasoned bread baker, this perfect recipe will have you savoring the joy of your very own homemade French bread, ideal for sandwiches, dinner rolls, or even garlic bread.
Plus, it’s fantastic with peanut butter and freezer jam for a delightful treat that can be enjoyed for 2-3 days. So, let’s dive into the detailed instructions to bake your very own bread.

Homemade Bread Key Ingredients
Active Dry Yeast / Instant Yeast
Active dry yeast is a vital component, responsible for leavening the bread. It activates in warm water and helps the dough rise, creating those desirable air bubbles.
Tip: Ensure your yeast mixture is foamy before you add it for the best results.
Warm Water
Warm water is used to dissolve the sugar and activate the yeast. It provides a suitable environment for the yeast to grow.
Tip: Your water should be between 100°-110° F for optimal yeast activation.
All-Purpose Flour / Bread Flour / Whole Wheat Flour
Flour forms the foundation of your bread dough. All-purpose or bread flour is commonly used, but you can experiment with whole wheat flour for a different texture and flavor.
Tip: Gradually add the flour to the dough, holding back some, and adjust as needed to achieve a smooth consistency.
Salt
Salt enhances the flavor of the bread and strengthens the dough structure. It also regulates the yeast’s activity, preventing over-rising.
Tip: Mix the salt well into the dry ingredients before adding the yeast mixture.
Melted Butter / Olive Oil / Vegetable Oil:
Fats like melted butter or olive oil contribute to the bread’s flavor and moisture. They also help with a tender crumb and a golden crust.
Tip: Brushing the top with melted butter after baking adds a lovely finish.
Granulated Sugar
Sugar serves multiple purposes in the recipe. It provides nourishment for the yeast during activation, and it adds a subtle sweetness to the bread.
Tip: Dissolve sugar in the warm water before adding the yeast to ensure good yeast activation.
Room Temperature / Warm Place
The ambient temperature plays a crucial role in the dough’s rising process. A warm environment facilitates a quicker rise, while room temperature is ideal for a more extended, flavor-enhancing rise.
Tip: For an overnight rise, choose a cool room temperature for better flavor.
Wooden Spoon / Dough Hook / Stand Mixer
These tools are used to mix and knead the bread dough. A stand mixer with a dough hook can save time and effort, but a wooden spoon and hands work perfectly well.
Tip: Knead the dough until it is smooth and elastic, this process typically taking around 7 minutes.
Large Mixing Bowl
A large mixing bowl is where you combine the dry and wet ingredients, creating the initial dough mixture.
Tip: Cover the bowl with plastic wrap during the first rise to keep the dough moist and warm.
Dutch Oven / Pizza Stone / Loaf Pan
The choice of baking vessel affects the crust and shape of your bread. A Dutch oven or pizza stone can yield a crisp, artisan-style crust, while a loaf pan creates a traditional shape.
Tip: Preheat your Dutch ovens or pizza stones in a hot oven for a professional touch.
Step by Step Instructions
Activate the Yeast
- In a small bowl, dissolve 2 teaspoons of sugar in 1 cup of warm water (100°-110°F).
- Stir in 1 & 3/4 tablespoons of active dry yeast using a plastic spoon (not metal).
- Allow this mixture to sit until it becomes foamy on top and starts growing. This should take about 5-10 minutes. When the yeast mixture is foamy, it indicates that the yeast is alive and ready to work.
Combine Dry Ingredients
- In a large mixing bowl, combine the following dry ingredients: 1/2 cup of granulated sugar, 1 & 1/2 teaspoons of salt, and 5-6 cups of flour. Hold back 1 cup of flour for now. When measuring flour, use a spoon to scoop it into your measuring cup and then level it off with a flat edge. This helps prevent adding too much flour, which can make the bread dry.
Create a Well in the Dry Ingredients
- use the back of a wooden spoon to make a well in the middle of the dry ingredient mixture in your bowl. This is where you’ll pour the yeast mixture and additional warm water in the next step. This “well” method prevents the flour from scattering outside the bowl.
Add the Yeast Mixture
- Pour the activated yeast mixture into the well you created in the dry ingredients.
- Also, pour in the second cup of warm water.
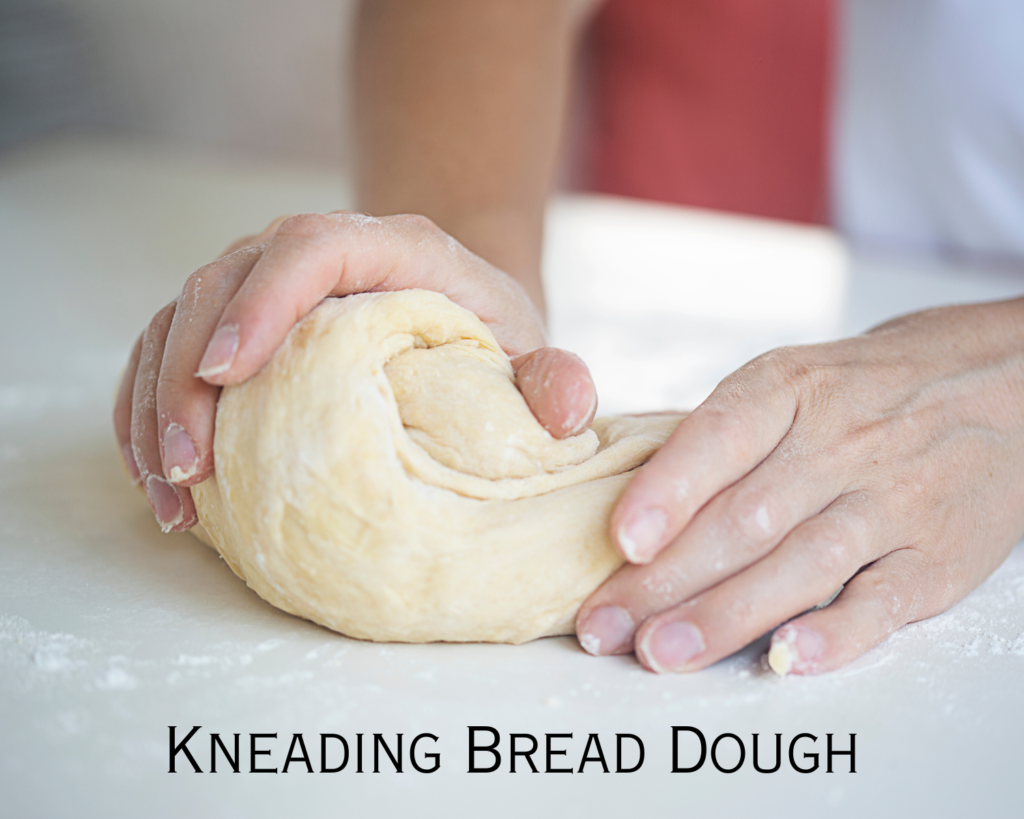
Mix and Knead the Dough
- Mix the ingredients in the bowl to form a rough dough. The dough might be a bit sticky at this point.
- Transfer the dough to a lightly floured surface, and knead it for at least 7 minutes until it becomes smooth and elastic. To knead the dough, fold the dough over itself and push it away with the heel of your hand, then repeat several times. This technique helps develop gluten for a better structure.
- You may need to use the last cup of flour to prevent sticking and achieve the right consistency. When adding the last cup of flour during kneading, go by the dough’s consistency instead of adding it all at once. The goal is a smooth and elastic dough, and you may not need all of the reserved flour.
- If you’re using a stand mixer with a dough hook, you can knead the dough at medium speed for about 7 minutes, or until it’s smooth and elastic.
First Rise
- Place the kneaded dough back into the large mixing bowl.
- Cover the bowl with plastic wrap to keep the dough moist.
- Allow the dough to rise in a warm place for about 1 hour, or until it has doubled in size. To create an ideal environment for the dough’s first rise, place the covered bowl in a warm, draft-free spot. A turned-off oven or a warm room works well. The dough should double in size, which usually takes about 1 hour.

Punch Down and Shape
- After the first rise, punch down the dough to release any excess air.
- Quickly shape the dough into loaves or whatever shape you desire for your bread. Handle the dough gently when shaping it to avoid deflating it too much. Shaping it smoothly can help produce a more uniform final loaf.
Second Rise
- Place the shaped loaves into buttered bread pans or onto a greased baking sheet.
- Let the dough rise again for up to 30 minutes, but be careful not to let it over-rise. Be mindful of the second rise time, because over-rising can lead to a flatter, denser loaf of bread. The dough should visibly increase in size but not double this time!
Bake
- Preheat your oven to 350°F.
- Bake the bread for about 30 minutes or until it turns golden brown on top and reaches an internal temperature of 190°F. To check the internal temperature, use an oven thermometer. This ensures that the bread is fully cooked without being too dry.
Finish and Enjoy
- Once baked, brush the top of the loaves with melted butter for a delightful finish.
- Allow the bread to cool on a wire rack before slicing. While the bread is cooling on a wire rack, RESIST the temptation to slice it immediately! Cooling allows the crumb structure to set, making it easier to slice without squishing 😉
- Enjoy your homemade bread with your favorite toppings, such as freezer jam or butter.

How to Store Homemade Bread
- Store your homemade bread in an airtight container or resealable bag to keep it fresh. It’s best when consumed within 2-3 days.
Freezing:
- If you have leftover bread or want to make it in advance, you can freeze it. Slice and freeze individual portions, and then reheat in a toaster or oven when needed.

Recipe Card
If you try this recipe and love it, I’d love if you give it 5 stars and let me know how it turned out in the comments or review! Tag me on Instagram @farmhouse_harvest with your delicious creation!

Easy Bread Recipe
Ingredients
- 1 & 3/4 tablespoons Active Dry Yeast
- 2 tsp sugar
- 1/2 cup granulated sugar
- 2 cups of warm water 100°-110° F
- 1 & 1/2 teaspoons SALT
- 1/4 cup melted butter or your favorite oil
- 5-6 cups flour.
Instructions
- In a small bowl dissolve 2 tsp sugar in 1 cup warm water and stir in yeast with a plastic spoon (not metal). Allow to activate till it's foamy on top and growing.
- In a large mixing bowl combine all other ingredients BUT hold back 1 cup of flour. And MIX to combine.
- Make a well in the middle of flour mixture, and pour in activated yeast and the second cup of warm water.
- Knead your dough for at least 7 minutes till it is smooth and elastic adding the last cup of flour as needed.
- Allow to rise in warm place for about an hour.
- Punch down dough and quickly shape into loaves.
- Put shaped loaves into buttered bread pans on a on greased baking sheet.
- Let rise again for up to 30 minutes. Do not let over rise.
- Bake at 350° F for 30 minutes till golden brown on top and 190° F inside.
- Brush top with melted butter and let it cool.
- ENJOY! This bread is so good with Freezer Jam!
Nutrition
Let me know what you think!
Share your cooking tips and feedback in the comments below. Did you add any twists to these recipes? I’d love to hear!
More Recipes

About Juliea
Juliea is a mother of six, a sourdough baker, and a homestead builder living in Idaho. Alongside her husband and their horse, Dude, she manages a busy farmhouse and shares her love for scratch-cooking and simple homemaking. Through her blog and YouTube channel, she helps millions of families every year master the art of the handmade home.


1 comment
D J Huff
This was easy to follow especially with all the directions & explanations. The bread is soft and so good. Thank you