




If you want an easy homemade pumpkin pie recipe that tastes like it came from a bakery, this is it! It’s made totally from scratch with simple steps that guarantee a flawless finish every single time.
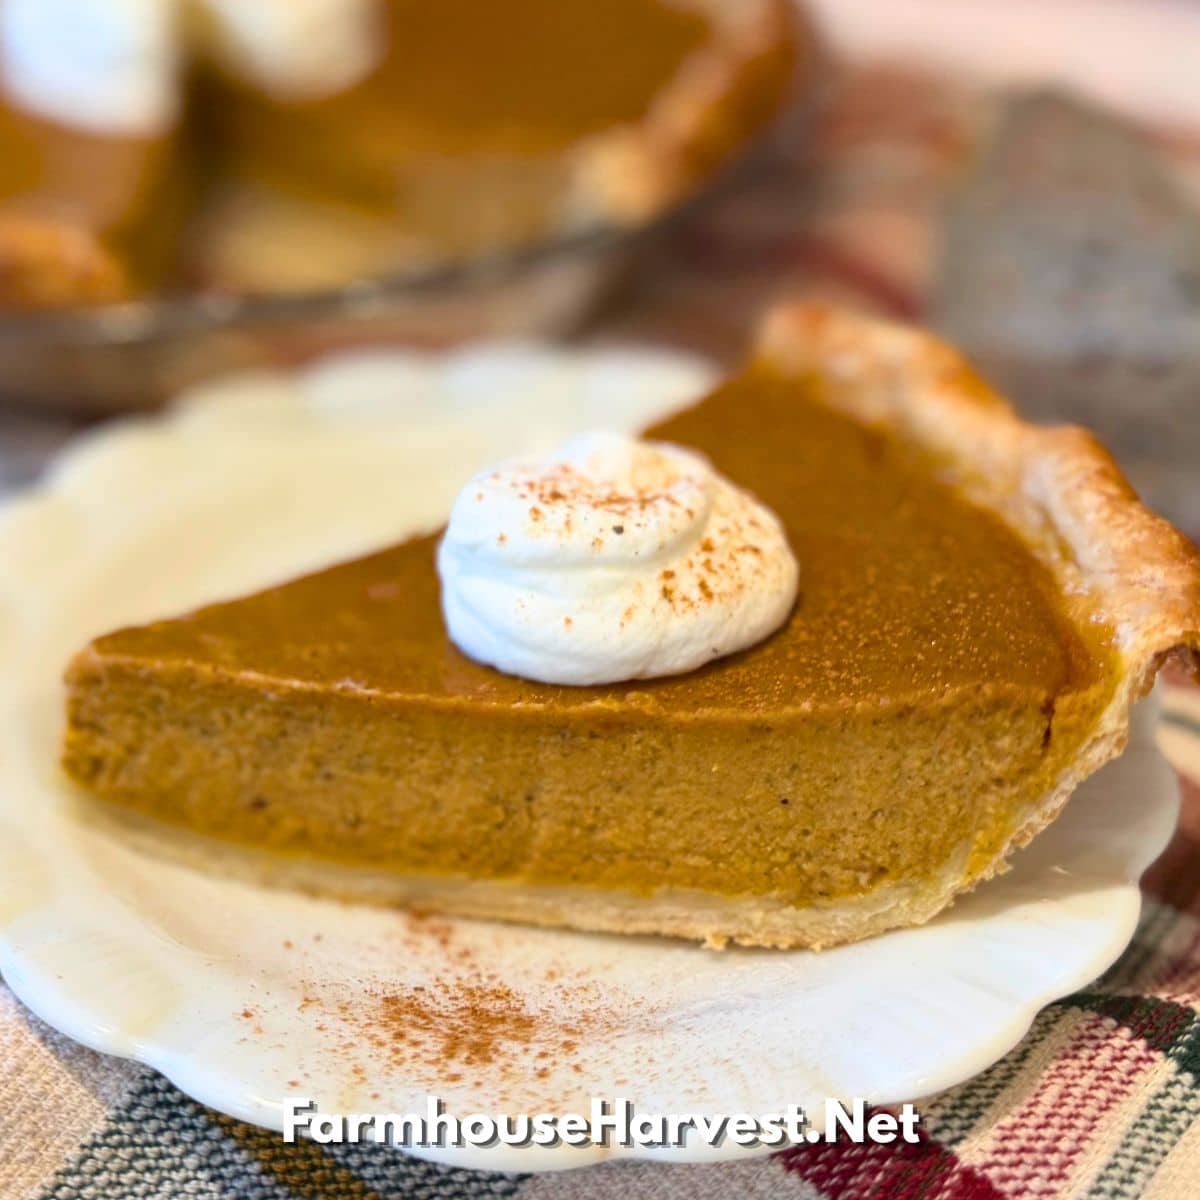
After 25 years of testing, experimenting, and tweaking pumpkin pie recipes in my kitchen, this is the exact formula I come back to year after year. With a perfectly flaky crust and a rich, creamy, spiced filling, it’s the ultimate blend of warm fall flavors… Get ready to turn your kitchen into a haven of heavenly aromas with the perfect pumpkin pie for all your Thanksgiving and Christmas celebrations! (Or just for cozy dessert on a fall Friday night!)
There’s nothing like the smell of a pumpkin pie baking from scratch… This isn’t just a recipe; it’s a tradition you’ll be proud to share! Decades of trial and error taught me that the secret to the best pumpkin pie comes down to a few critical ingredient choices. I always use 100% pure pumpkin puree over canned pie filling because pre-spiced fillings contain extra moisture, dextrose, and diluted spices that lead to subpar pumpkin pie flavor and structure. Swapping traditional canned evaporated milk for real heavy cream adds natural butterfats that coat your palate, creating a velvety, smooth custard texture that sets perfectly without weeping or cracking! 😉
With a foolproof process and my time-tested insights, you can serve an impressive, beautifully baked pie that will become a new family favorite—and no one has to know how easy it is to make!
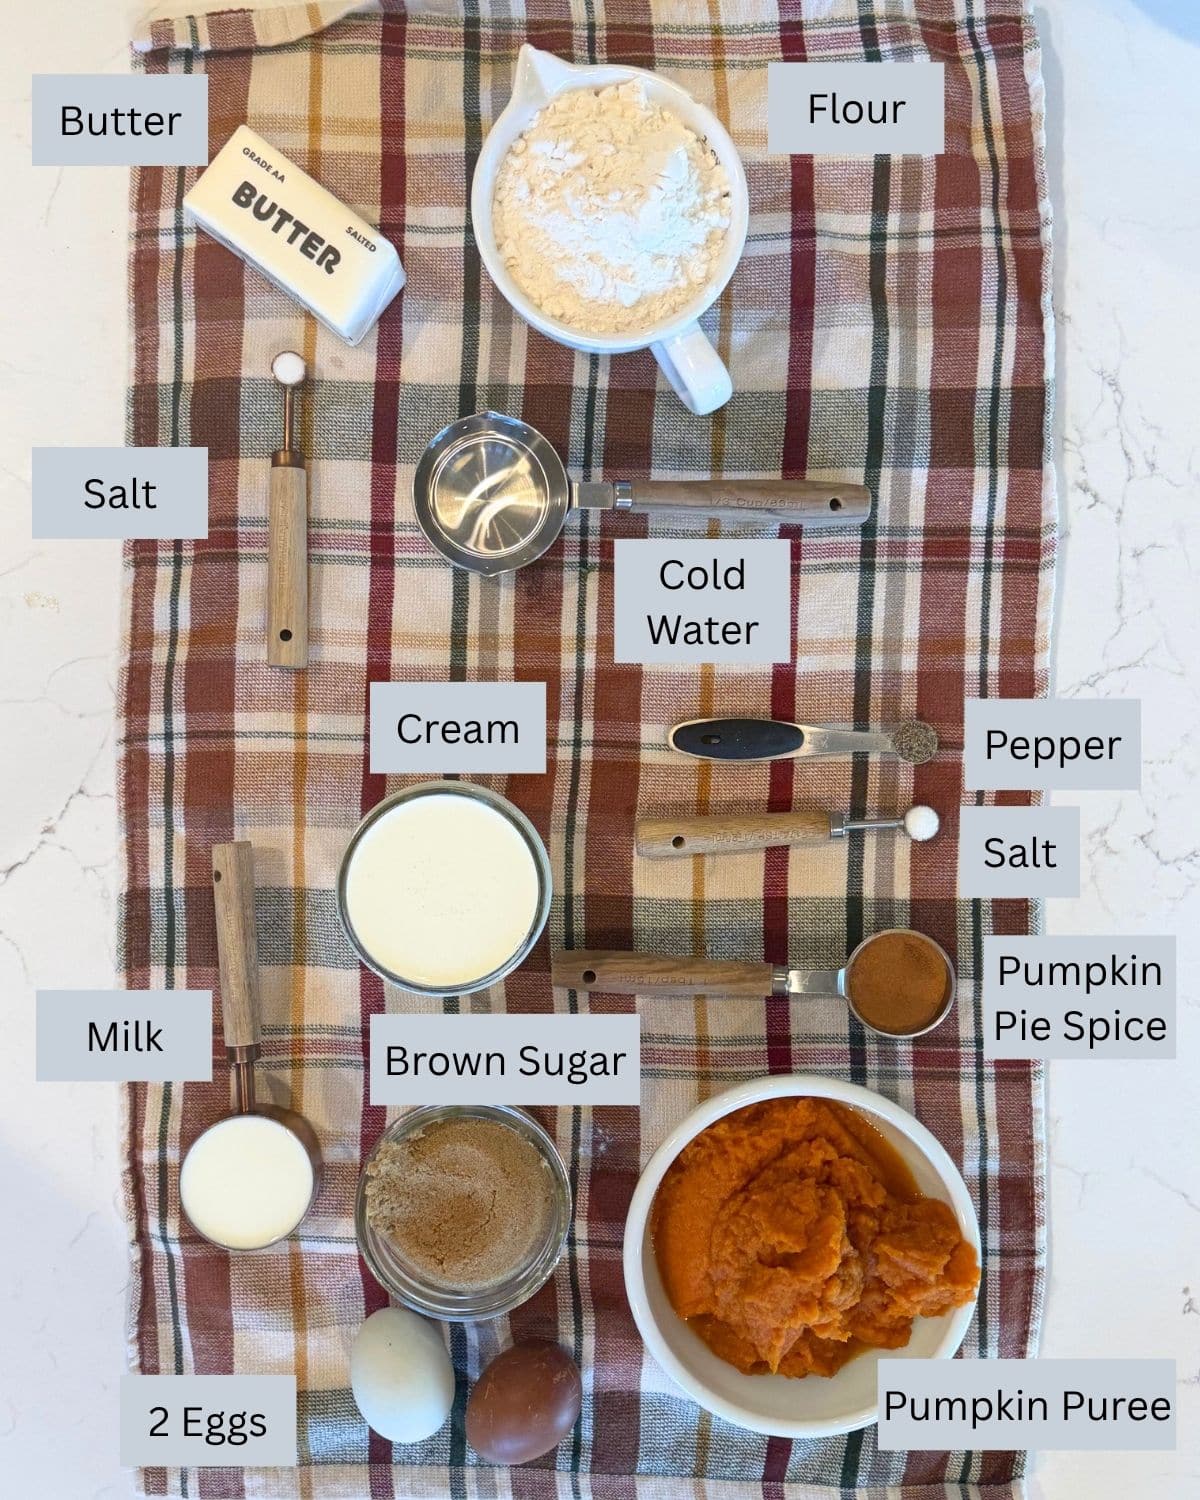
Keys to a Perfect Pumpkin Pie
Making a delicious pumpkin pie from scratch is easier than you think, and it all starts with a few key ingredients. This recipe is all about building that classic, comforting flavor from the ground up. And it all starts with a flaky butter crust.
Easy Butter Pie Crust
We’re starting with a flaky, buttery crust that you just can’t get from a store-bought version. The secret to a perfect texture is using chilled butter and just enough ice water to bring it all together.
In my kitchen testing, I carefully tested this recipe to a 1:2.5 butter-to-flour ratio (1/2 cup butter to 1 1/4 cups flour). Using this ratio gives you enough fat to coat the flour proteins without making drenching the dough. Too much flour makes a crust tough… But too much butter or liquid creates a greasy dough that melts down the sides and shrinks too much in the oven. This recipe gives you maximum flakiness AND your crust holds its shape against the pie dish!
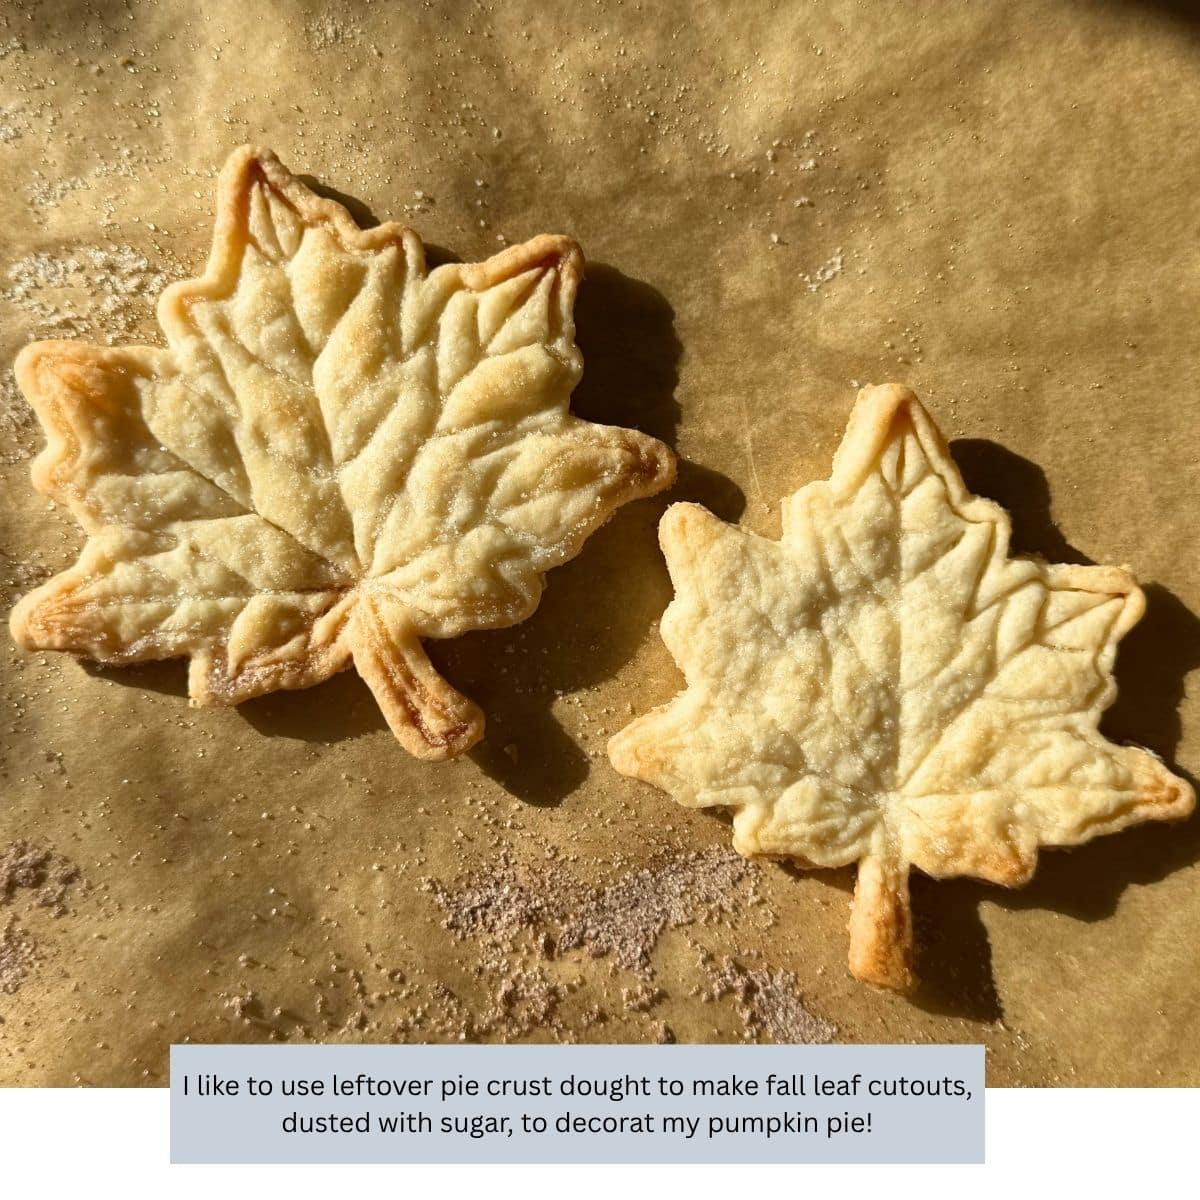
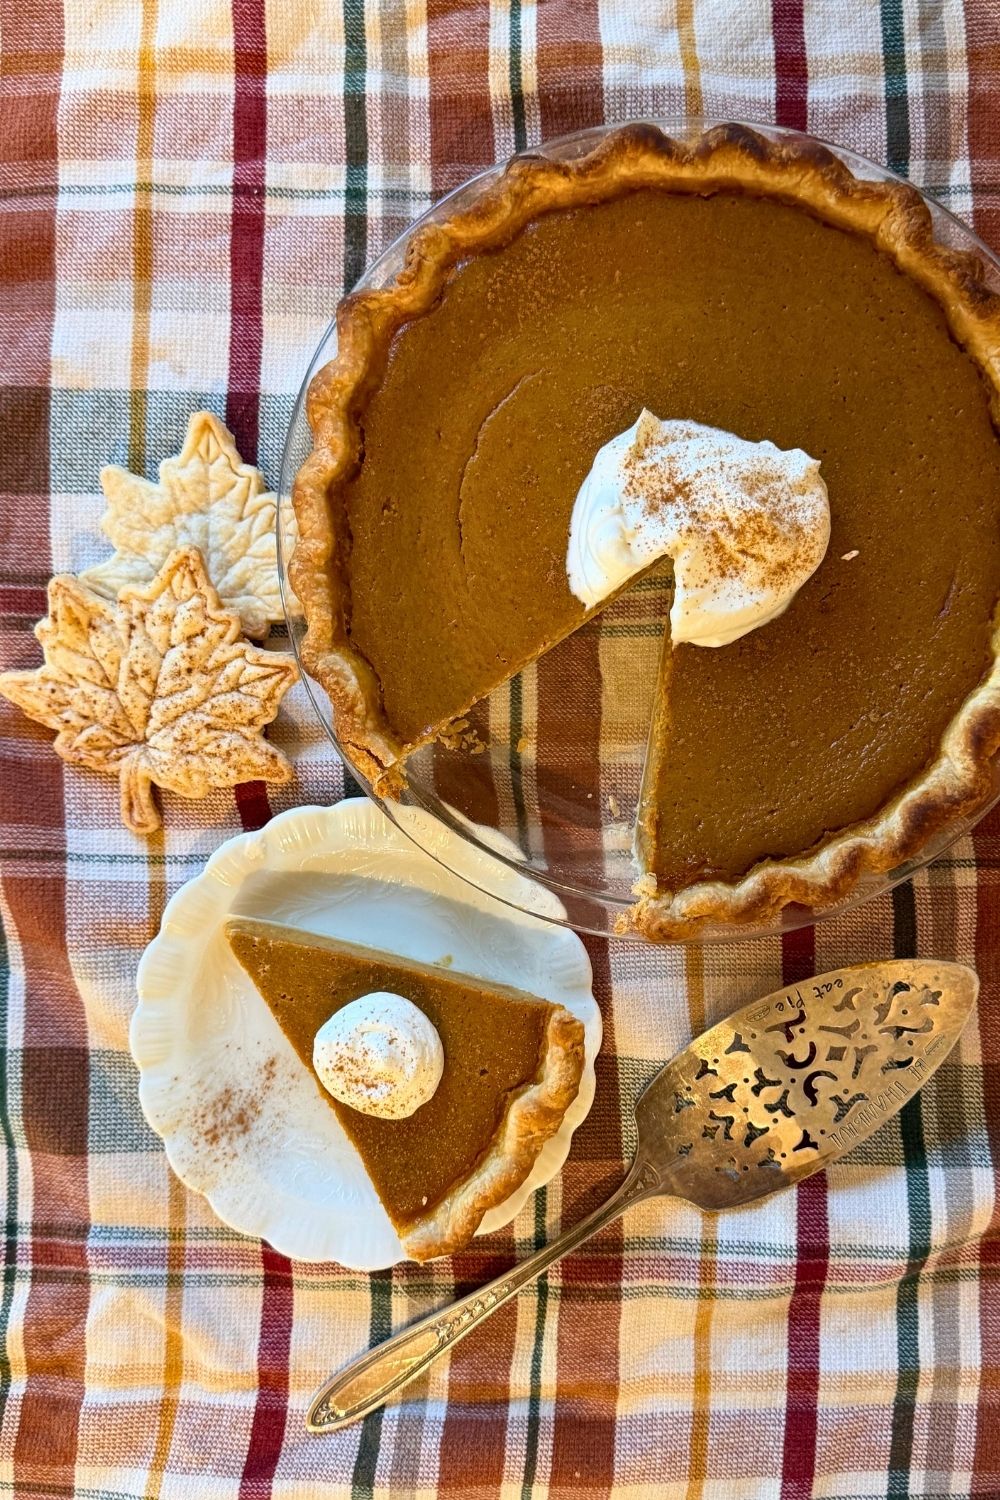
Once you have your dough, you can even make it extra special for Thanksgiving or Christmas with some festive cutouts! Just use cookie cutters to make pumpkins, leaves, or snowflakes from your extra dough and arrange them on top before baking.
My Kitchen Secrets for the Best Crust
Black Pepper, Brown Sugar & Cream Make the Best Pumpkin Pie!
If you are wondering why this recipe tastes so much better than the standard pies you grew up with… It all comes down to three secret ingredients: a tiny kick of black pepper, rich brown sugar, and real heavy cream!
Black Pepper: If you are new to baking, adding black pepper to a sweet dessert might sound a little strange or scary! You might worry it will make your pie taste spicy or hot. But here is the kitchen secret: the natural compound in black pepper (called piperine) doesn’t add heat; instead, it acts as a natural flavor booster. It wakes up the cinnamon and nutmeg, making the warm spices taste deeper and more vibrant!
If you have been baking pies for years, you know that standard recipes call for white sugar and evaporated milk. We swap those out intentionally…
Brown Sugar: Using light or dark brown sugar instead of white sugar brings natural molasses into the mix. This gives the custard a rich, caramel-like undertone and a much smoother, melt-in-your-mouth texture!
Real Heavy Cream: Most classic holiday recipes rely on canned evaporated milk because it sits easily on a pantry shelf, but it can leave a flat, processed aftertaste. Using a blend of real heavy cream and whole milk adds natural dairy fats that coat your palate, creating a super velvety custard that lets the pure pumpkin flavor shine through. 😉
Those extra milk fats bind to the water in the filling and slow down how fast the eggs cook… Instead of the eggs heating up too quickly and squeezing out water—which leaves you with a soggy, weeping bottom crust—the fat creates a smooth, stable structure. It holds all that moisture in place so your custard bakes up silky and sets firm, keeping your bottom crust crisp and dry!
Pro-Tips for a Perfect Pie
Baking this easy pumpkin pie recipe is so simple, but these little secrets make sure you get a beautiful result every single time!
Buy the Right Pumpkin Puree: When you’re at the grocery store, make sure you grab pure pumpkin puree, not pumpkin pie filling (which has added sugars and spices). If you end up picking up an extra can of pure pumpkin, save it to make our family-favorite Libby’s Pumpkin Roll with cream cheese filling for your dessert table!
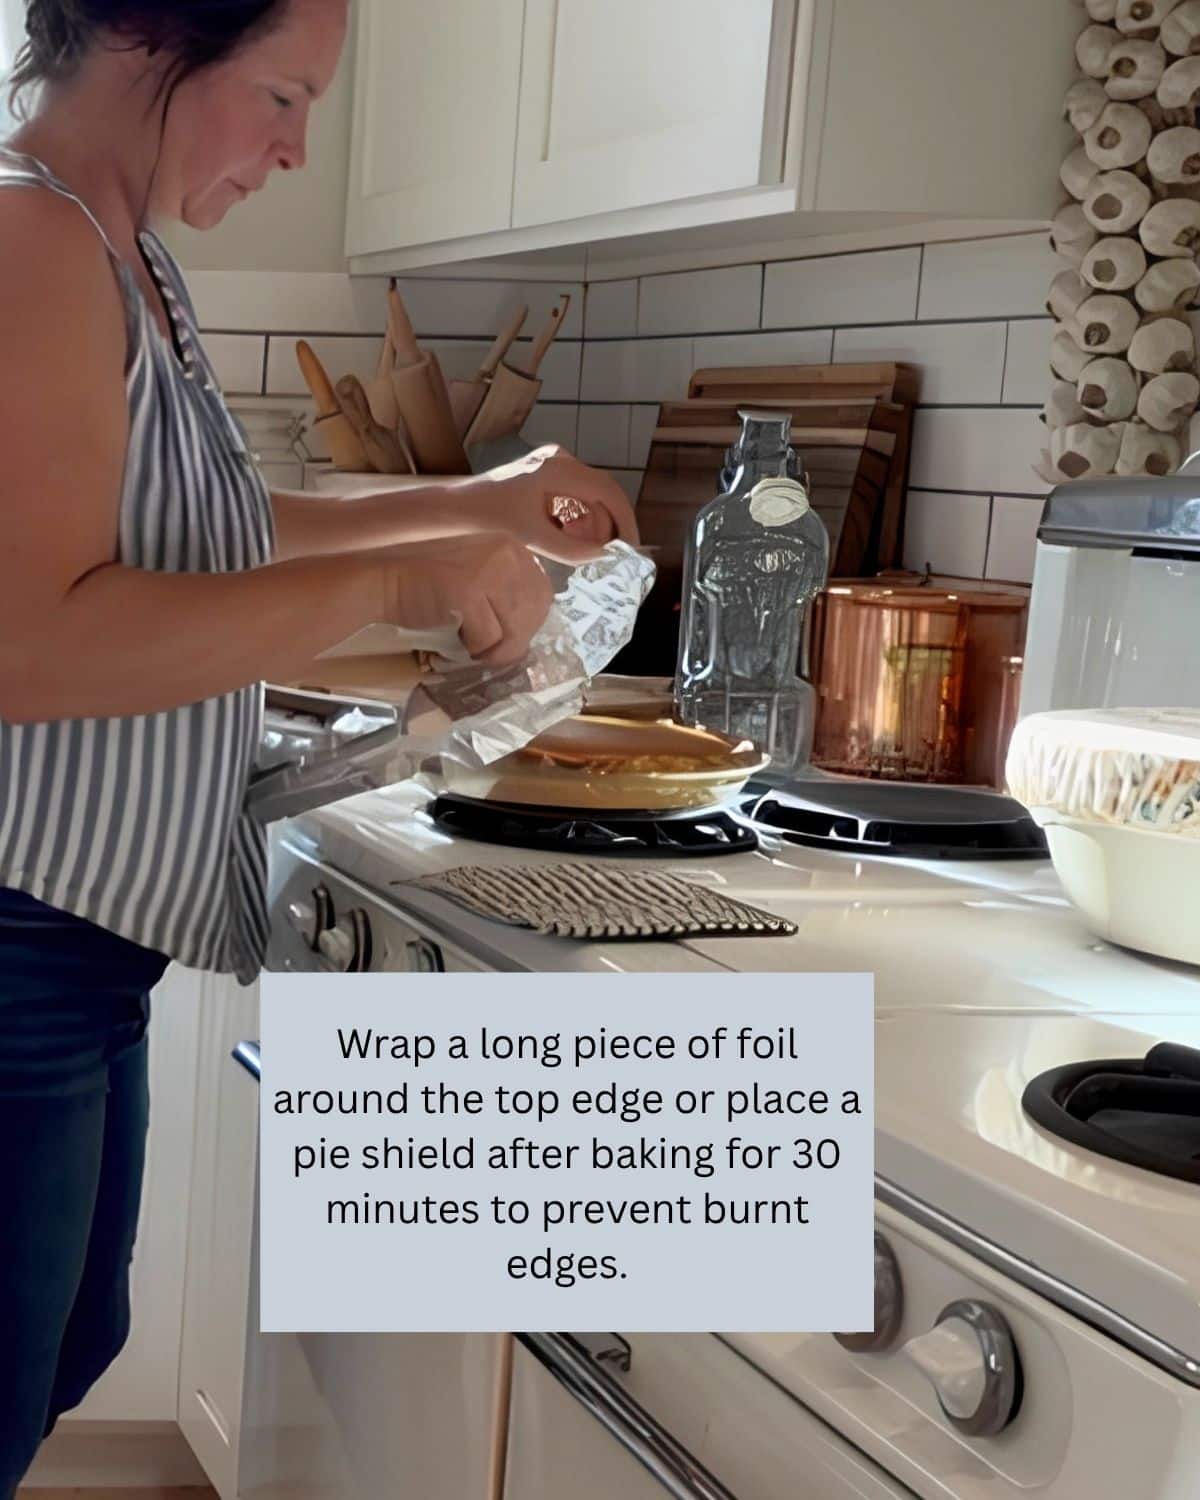
Use a Pie Shield: Make sure to use a pie shield or make on with a strip of foil and place it over the outer crust half way through baking. This will prevent the edges of your crust from burning.
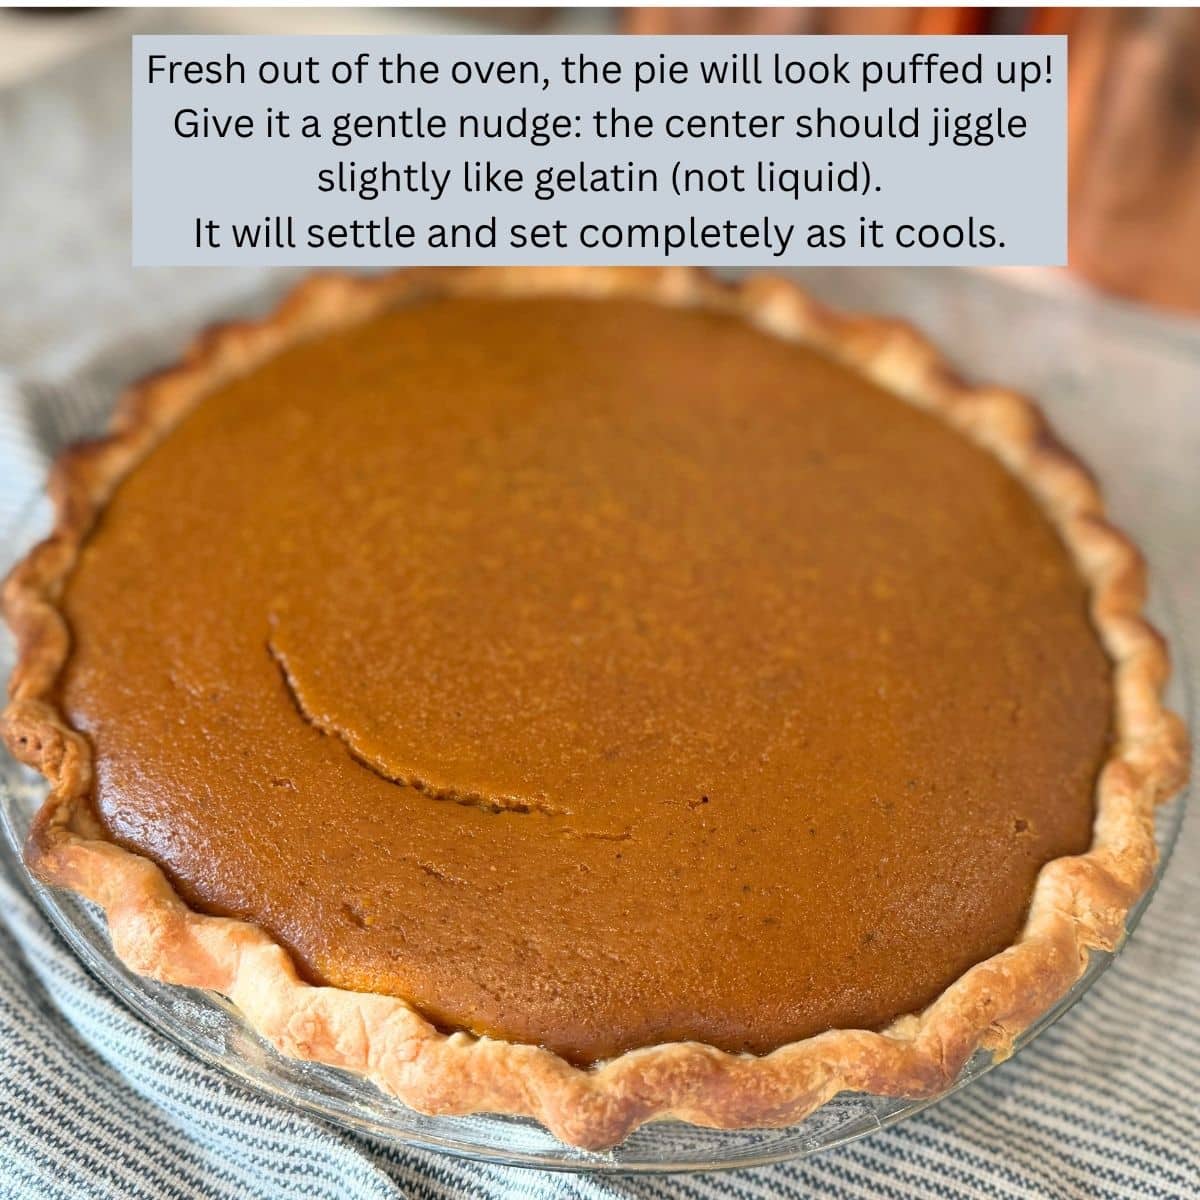
The Jiggle Test: Don’t wait for the whole center to be perfectly firm! The most foolproof way to tell if your pie is done is to look for the outer edges to puff up while the center still has a slight wiggle. You’re looking for a small circle right in the middle—about 2 inches across—that jiggles a bit like gelatin when you give the pan a gentle nudge… The edges will be set, but that little 2-inch center ring is your sign of a silky, perfectly baked custard. Don’t worry—the heat held inside the pan will finish setting the middle as it cools on your counter, leaving you with a smooth filling that isn’t overcooked or dry. Trust the jiggle, it’s a sign of a perfectly set filling. 😉
Cooling Time! We all want to dig in right away, but you have to let it cool completely on a wire rack! As it cools, the center will finish setting, giving you that beautiful, clean slice when you finally cut in.
Refrigeration is a Game-Changer: For the best possible texture and flavor, refrigerate your pie for a few hours or even overnight. It tastes even better the next day as the spices meld into the filling!
Pumpkin Pie FAQ
What kind of pumpkin are you supposed to use for pie?
The best pumpkin for pie is the sugar pumpkin, also known as a pie pumpkin! They’re smaller and have a sweeter, smoother flesh compared to the big carving pumpkins… You can use other sweet pumpkins like Cinderella or Fairy Tale, but the sugar pumpkin is your best bet for a smooth and satisfying pie. 😉
How do I Prevent My Pumpkin Pie from Cracking?
Nothing ruins a beautiful Thanksgiving dessert faster than a deep split right down the center of your pie! Because pumpkin pie filling is an egg-based custard, cracking is almost always caused by overbaking or cooling the pie too quickly.
– Don’t Overbake: Pull your pie out of the oven when the outer 1 to 2 inches of filling are set, but the center still has a slight wiggle like gelatin. The residual heat will finish cooking the center as it cools without drying out the eggs.
– Avoid High Heat in the Second Half: Baking custard at a high temperature causes the egg proteins to contract too tightly and separate, which leads to cracks. Start at high heat 450°F for 15 minutes to set the crust, then lower to 350°F for the remaining bake time.
– Cool Slowly on a Wire Rack: Never move a hot pie directly from the oven to a cold countertop or refrigerator. Thermal shock causes the filling to shrink rapidly and split. Let it cool slowly at room temperature on a wire cooling rack for at least 2 hours.
– Check Your Oven Temperature: Oven thermostats can run hot. If your pies split, use an inexpensive oven thermometer to make sure your baking temperature is accurate.
– If Your Pie Cracks: If your pie does develop a minor crack while cooling, don’t worry! Simply cover it with a generous dollop of homemade whipped cream, a sprinkle of cinnamon, or sweet pie crust cutouts before serving—no one will ever notice.
How do I know when my pumpkin pie is done without cutting into it?
The most reliable method is the jiggle test. Gently give the pie pan a slight nudge while it’s still in the oven. The outer 1 to 2 inches of the crust and filling should be puffed and set, while the very center retains a small, 2-inch circle that wiggles gently like gelatin. Do not wait for the center to become firm! The residual heat held in the pan will finish setting the custard as it cools slowly on your wire rack.
Why is my pumpkin pie crust soggy on the bottom?
A soggy bottom crust usually happens when moisture from the filling seeps into the raw dough before it can set. To prevent a soggy crust:
– Use heavy cream: The natural dairy fats slow down egg cooking and bind to liquid in the filling, preventing water from weeping into the crust.
– Bake in a clear glass pie dish: Glass conducts heat evenly and lets you visually verify that the bottom crust has turned a deep, golden brown.
– Start at high heat: Baking at 450°F for the first 15 minutes immediately sets the bottom crust before lowering the temperature to finish the custard gently.
Can I make this pumpkin pie ahead of time for Thanksgiving?
Yes, and it actually tastes better the next day! Baking your pie 24 hours in advance allows the warm spices (cinnamon, ginger, nutmeg, cloves, and black pepper) time to meld into the creamy custard filling. Once cooled completely at room temperature, cover the pie loosely with plastic wrap or foil and store it in the refrigerator for up to 3–4 days. Serve chilled or let it sit on the counter for 30 minutes to take off the chill before topping with fresh whipped cream.
Now, Plan Your Holiday Feast!
Now that you have the perfect pumpkin pie recipe… I’ve put together a collection of our family’s favorite Thanksgiving and Christmas dishes help you plan the rest of your menu! From moist roast turkey to candied yams and cozy side dishes, you’ll have everything you need for an unforgettable feast.
- Moist Smoked Turkey A labor of love that’s loaded with flavor!
- The best Turkey Stuffing – Baked outside the Turkey!
- A simple old fashioned Green Bean Casserole
- Old Fashioned Cranberry Sauce with Orange!
- Perfect creamy Mashed Potatoes
- The best Gravy From Scratch
- Maple Pecan Pie – Without Corn Syrup!
Did you make this easy pumpkin Pie Recipe? I wanna know Your take… Please review the recipe card!
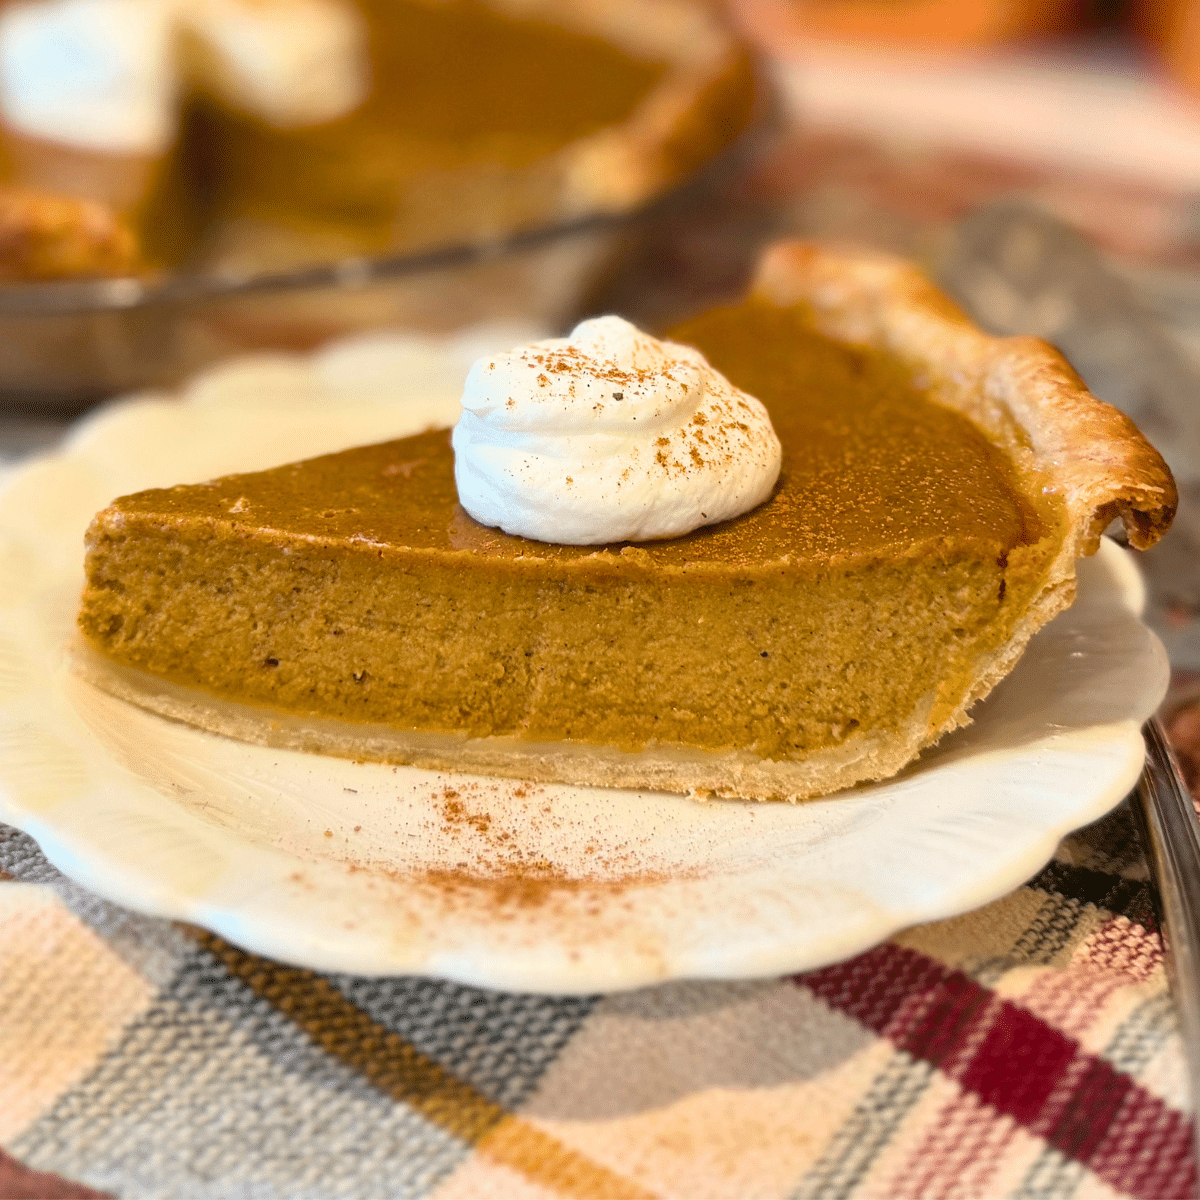
Easy Pumpkin Pie from Scratch with Flaky Crust
Ingredients
For the Homemade Pie Crust:
- 1 1/4 cup flour all purpose
- 1/2 cup unsalted butter chilled and cubed
- 1/8 cup sugar packed (optional)
- Pinch salt
- 4 – 5 tablespoons ice water Start with 4 tablespoons of ice water; if the flour isn't coming together cleanly, add the additional tablespoon 1 teaspoon at a time
For the pumpkin pie filling
- 15 ounces pumpkin puree canned, or 1 3/4 cups fresh pumpkin puree
- 3/4 cup brown sugar packed
- 2 teaspoons pumpkin pie spice or: 1 teaspoon ground cinnamon, 1/2 teaspoon ground ginger, 1/4 teaspoon ground nutmeg & 1/8 teaspoon ground cloves!
- 1/4 teaspoon salt
- 1 cup cream
- 1/4 cup milk
- 2 eggs
- 1/4 teaspoon ground black pepper! Trust me… no one will know it’s in there, but it makes a wonderful difference!
Instructions
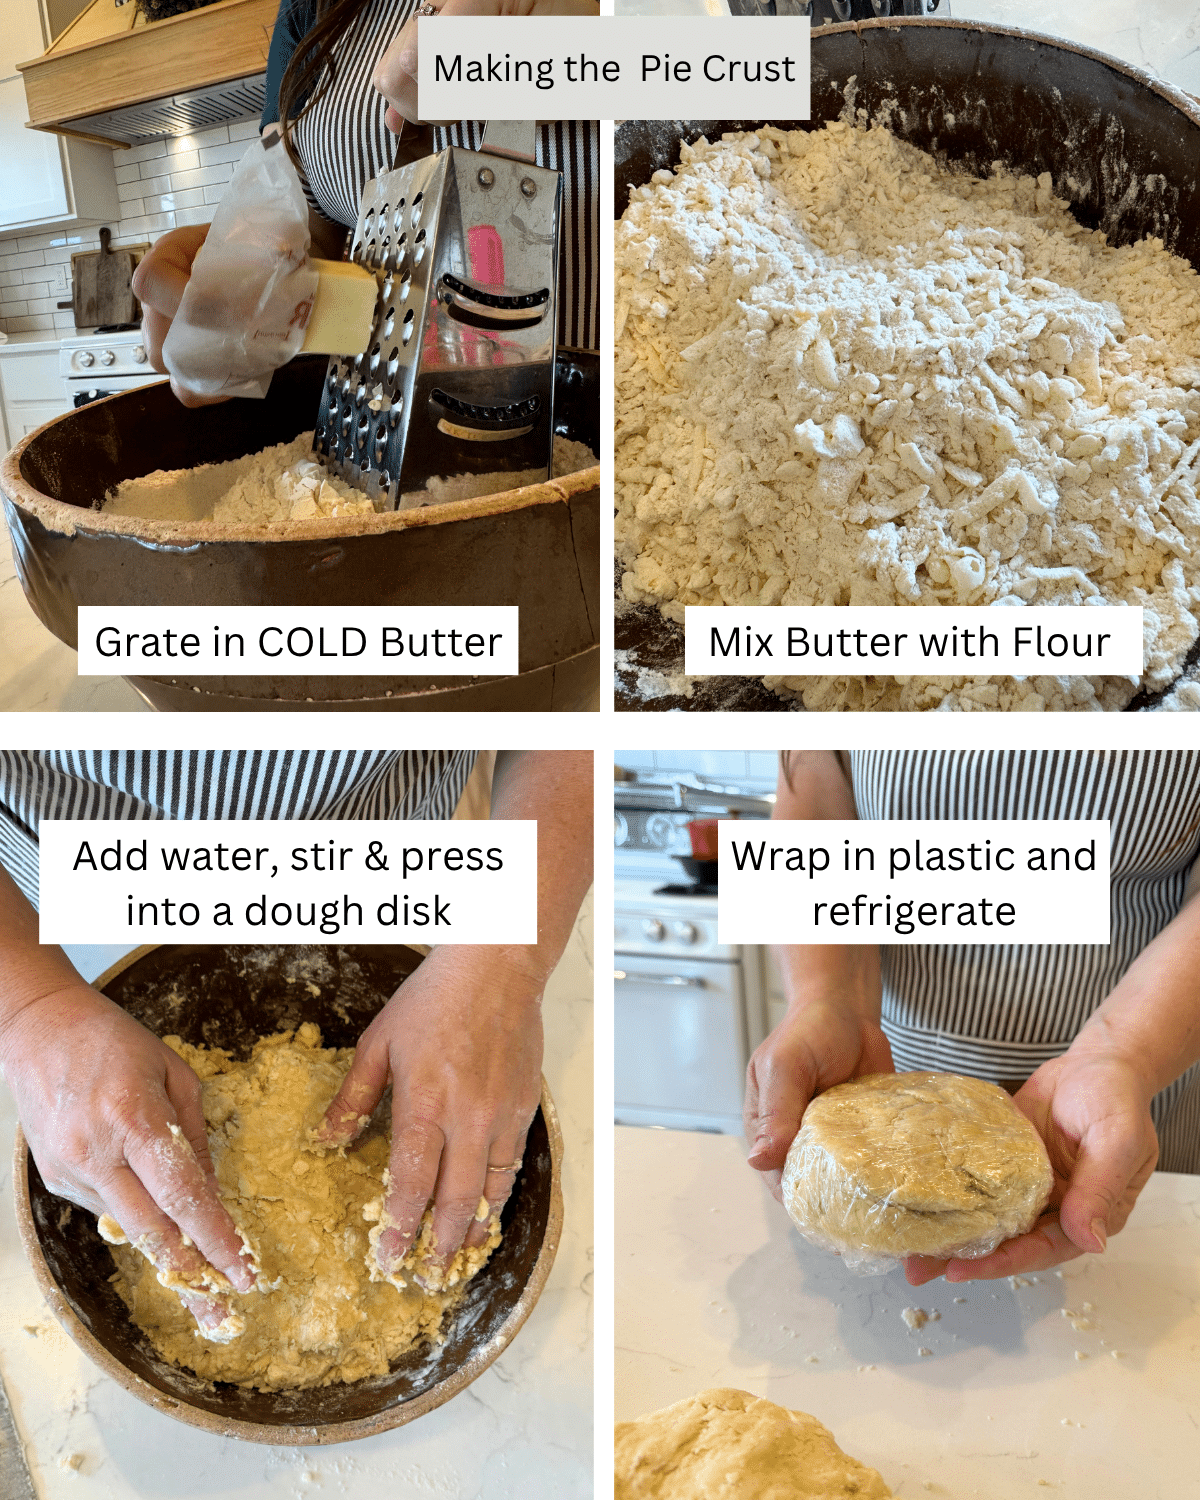
- Make the Pie Crust: In a large bowl, combine the flour, sugar, and salt. Add the chilled, cubed butter and use a pastry cutter to cut it in until the mixture resembles coarse crumbs. Gradually add the ice water, 1 tablespoon at a time, until the dough comes together. Form the dough into a disk, wrap it in plastic wrap, and refrigerate for at least 30 minutes.
- Prepare the Pie: While the dough is chilling, preheat your oven to 450°F (232°C). In a large bowl, whisk together the canned pumpkin puree, brown sugar, pumpkin pie spice, salt, pepper, cream, milk, and eggs until well combined and smooth.
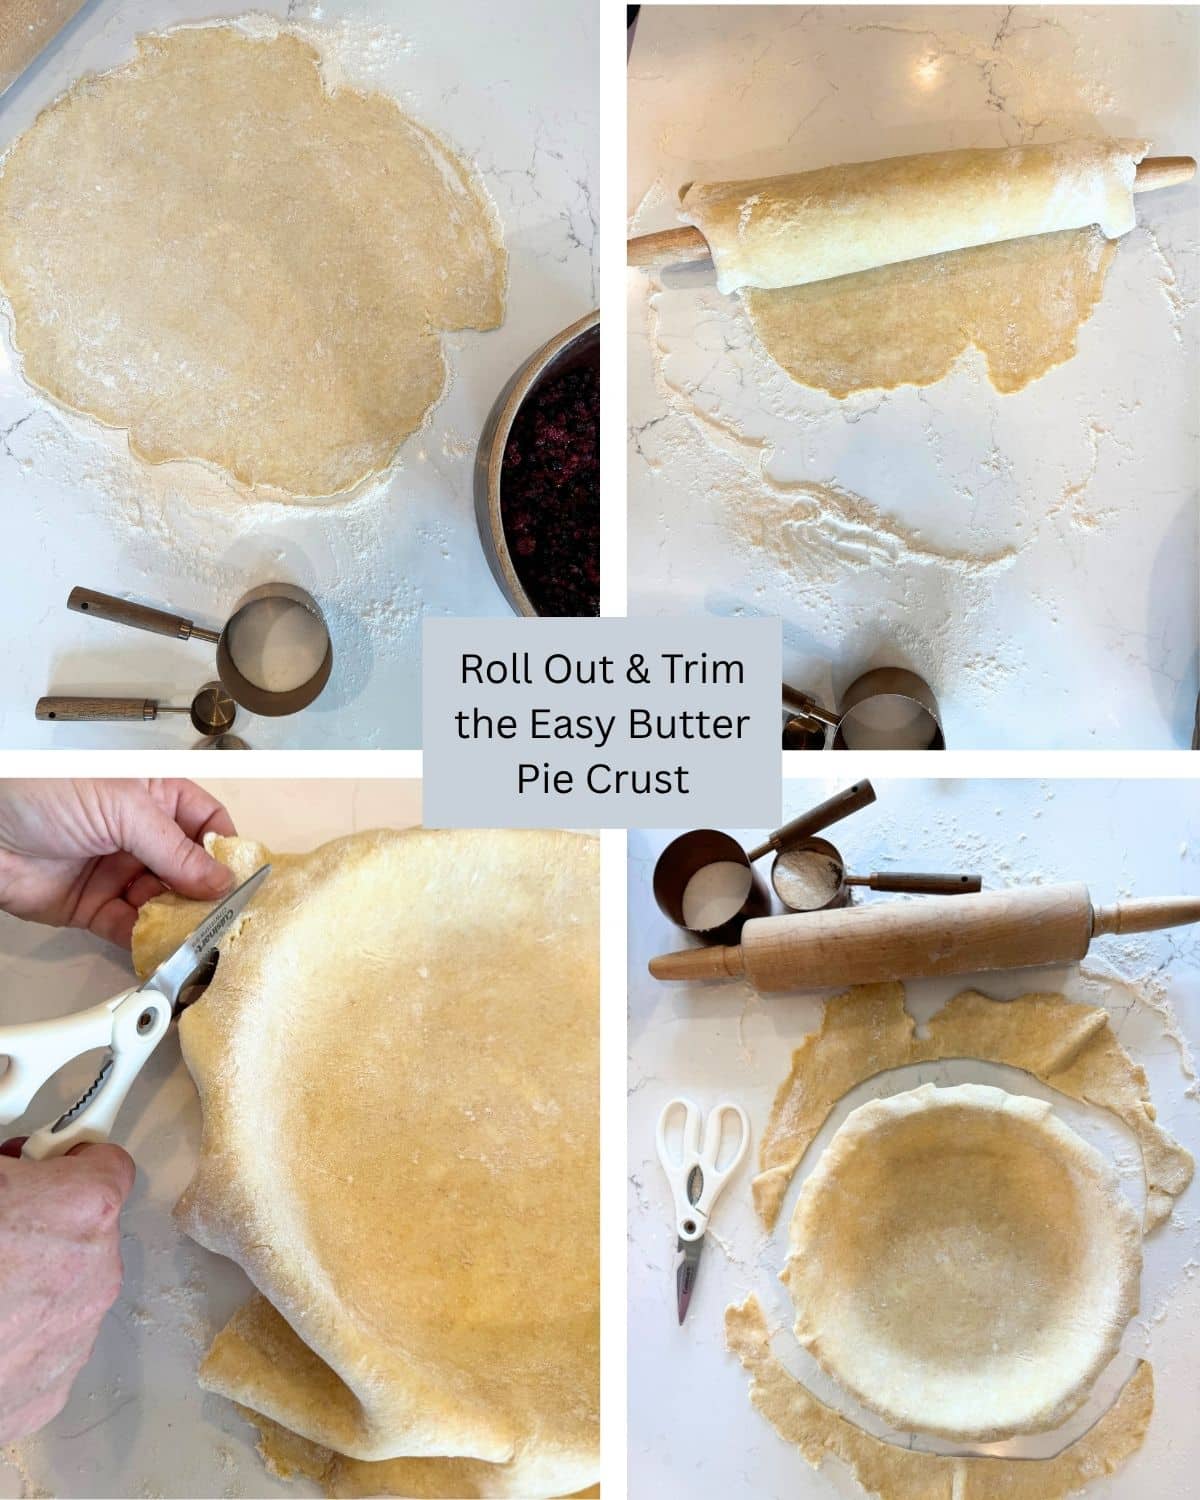
- Fill & Bake: On a lightly floured surface, roll out your pie dough and carefully fit it into a pie pan. Pour the pumpkin filling into the unbaked crust. Place the pie on a baking sheet to catch any spills and bake for 15 minutes. Then, without removing the pie, reduce the oven temperature to 350°F (175°C) and bake for an additional 15 minutes.
- Pie Shield: Place a pie shield or an aluminum foil ring around the outer crust edge about halfway through baking (around the 30-minute mark total) to prevent over-browning while the center sets. And bake for another 20 – 30 minutes, just until the center is set.
- Cool & Serve: Remove the pie from the oven and let it cool completely on a wire rack. As it cools, the center will firm up. Serve at room temperature with a dollop of whipped cream! For the best texture and flavor, cover and refrigerate overnight.
Video
Notes
- Pie Crust – This standard butter crust is designed for maximum simplicity—no egg or vinegar needed, making it quick, flaky, and ideal for busy holiday prep.
- Grate Frozen Butter: Skip the pastry cutter! Grate a stick of frozen butter on a box grater directly into your flour. It creates uniform bits of butter that yield maximum flaky layers with zero extra effort.
- Bake in Glass: Use a clear glass pie dish so you can easily peek at the bottom and sides as it bakes—taking all the guesswork out of getting a perfectly golden, crispy bottom crust!
- Proper Baking: The pie is done when a toothpick inserted into the center comes out mostly clean, with a few moist crumbs attached. Be careful not to overbake, as the filling will continue to set as it cools.
- Chill the Dough: Don’t skip chilling your dough! This simple step makes it much easier to roll out and ensures a flaky, perfect pie crust.
- Pumpkin Puree: Always use pure pumpkin puree from a can, not pumpkin pie filling. The pie filling has added spices and sugar that will throw off your recipe.
- The “Jiggle Test”: This is the most foolproof way to tell if your pie is done. You want the edges to be set, but the center should still have a slight jiggle. It’s perfectly fine—the filling will continue to set as it cools, giving you that creamy, smooth texture you love!
- Protect Your Crust with a Foil Shield: To prevent the edges of your beautiful crust from burning, you can place a ring of aluminum foil over them for the last 15-20 minutes of baking. This ensures a perfectly golden brown crust all the way around.
- Fill to the Top (Almost!): Sometimes, depending on the size of your pie pan, you might have a tiny bit of filling leftover. Don’t overfill your pie crust! If you have extra filling, pour it into an buttered ramekin and bake alongside your pie for 25–30 minutes for a mini crustless custard treat!
- Let It Rest: We all want to dig right in, but for the best texture and flavor, allow your pie to cool completely on a wire rack for at least 2 hours before you serve it. The pie will taste even better the next day as the flavors meld, so you can always chill it overnight and serve it at room temperature.
Nutrition

About Juliea
Juliea is a mother of six, a sourdough baker, and a homestead builder living in Idaho. Alongside her husband and their horse, Dude, she manages a busy farmhouse and shares her love for scratch-cooking and simple homemaking. Through her blog and YouTube channel, she helps millions of families every year master the art of the handmade home.




18 comments
Sadie
Can’t beat a classic! So yummy!
Renea
So delicious! Made this recipe for Thanksgiving with a fresh pie pumpkin, and we loved it. It was also my first (ever) attempt at a homemade pumpkin pie. Will be baking again! Question, though. How do I keep my pie from cracking/splitting on top?
Timber
I love this recipe it’s well written and makes pumpkin pie so easy. The crust really is flaky and delicious.
Dixie Clements
Such an easy recipe to follow! It’s delicious and simple!!
Kiwi
Easy and delicious pumpkin pie!
Juliea Huffaker
Yea!!! Thank you Miranda!
Juliea Huffaker
of course!
Beve
I am NOT a pumpkin pie eater, but my hubby is… he loved it! I tried a tiny bit of the innards and it was ok. Definitely will make it again
Juliea Huffaker
Hi Jessica! I use heavy whipping cream that is not whipped;)
Juliea Huffaker
Hi Tamra… Yes you can… It will change the outcome a bit but will still be delicious!
Hanna
What size pan do I use?
Juliea Huffaker
Hi Hanna! I use a 9 inch pie pan… Hope this helps!
Stefanie
What kind of cream?
Juliea Huffaker
Hi Stephanie! I usually use just heavy cream… But you could also use canned coconut cream;)
Michelle
So don’t use evap or condensed milk just heavy whipping Cream
Juliea Huffaker
Hello Mercedes! I don’t like to refrigerate pumpkin pie before serving it because the crust isn’t as flaky.. If you don’t mind a softer, less flaky crust, you can make it Tuesday, refrigerate it and serve it Thursday. Unfortunately, leaving a pumpkin pie on the counter to keep the crust flaky isn’t considered “a safe option”…. BUT, I’ve done every Thanksgiving, for years, for 1 day without any problems! I bake my pies the day before and leave them on the counter so the crusts stay flaky. (Pumpkin pie is considered a custard pie, which contains eggs and dairy products. And these ingredients are highly susceptible to bacterial growth at room temperature.)
Here are some tips for making a delicious pumpkin pie that can be prepared in advance:
Make the crust in advance: You can make the pie crust a day or two in advance and store it in the refrigerator or freezer.
Make the filling in advance: You can make the pumpkin pie filling in advance and store it in the refrigerator.
Assemble and bake the pie the day before: You can assemble the pie and bake it the day before Thanksgiving. Let it cool completely before refrigerating.
Kevin
Hello – This recipe looks tasty. The quantity of filling seems like a lot… is this for 2 pies or 1? I see you are recommending 2 crusts.
juliea
Yes, this is for 1 pie!