This raw pack beef stew canning recipe is the best shortcut to save time… The pressure canner does all the heavy lifting, and tenderizes the beef right in the jar while creating its own rich broth!
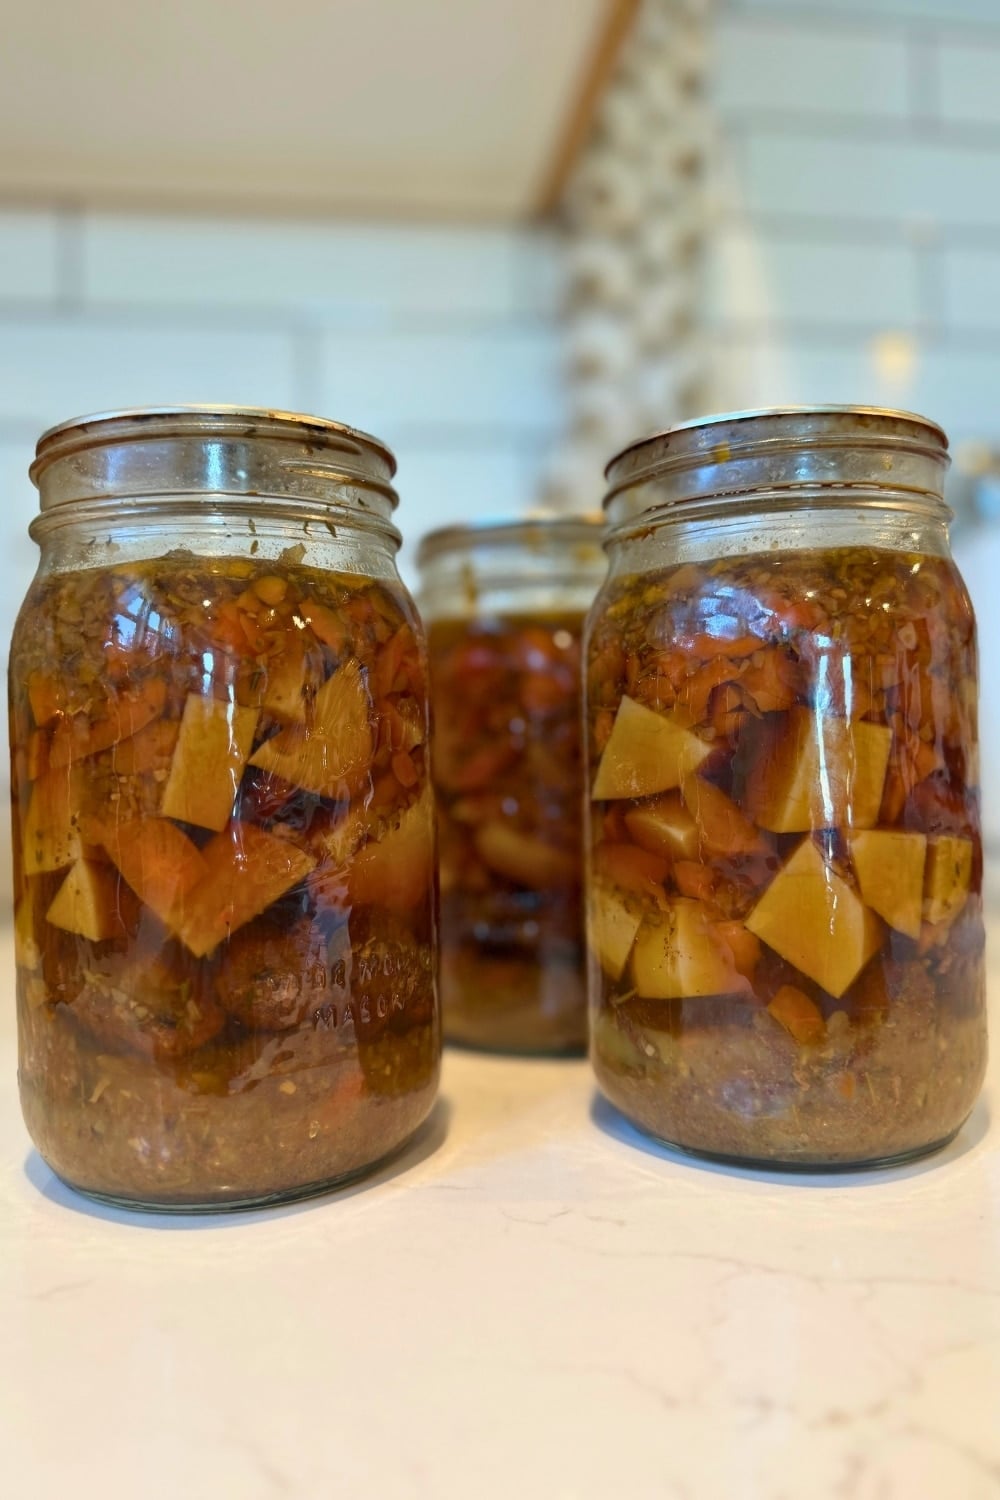
There is nothing like having a few jars of hearty, homemade beef stew ready and waiting on your pantry shelf. Pressure canning the beef chunks alongside fresh carrots, potatoes, onions, and savory herbs creates a deeply rich broth and melt-in-your-mouth tender meat! While traditional beef stew canning recipes are delicious, they demand so much extra time in the kitchen because you have to hot pack the jars… Until NOW!
Why Raw Packing is a Total Game-Changer (The Benefits)
Raw packing is the best way to can beef stew because it completely eliminates the tedious steps (and dishes) of searing meat and pre-cooking your vegetables! By packing your ingredients cold into the jars according to trusted Ball Blue Book guidelines, you let the pressure canner do all the heavy lifting—naturally tenderizing the beef right during the processing time while locking in a rich, deep flavor that hot packing just can’t replicate. (The All New Ball Book of Canning and Preserving – 2016. Page 274)
Pressure Canning Safety Guidelines (Safety First)
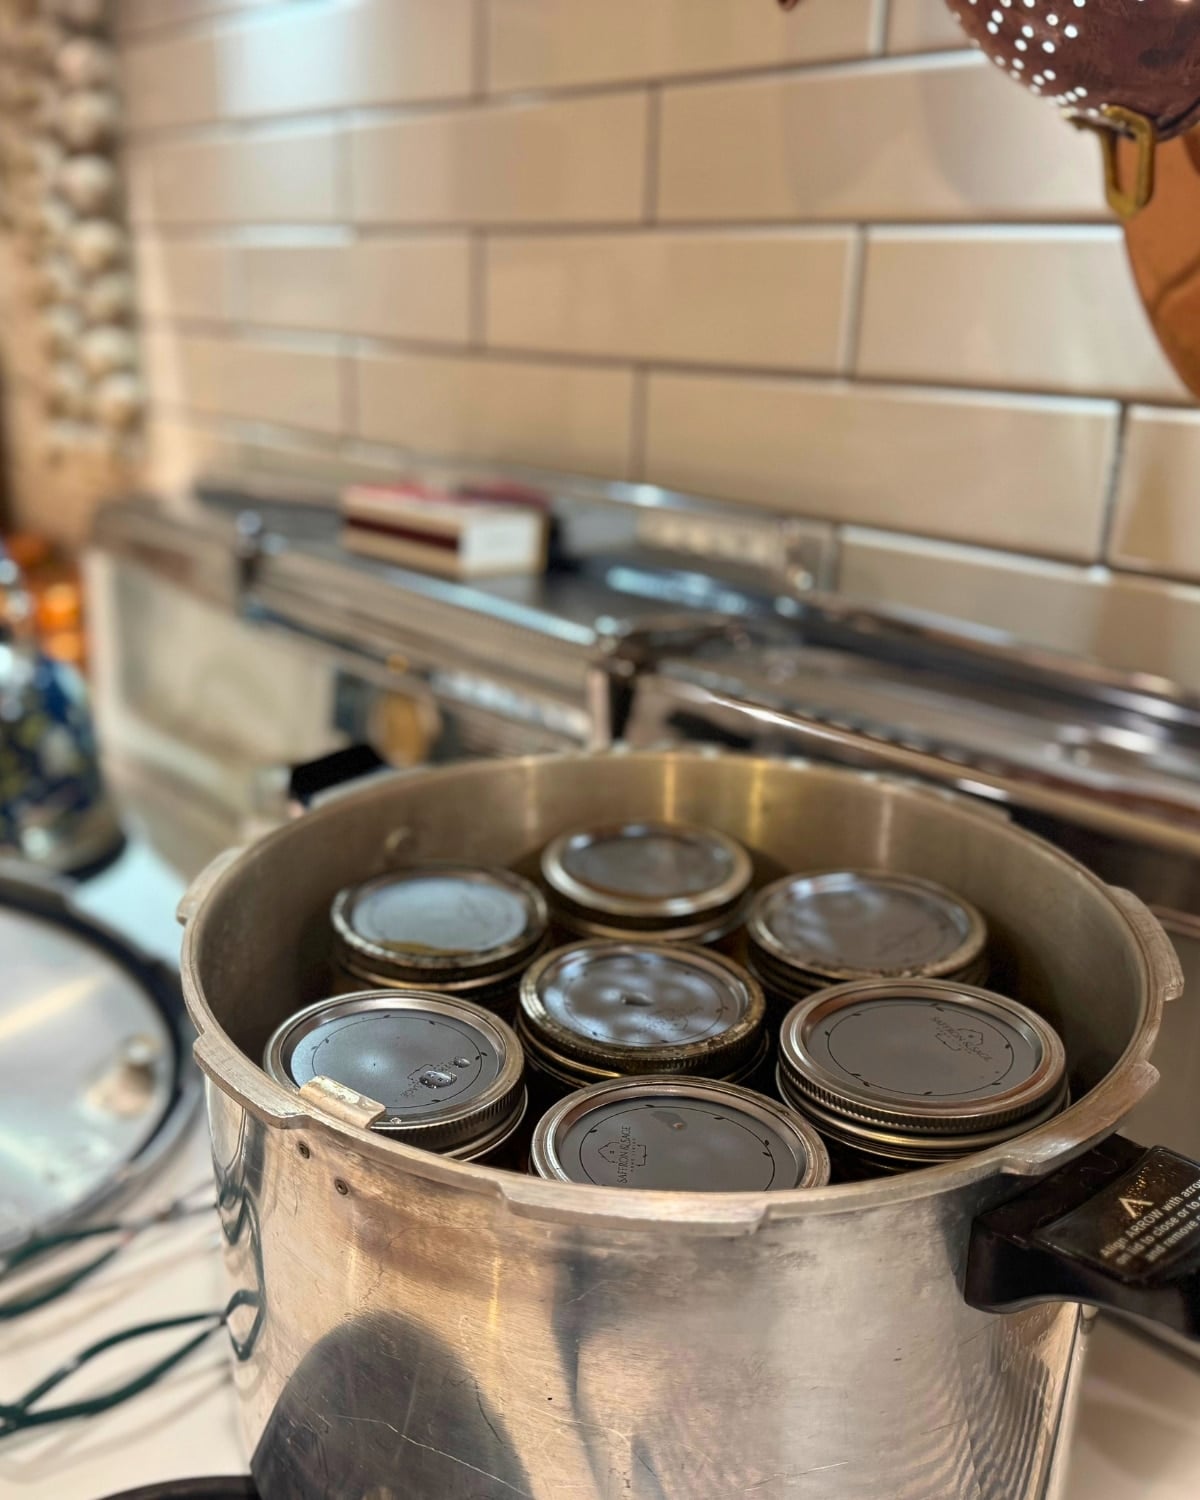
When we’re canning low-acid foods like roast beef, potatoes, and carrots, safety is most important. Meat, potatoes and carrots don’t have natural acidity to prevent spoilage on the shelf… So this recipe requires a pressure canner! You cannot safely use a water-bath canner for beef stew.
To make sure this recipe is 100% safe and reliable to store in your pantry, we’re following the tested guidelines straight from The All New Ball Book of Canning and Preserving (page 274). Whether you use a dial-gauge or a weighted-gauge pressure canner, you must process your jars according to your specific altitude.
Always check your local altitude charts to adjust your weight or dial pressure if you live higher up! For standard safety at lower altitudes (under 1,000 feet), the processing times are:
- Pints: Process for 75 minutes at 10 pounds of pressure (weighted gauge) or 11 pounds (dial gauge).
- Quarts: Process for 90 minutes at 10 pounds of pressure (weighted gauge) or 11 pounds (dial gauge).
Adjust for Your Altitude
For dial gauge pressure canners:
0 to 2,000 feet in elevation – 11 lbs pressure
2,001 to 4,000 feet in elevation – 12 lbs pressure
4,001 to 6,000 feet in elevation – 13 lbs pressure
6,001 to 8,000 feet in elevation – 14 lbs pressure
For weighted gauge pressure canners:
0 to 1,000 feet in elevation – 10 lbs pressure
Above 1,000 feet – 15 lbs pressure
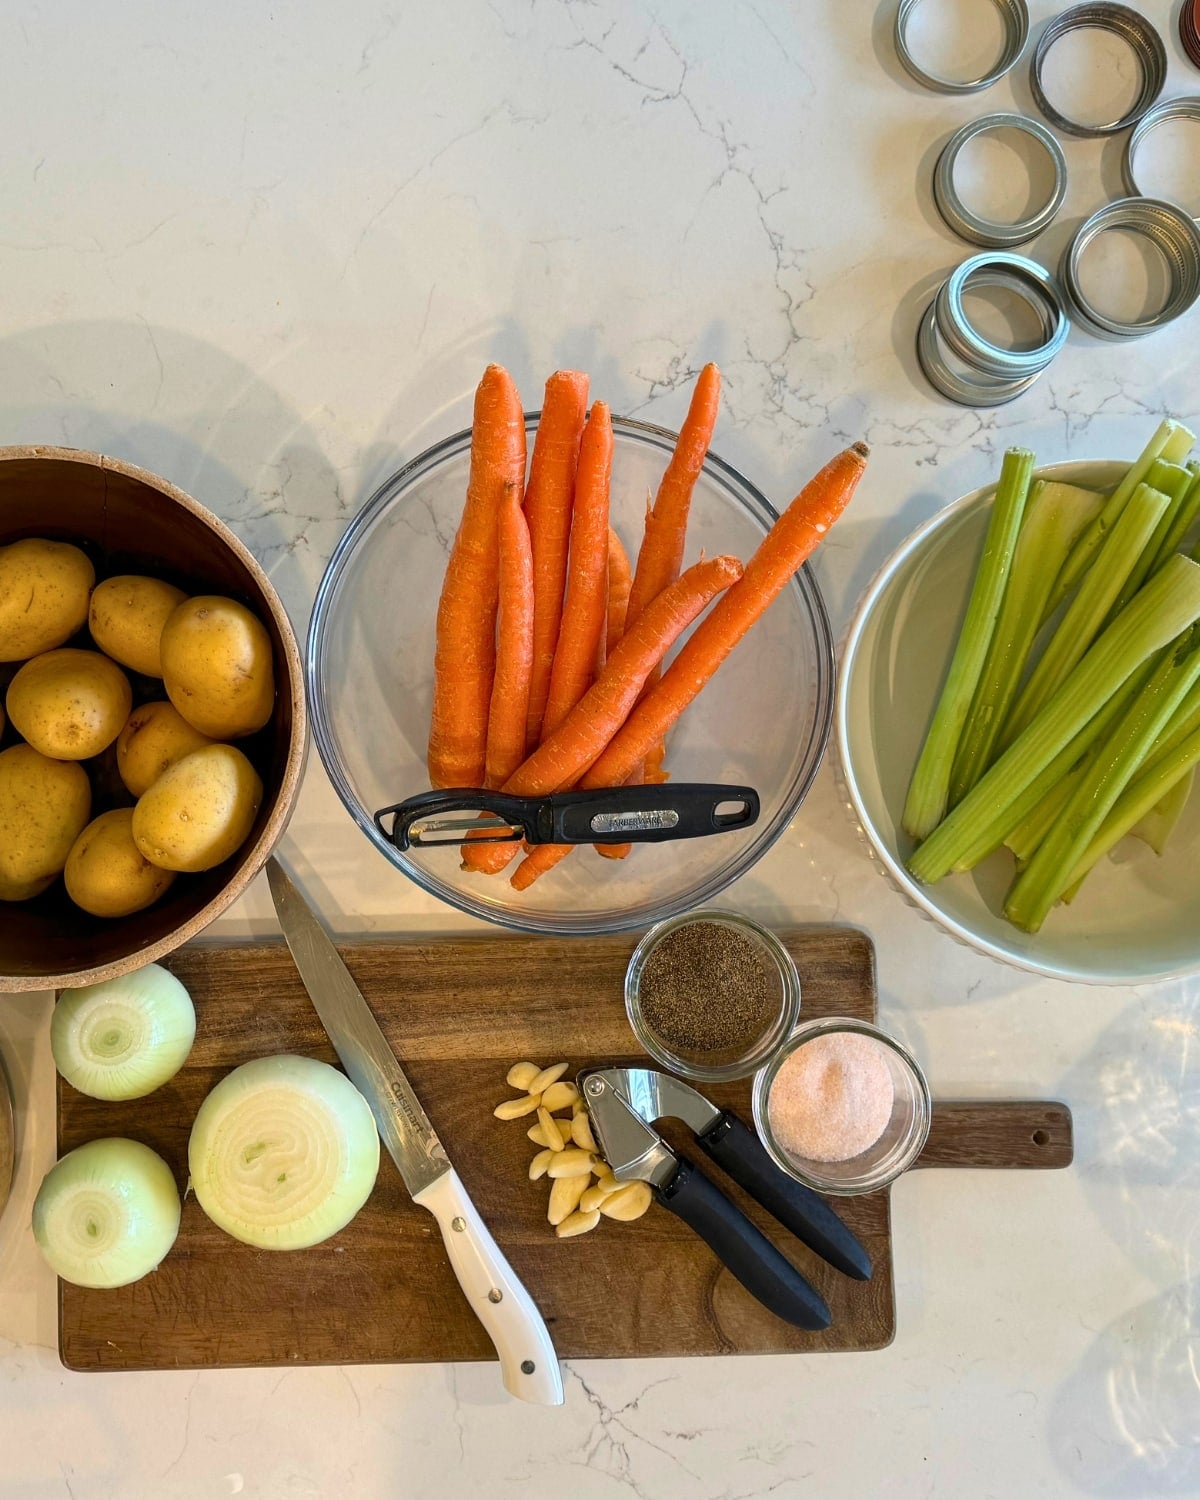
Ingredients & Smart Tips for Raw Packing
Raw packing is incredibly easy, but choosing the right ingredients makes a massive difference in how your jars turn out after sitting on the shelf.
The Best Meat for Canning
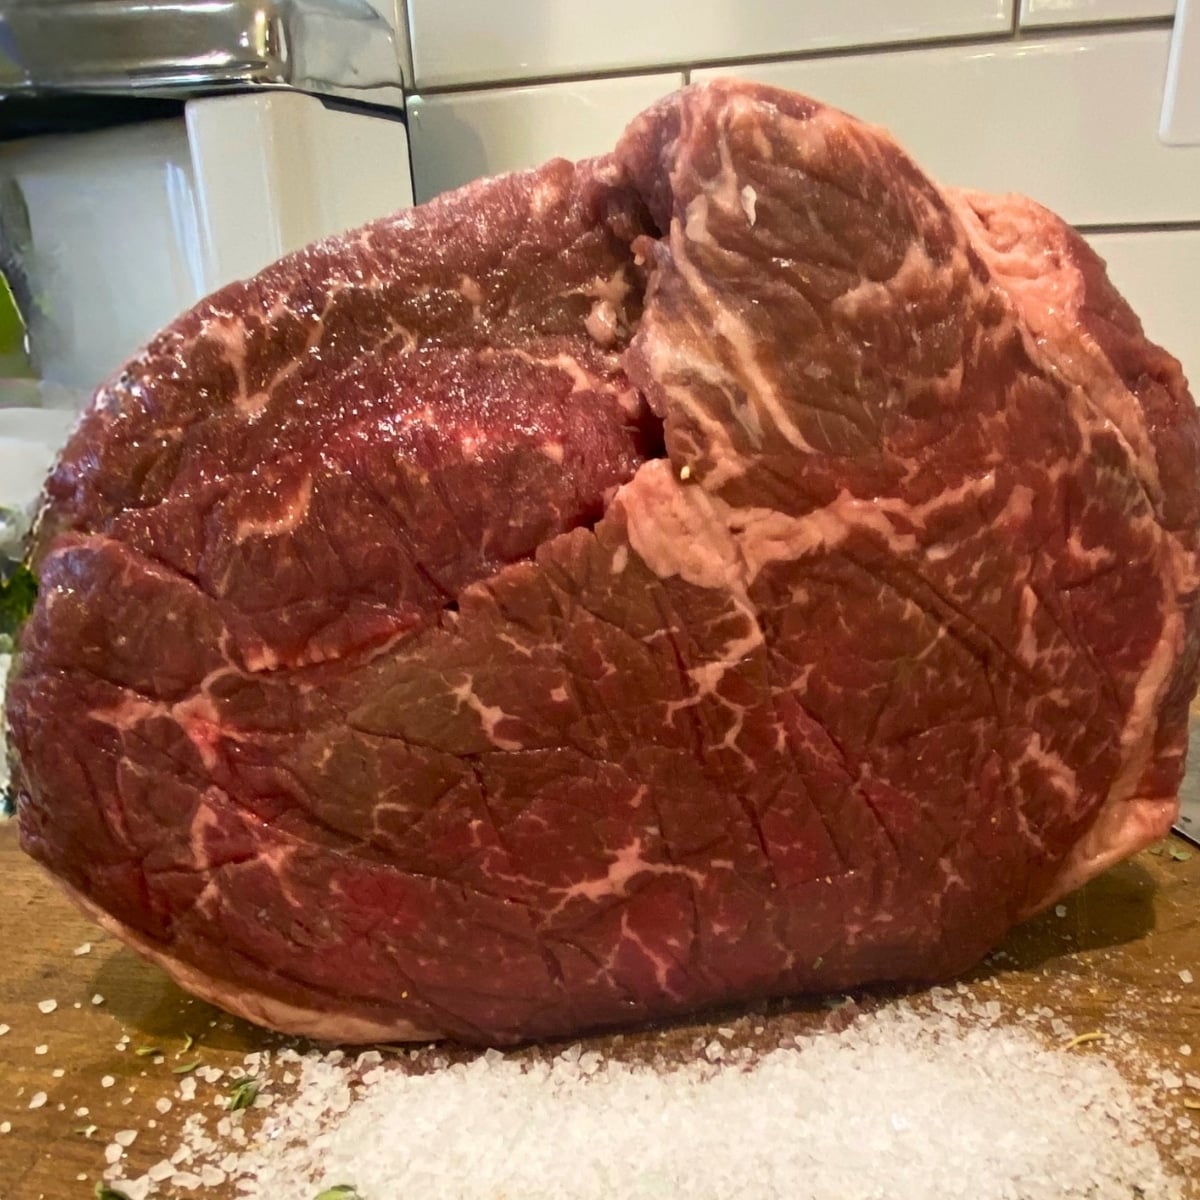
For the most tender results, choose a well-marbled cut like chuck roast or a nice rump roast. Cut the beef into bite-sized cubes. I trim off excess fat, but small bits of fat break down during the processing time, leaving you with melt-in-your-mouth meat that never gets dry or stringy!
How to Chop Your Vegetables
Here is a crucial tip for beginners: cut your potatoes, carrots, and onions into large, thick chunks. Remember, these jars are going to cook inside a high-heat pressure canner for 75 to 90 minutes. If you chop your vegetables too small, they will completely turn to mush. Leaving them in big, rustic pieces ensures they hold their shape perfectly and look beautiful in the jar.
Creating a Rich Broth
The magic of a raw pack recipe is that the beef creates its own rich juices as it cooks. To elevate that into a deeply flavorful broth, we only need a few simple additions. A sprinkle of high-quality beef bouillon, a bit of minced garlic, or your favorite dry steak seasoning mixed with hot water or hot beef broth is all it takes to build a wonderful flavor foundation.
Step-by-Step Raw Packing Guide
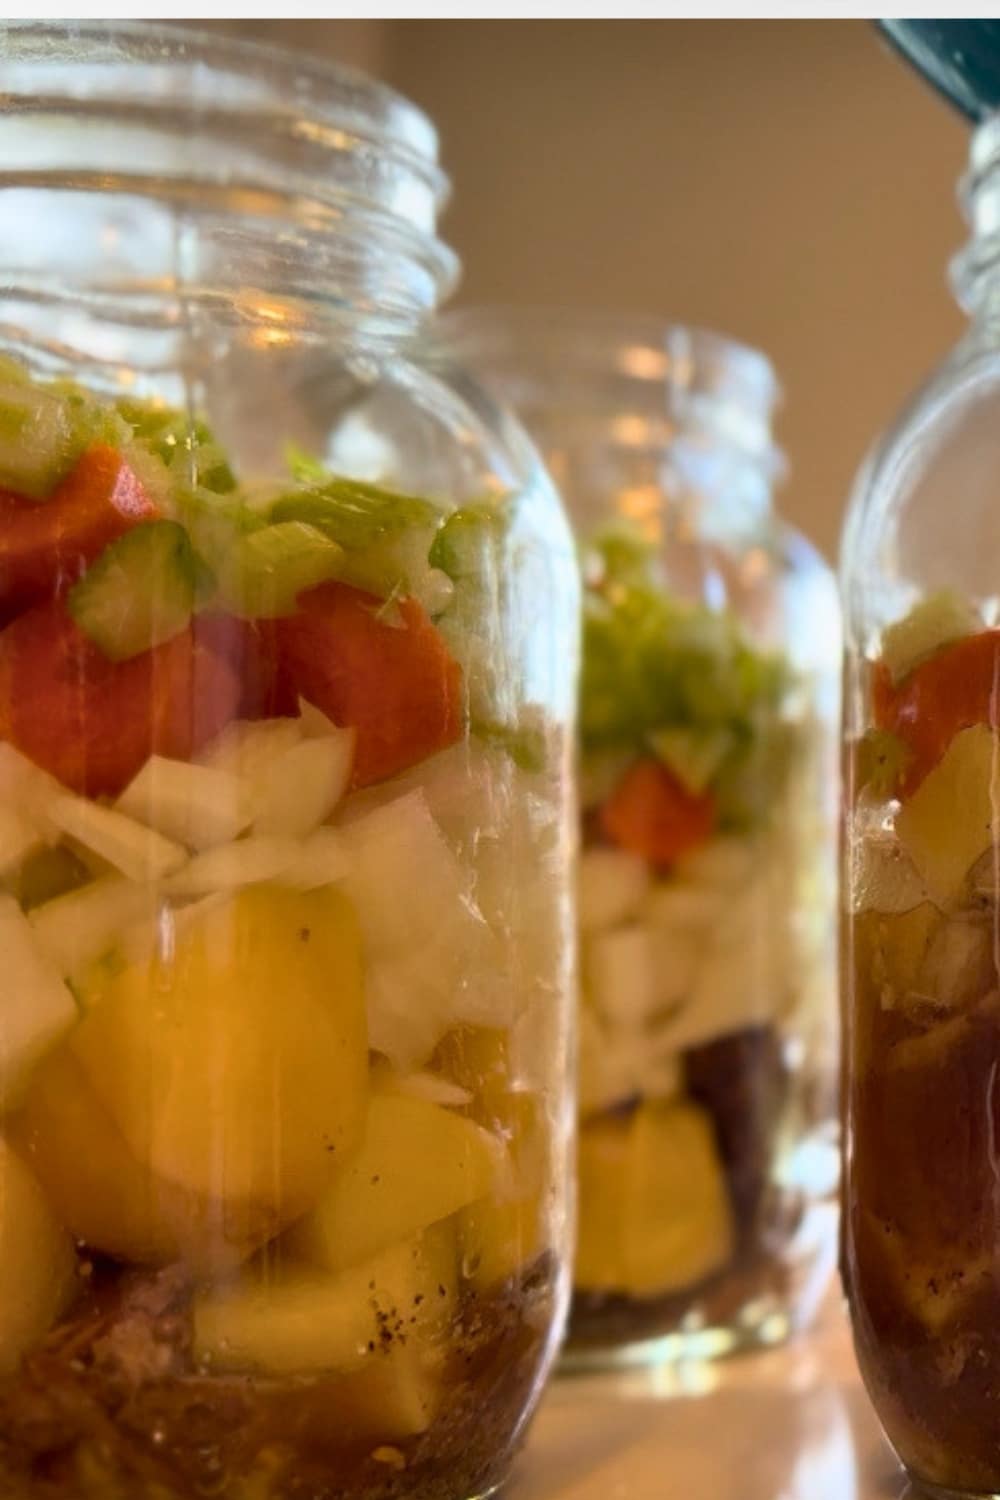
The Ball Cookbook tells you to mix all the ingredients together in a jar, but I like to layer mine in the jar… It save a dirty bowl, and likks pretty in the jar! Follow this simple checklist to fill your jars correctly and avoid common issues like siphoning (when liquid boils out of the jar during processing).
Pack the Raw Beef: Pack your raw, cubed beef tightly into the bottom of clean, warm jars. You want it packed firmly because the meat will shrink slightly as it cooks.
Layer the Vegetables: Layer your thick chunks of potatoes, carrots, and onions right on top of the meat.
Leave a 1-Inch Headspace: Fill the jars with your hot broth or seasoned water, making sure to leave exactly 1 inch of headspace at the top of the jar. This space is mandatory for a safe, strong vacuum seal.
Remove Trapped Air Bubbles: Slide a plastic debubbler tool (or a silicone spatula) down the inside edges of the jar. Raw meat holds onto a lot of hidden air pockets. If you don’t release them now, the liquid level will drop during processing, which can cause your jars to siphon.
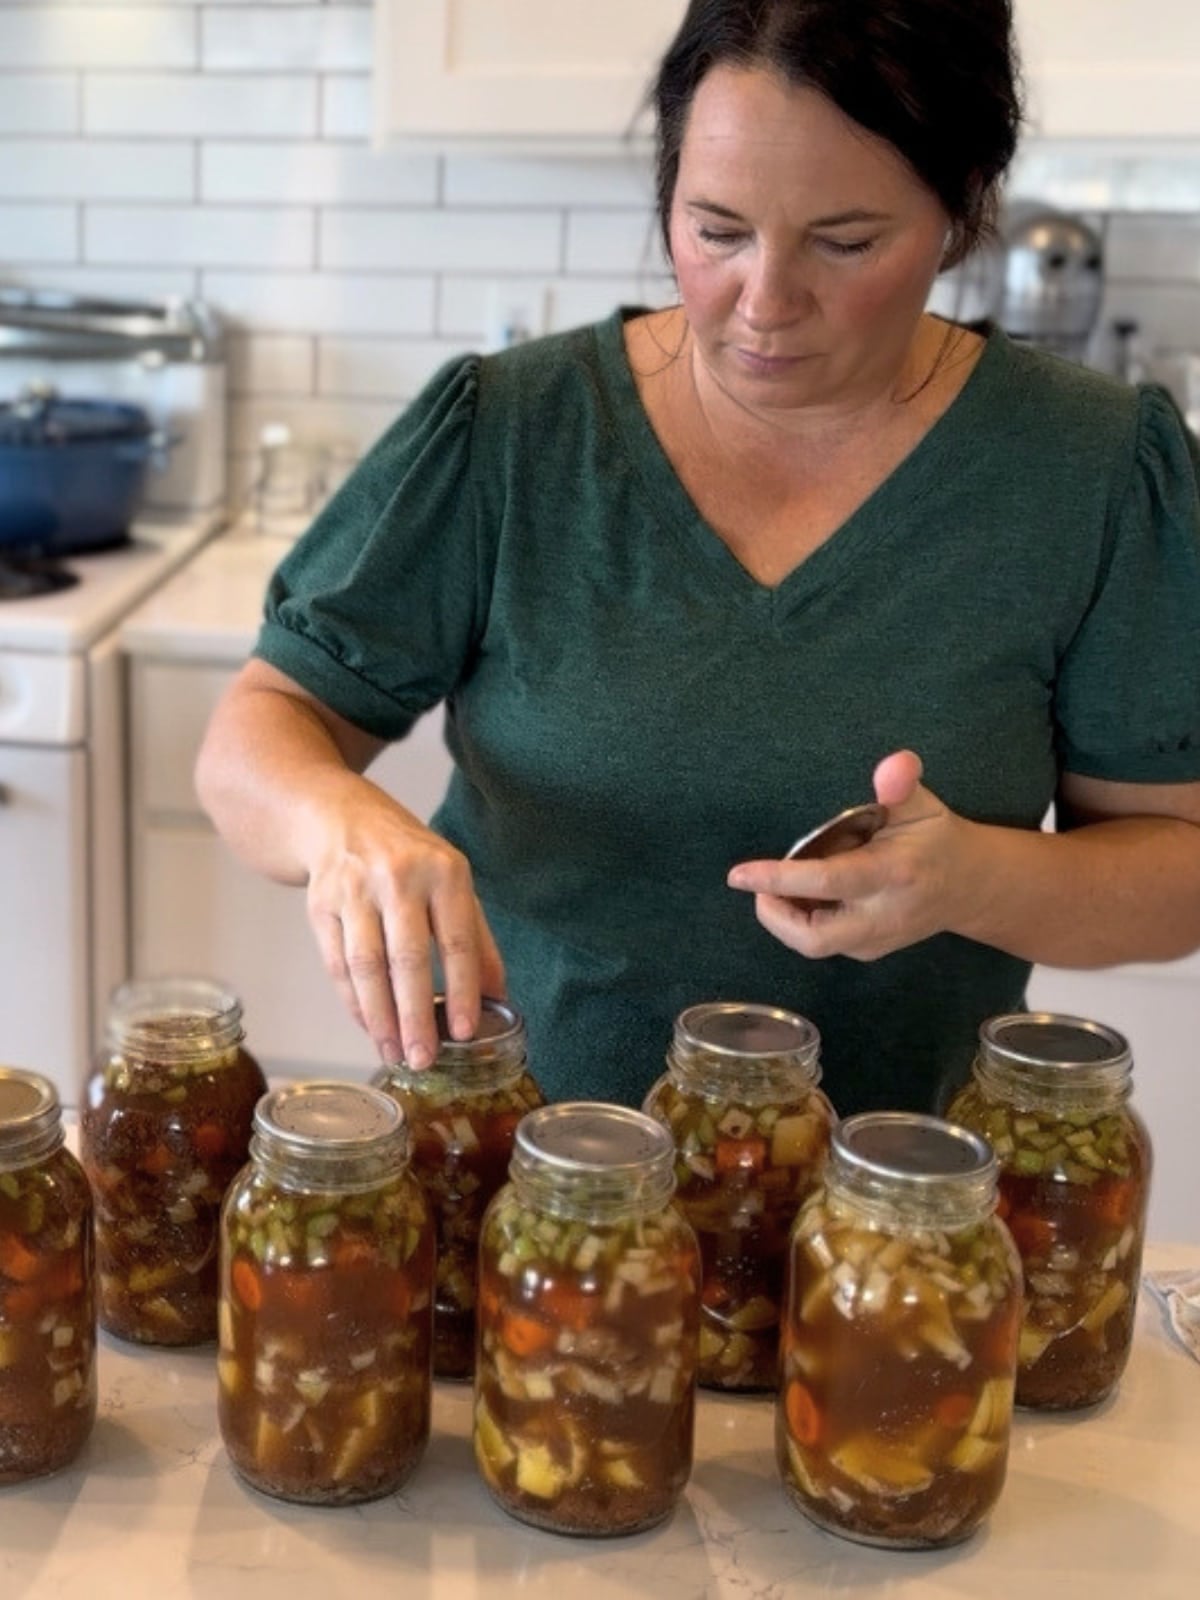
Wipe the Rims with Vinegar: Dip a clean paper towel or cloth into a splash of plain white vinegar and thoroughly wipe the rim of each jar. Raw meat has natural fats that can leave an invisible greasy film on the glass. The vinegar cuts through the grease so your lids can get a perfect, permanent seal.
How to Serve Your Beef Stew
The best part of this recipe is the instant, comforting meal on a hectic weeknight. Next winter, when you need a fast dinner that tastes like it simmered all day on the stove, here is all you have to do:
- Dump and Heat: Empty the contents of your quart jar directly into a saucepan.
- Make a Quick Gravy: Bring the stew to a gentle boil over medium heat. In a small cup, mix a tablespoon of cornstarch or flour with a little bit of cold water to make a smooth slurry. Stir the slurry into the boiling juices, and watch it instantly thicken up into a rich, velvety roast gravy.
- Serve it Up: Ladle the hot, tender beef and vegetables into bowls… I love to serve this delicious and flavorful homemade beef stew with a simple sourdough loaf or soft yeast dinner rolls or soft sourdough rolls!
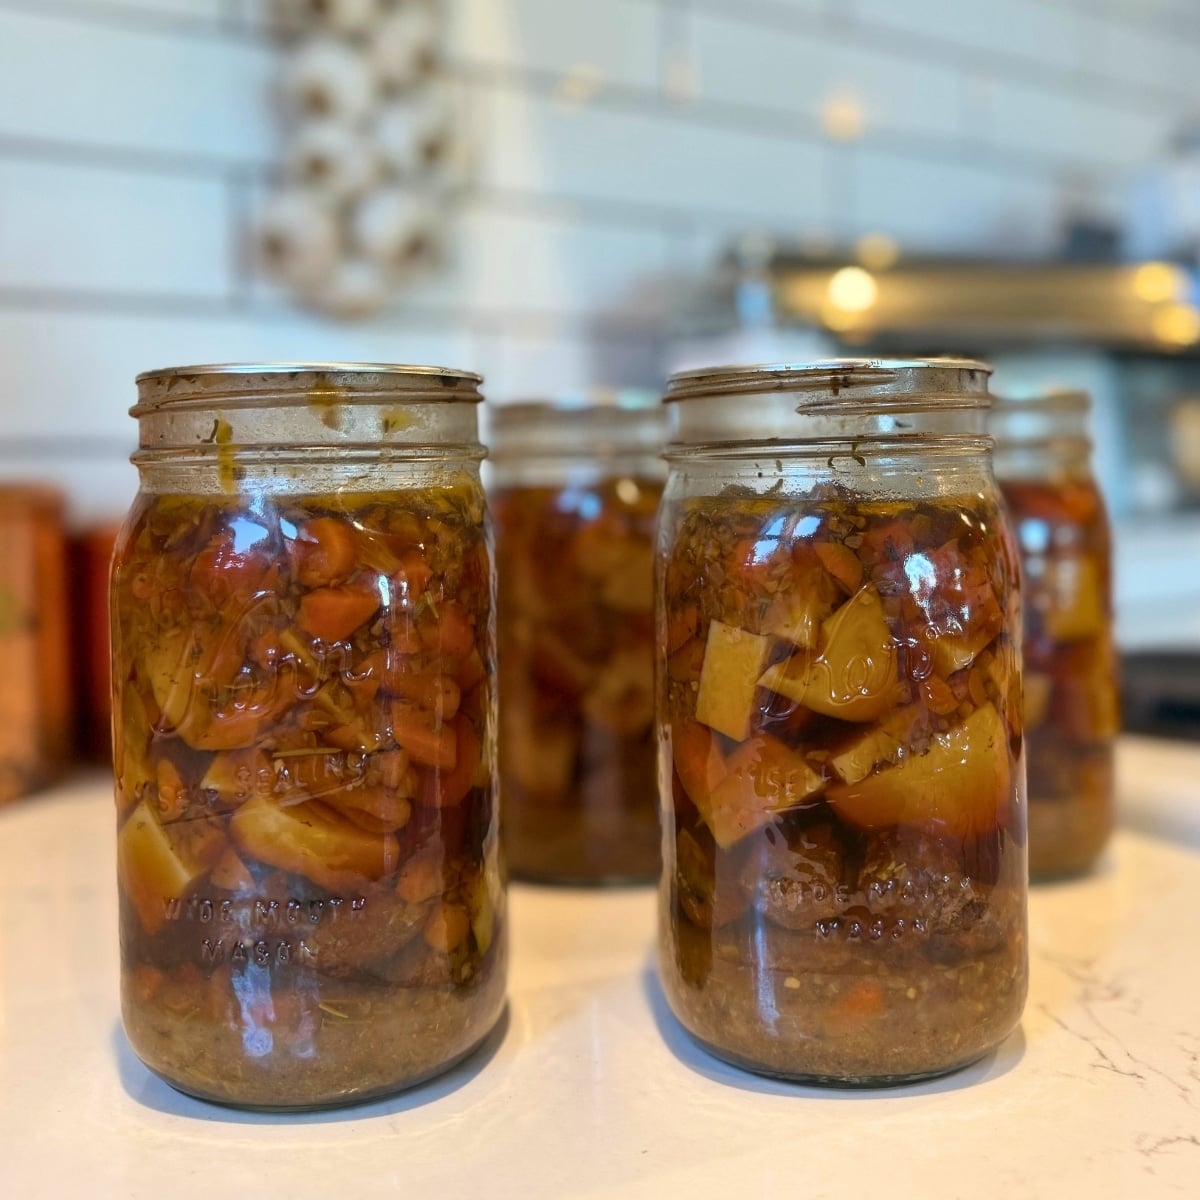
Easy Raw Pack Beef Stew (Meal in a Jar)
Equipment
- 1 Pressure Canner (Dial-gauge or Weighted-gauge)
- 1 Quart or Pint Canning Jars with lids and bands
- 1 Jar lifter and bubble remover (debubbler)
- 1 Clean cloth and white vinegar (for wiping rims)
Ingredients
- 6 lbs boneless chuck roast trimmed and cut into bite sized pieces
- 3 cups potatoes peeled and diced
- 3 cups onions diced
- 1 1/2 cups celery diced
- 3 cups carrots sliced
- 6 tsp salt
- 3 tsp ground black pepper
- 12 bay leaves optional – 1 for each jar.
- 6 cloves garlic minced
- 6 tsp dried thyme
- 3 cups red wine optional or use broth
- 1-2 quarts chicken or beef broth hot
Instructions
- Prepare Your Equipment: Wash your canning jars, lids, and bands in warm, soapy water. Keep your jars warm while you prep. Fill your pressure canner with 2 to 3 inches of water and bring it to a low simmer according to the manufacturer's directions.
- Pack the Raw Beef: Pack your raw, cubed boneless chuck roast tightly into the bottom of each clean, warm jar. Fill each jar about 1/3 to 1/2 way full, pressing down firmly since raw meat shrinks quite a bit during processing.
- Layer the Vegetables: Layer your thick chunks of potatoes, onions, celery, and carrots right on top of the raw beef, filling the jars up toward the top.
- Add Seasonings: Add your salt, ground black pepper, dried thyme, minced garlic, and a bay leaf directly to the top of the vegetables in each jar. If you are using the optional red wine, splash a little bit into each jar now.
- Fill with Hot Liquid: Pour boiling water or hot beef broth over your layered ingredients, making sure to leave exactly 1 inch of headspace at the top of each jar.
- Remove Air Bubbles: Slide a plastic debubbler tool or a silicone spatula down the inside edges of the jars to release any trapped air pockets around the raw meat and veggies. Top off with a little extra hot liquid if the level drops, keeping that strict 1-inch headspace.
- Wipe Rims and Cap: Dip a clean paper towel or cloth in white vinegar and thoroughly wipe the rim of each jar. This cuts through any invisible grease from the raw meat so your lids get a perfect seal. Center your lids and screw the bands down to fingertip-tight.
- Vented Processing: Place the jars into your simmering canner. Fasten the lid securely and turn the heat to high. Let the steam vent from the petcock for a full 10 minutes before placing your weight on or closing the valve.
- Bring to Pressure: Bring the canner up to the correct pressure for your altitude (11 lbs for a dial gauge or 10 lbs for a weighted gauge at standard low altitudes).
- Process Time: Process Pints for 75 minutes or Quarts for 90 minutes.
- Cool and Seal: When the timer goes off, turn off the heat and let the canner depressurize completely on its own to zero. Never force the lid open. Carefully remove your jars and let them sit undisturbed on a towel-lined counter for 24 hours to check the seals.
Video
Notes
Pressure canning requires adjusting the pounds of pressure based on your local elevation (processing times stay the same). Use this quick guide for your canner: For Dial Gauge Canners:
- 0 to 2,000 feet: 11 lbs pressure
- 2,001 to 4,000 feet: 12 lbs pressure
- 4,001 to 6,000 feet: 13 lbs pressure
- 6,001 to 8,000 feet: 14 lbs pressure
- 0 to 1,000 feet: 10 lbs pressure
- Above 1,000 feet: 15 lbs pressure
To serve, empty a quart jar into a saucepan and bring it to a gentle boil over medium heat. To turn the delicious juices into a thick, velvety gravy, mix 1 tablespoon of cornstarch with a splash of cold water to make a smooth slurry. Stir the slurry into the boiling stew and let it thicken for 1 to 2 minutes. Perfect for serving over mashed potatoes or with warm dinner rolls!
Nutrition

About Juliea
Juliea is a mother of six, a sourdough baker, and a homestead builder living in Idaho. Alongside her husband and their horse, Dude, she manages a busy farmhouse and shares her love for scratch-cooking and simple homemaking. Through her blog and YouTube channel, she helps millions of families every year master the art of the handmade home.