Elevate your culinary skills with this easy smoked chuck roast recipe, turning a tougher cut of meat into a tender masterpiece reminiscent of a poor man's brisket.
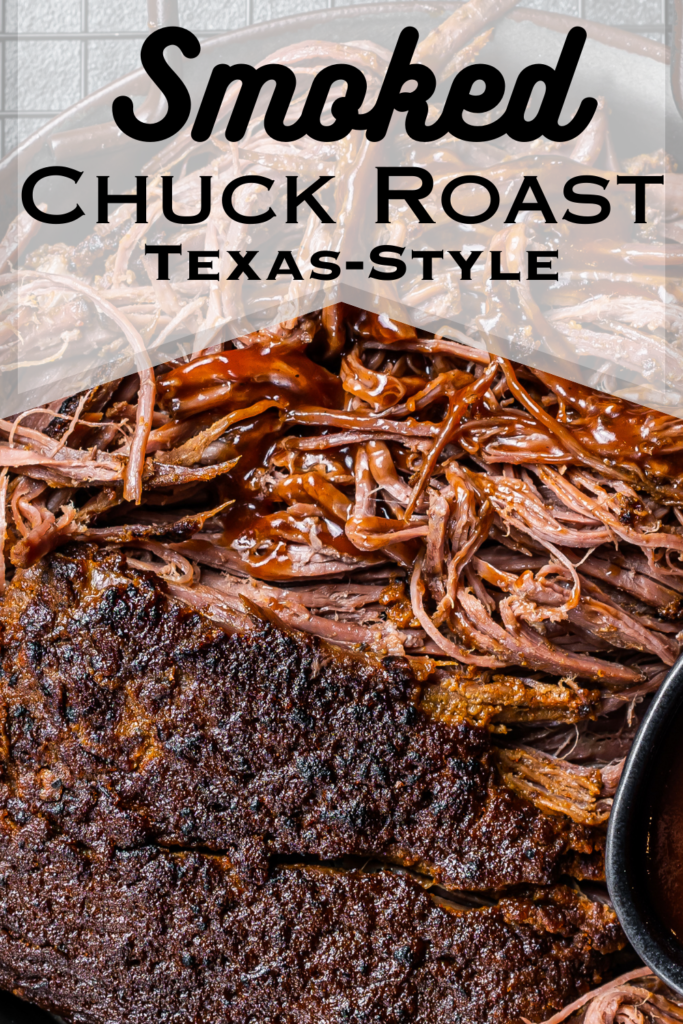
This recipe effectively transforms the tough connective tissue in the chuck roast by subjecting it to low and indirect heat during the smoking process. The collagen in the connective tissue undergoes breakdown, converting into gelatin, which, coupled with the braising effect of the aluminum foil, results in a remarkably tender and flavorful smoked chuck roast.
The extended cooking time and meticulous steps in this recipe ensure the connective tissue is thoroughly softened, creating mouthwatering and succulent meat.
The magic unfolds as connective tissues break down, muscle fibers tenderize, and the beefy flavor intensifies during the smoking process. Wrap the meat in an aluminum pan with a braising liquid of beef broth and apple cider vinegar for added tenderness.

Ingredients
- Chuck Roast (4-5 pounds):
- This larger cut of beef is a great option for smoking, providing a meaty canvas that benefits from the slow cooking process, allowing connective tissues to break down and resulting in tender, flavorful meat.
- Beef Rub (Sea salt, black pepper, garlic powder, onion powder):
- The dry rub, composed of garlic powder, onion powder, coarse black pepper, and kosher salt, applied the day before smoking, enhances the flavor profile, creating a savory crust on the surface of the meat.
- Wood Chips or Chunks (Hickory or oak):
- Choosing the right wood chips or chunks, such as hickory or oak, contributes to the smoky flavor, infusing the meat with a rich and distinctive taste during the smoking process.
- Aluminum Foil:
- Aluminum foil plays a crucial role in the smoking process, facilitating the wrapping of the meat with a braising liquid, promoting tenderness, and capturing essential juices for a juicy finished product.
- Beef Broth (1 cup):
- The addition of beef broth as a braising liquid not only contributes to the tenderness of the meat but also intensifies the beefy flavor, enhancing the overall richness of the dish.
- Apple Cider Vinegar (½ cup):
- Apple cider vinegar adds a subtle tanginess to the braising liquid, complementing the smoky flavor and balancing the richness of the beef, resulting in a well-rounded taste.
- Barbecue Sauce (Optional):
- While optional, barbecue sauce can be a great addition, providing a sweet and tangy flavor that complements the smoky notes and adds an extra layer of complexity to the dish.
- Salt and Pepper (To taste):
- Seasoning with salt and pepper, either during the rub application or post-smoking, allows for personalization of taste and ensures the final dish is perfectly seasoned to individual preferences.

Equipment
- Digital Meat Thermometer:
- Monitoring the internal temperature of the meat with a digital thermometer ensures precision in achieving the desired doneness, guaranteeing a perfectly cooked and safe-to-eat dish.
- Water Pan:
- Placing a water pan in the smoker helps regulate temperature, prevents the meat from drying out, and contributes to the overall tenderness of the smoked chuck roast.
- Wood Chunks (2):
- Introducing wood chunks to the smoker enhances the smoke flavor, allowing for a more robust and authentic taste that elevates the overall quality of the smoked beef chuck roast.
- Aluminum Pan (3):
- The aluminum pan serves as a vessel for the braising liquid, capturing essential juices, and simplifying the wrapping process, ensuring a hassle-free and effective method for achieving tender meat.
- Temperature Probe (3):
- Using a temperature probe offers precision in monitoring the cooking process, allowing you to achieve the ideal internal temperature for a perfectly cooked and tender smoked chuck roast.
How to Make Smoked Chuck Roast
Day Before Smoking: Dry Brine and Seasoning
- Begin by patting the chuck roast dry with paper towels, ensuring a clean surface for the dry brine.
- In a small bowl, create a flavorful dry rub by mixing garlic powder, onion powder, coarse black pepper, and kosher salt.
- Generously rub the beef with the seasoning, covering every inch of the meat. Refrigerate overnight for optimal flavor infusion.
Smoking Day: Preparing the Smoker
- Bring the roast to room temperature for an hour, allowing for even cooking.
- Prepare your pellet smoker or charcoal grill, setting it for indirect heat at 225-250°F (107-121°C). Add wood chunks or chips to impart a rich smoky flavor.
Smoking Process:
- Introduce a water pan to regulate temperature and preserve the tenderness of the meat.
- Smoke the chuck roast, fat side up, until the internal temperature hits around 160°F (71°C), typically taking a couple of hours.
Wrap and Finish:
- Lay out aluminum foil on a cutting board for easy wrapping.
- In an aluminum pan, combine beef broth and apple cider vinegar for a flavorful braising liquid.
- Wrap the chuck roast tightly with aluminum foil and return it to the smoker until the internal temperature reaches 200°F (93°C).
Rest and Slice:
Resting is key for juicy results. Serve the finished product, thinly sliced, alongside your favorite sides like potato salad and green beans. Share your culinary success on social media and take your smoked beef chuck roast to the next level, making it a great alternative to smoked brisket with less time commitment.
- Carefully remove the roast and let it rest, still wrapped, for about an hour. This resting period allows the juices to redistribute for a juicy finished product.
- Unwrap the meat, slice it thin, and season with salt and pepper to taste.
- Serve the mouthwatering Smoked Chuck Roast, Texas Style, with your favorite barbecue sauce and sides like potato salad and green beans.
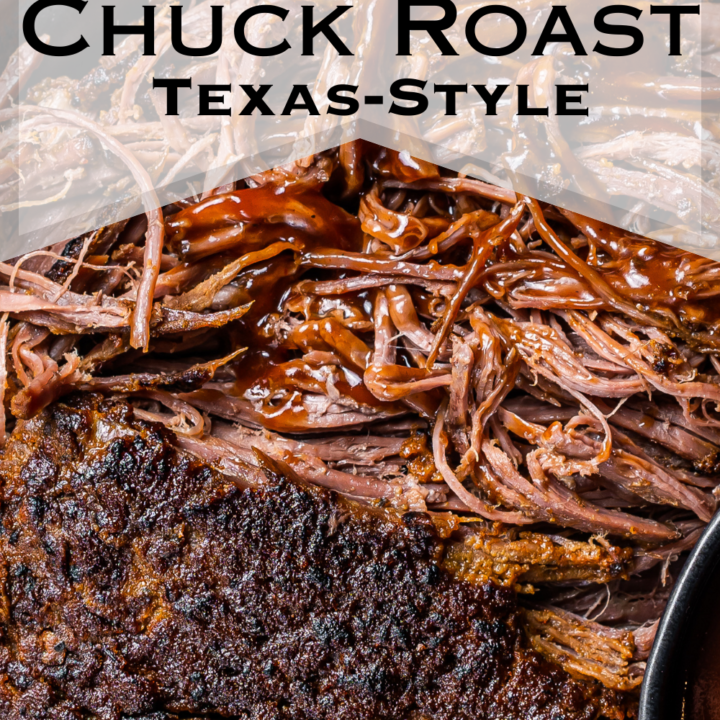
Smoked Chuck Roast Recipe - Texas Style
Indulge in the ultimate Texas-style delight with our Smoked Chuck Roast recipe, where a perfectly seasoned chuck roast meets the art of slow smoking for tender, flavorful perfection
Ingredients
- 1 chuck roast (4-5 pounds)
- 2 tablespoons Beef rub (sea salt, black pepper, garlic powder, onion powder) Montreal Steak seasoning is a good premade mix.
- 1 cup beef broth
- ½ cup apple cider vinegar
- Barbecue sauce (optional)
- Salt and pepper (to taste)
Instructions
Day Before Smoking: Dry Brine and Seasoning
1. Pat the chuck roast dry with paper towels.
2. In a small bowl, mix sea salt, black pepper, garlic powder, and onion powder to create your beef rub.
3. Generously rub the beef rub all over the roast. Cover and refrigerate overnight.
Remove the roast from the fridge and let it come to room temperature for about an hour.
Prepare your pellet smoker or charcoal grill for indirect heat at 225-250°F (107-121°C). Add wood chunks or chips for smoke flavor. In an aluminum pan, combine beef broth and apple cider vinegar, and place it on a low shelf in your smoker.
Smoke:
1. Place a water pan in the smoker or grill to help regulate the temperature and keep the meat tender.
2. Smoke the chuck roast, fat side up, until the internal temperature reaches around 160°F (71°C), which takes a few hours.
Wrap & Finish
1. Lay out aluminum foil on a cutting board.
3. Place the chuck roast in the pan and wrap it tightly with aluminum foil.
4. Return the wrapped meat to the smoker until the internal temperature reaches around 200°F (93°C).
**Rest & Slice:**
1. Carefully remove the roast from the heat and let it rest, wrapped, for about an hour.
2. Unwrap the meat, slice it, and season with a bit of salt and pepper if desired.
3. Serve with your favorite barbecue sauce and sides like potato salad and green beans.
*Pro Tip:* Experiment with different wood chips and rubs to create your own
Why You'll Love This Recipe
Tender Perfection: This recipe's meticulous combination of low and slow smoking, along with a flavorful braising liquid, ensures the chuck roast's connective tissues break down, resulting in an exceptionally tender and juicy final product.
Economical Cut of Meat: The use of chuck roast, a less expensive cut of beef, makes this recipe budget-friendly while still achieving excellent results. Chuck roast is known for its rich flavor but is typically more affordable than premium cuts.
Simple Preparation: The recipe involves basic steps like patting the roast dry, applying a dry rub, and letting it refrigerate overnight. This allows for minimal effort in the pre-smoking preparation.
Easy Smoking Process: Despite the slow smoking for a couple of hours, the recipe doesn't demand constant attention. Once set up, the smoker or grill efficiently does the work, allowing the cook to attend to other tasks.

How to Serve Smoked Chuck Roast
This recipe goes exceptionally well with easy BBQ baked beans, loaded potato salad, pasta salad, green goddess salad, soft sourdough rolls and so many other sides!
Expert Tips
- Invest in Quality Wood Chips or Chunks:
- Experiment with different wood chips or chunks to elevate the smoky flavor. Quality wood, such as hickory or oak, can significantly enhance the taste of the smoked chuck roast. Consider trying fruitwood varieties for a unique flavor profile.
- Use a Meat Thermometer for Precision:
- To achieve the perfect doneness, invest in a reliable meat thermometer. This ensures you hit the target internal temperature, around 160°F (71°C) during smoking and 200°F (93°C) when wrapped, resulting in a perfectly cooked and tender chuck roast.
- Plan Ahead for Optimal Flavor Infusion:
- Take advantage of the day-before preparation by allowing the dry-rubbed chuck roast to refrigerate overnight. This extra time enhances the flavor penetration, resulting in a more deeply seasoned and savory end product.
- Experiment with Dry Rub Variations:
- Customize the dry rub to your taste preferences. Consider adding herbs, spices, or a touch of brown sugar to the mix. This experimentation allows you to create a personalized flavor profile that suits your palate.
- Optimize Wood Chip Placement:
- Strategically place wood chips or chunks in the smoker to ensure a consistent smoke throughout the cooking process. Placing them near the heat source allows for a steady release of smoke, contributing to a robust smoky flavor.
- Save Juices for Serving:
- Collect the flavorful juices from the wrapped meat and use them as a drizzle or sauce when serving. This not only enhances the taste but also showcases the rich, natural flavors developed during the smoking and braising process.



Did you make this recipe? Let me know!