

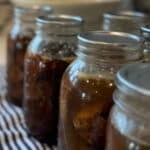

This roast beef canning recipe is tried and true from the Ball Complete Book of Home Canning… And I promise you, it’s easier than you probably think!
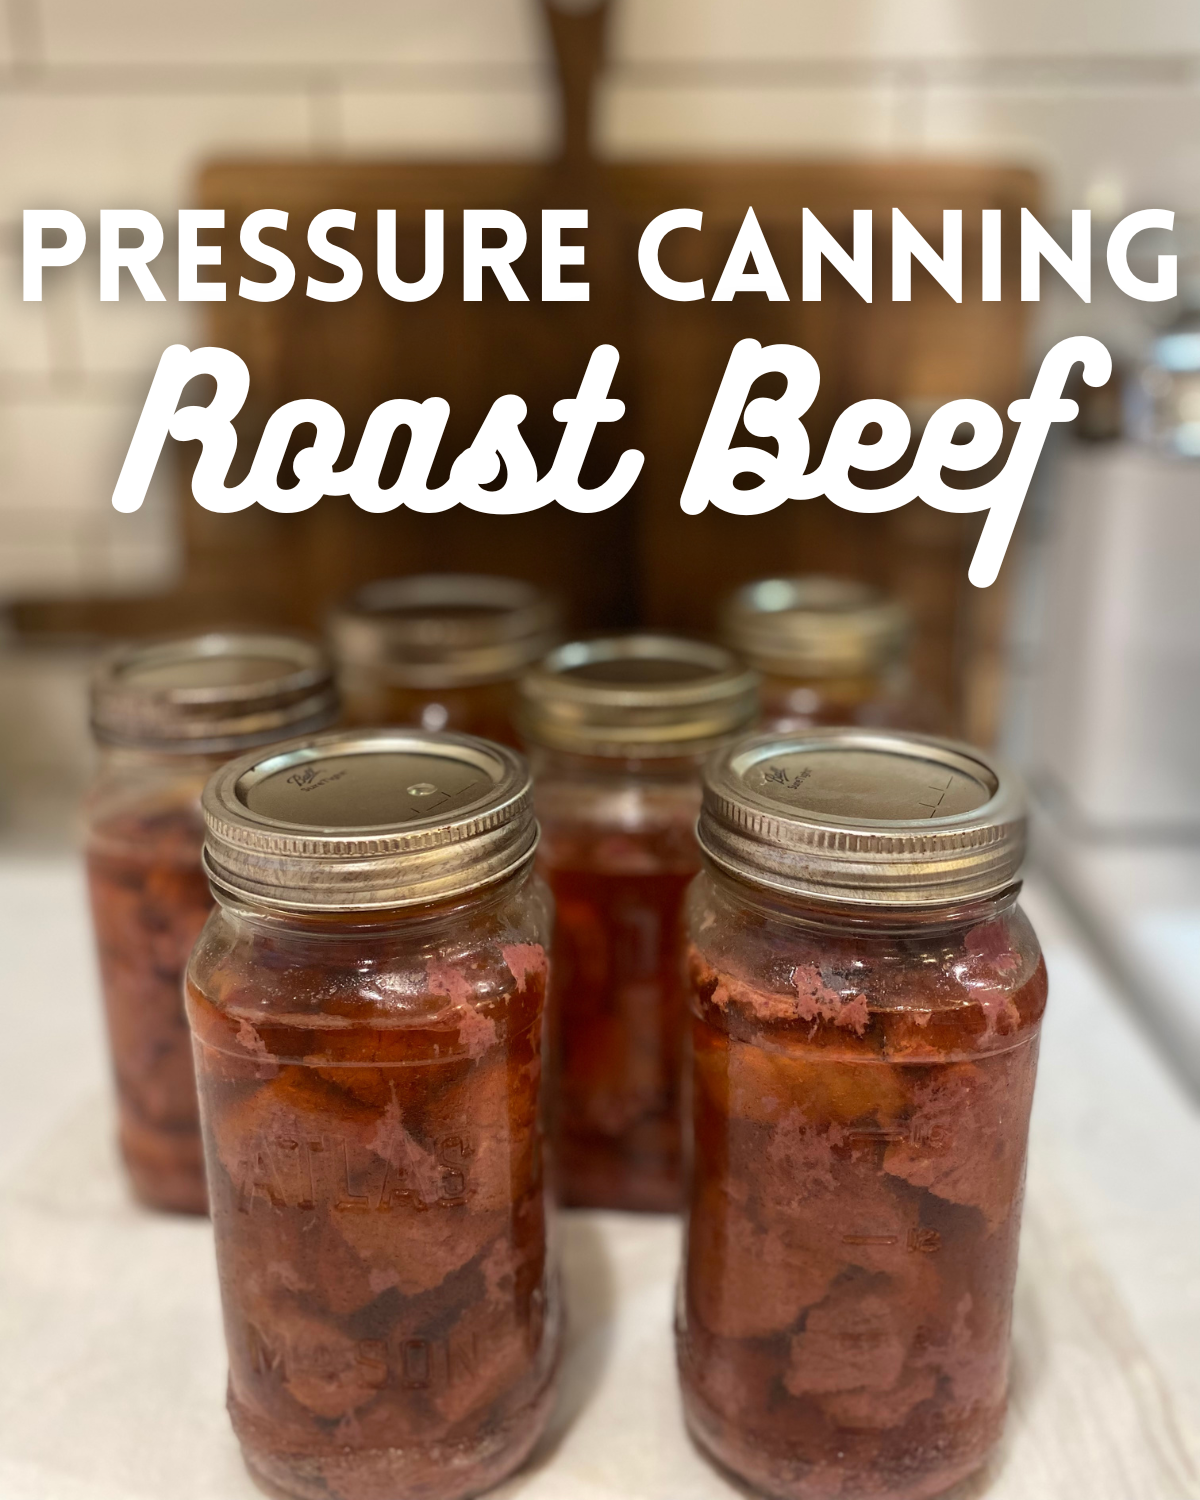
It just takes a couple of ingredients and a few simple steps to get a pantry full of delicious, tender canned roast beef. Canned roast beef is a fantastic pantry staple, perfect for quick and easy meals on those busy nights. From hearty stews to flavorful tacos, the possibilities are endless!
I started my canning journey with the sweet stuff, like pie cherries and sugar-free applesauce, then moved on to savory favorites like cowboy candy, a chunky and mild salsa, and canned chicken breast. Every jar I put up on the shelf felt like a huge win! But I’ve been on a mission to fill our pantry with real, ready-to-go meals, and this canned roast beef is the perfect solution… It’s a whole other level of food security and convenience, and I’m so excited to share it with you!

Why You Are Going to LOVE This!
It’s a Time Saver! Having a few jars of ready-to-go beef on the shelf is a game changer for quick weeknight dinners.
Simple & Delicious! This recipe is so easy, but it gives you tender, savory beef that tastes way better than anything from the store.
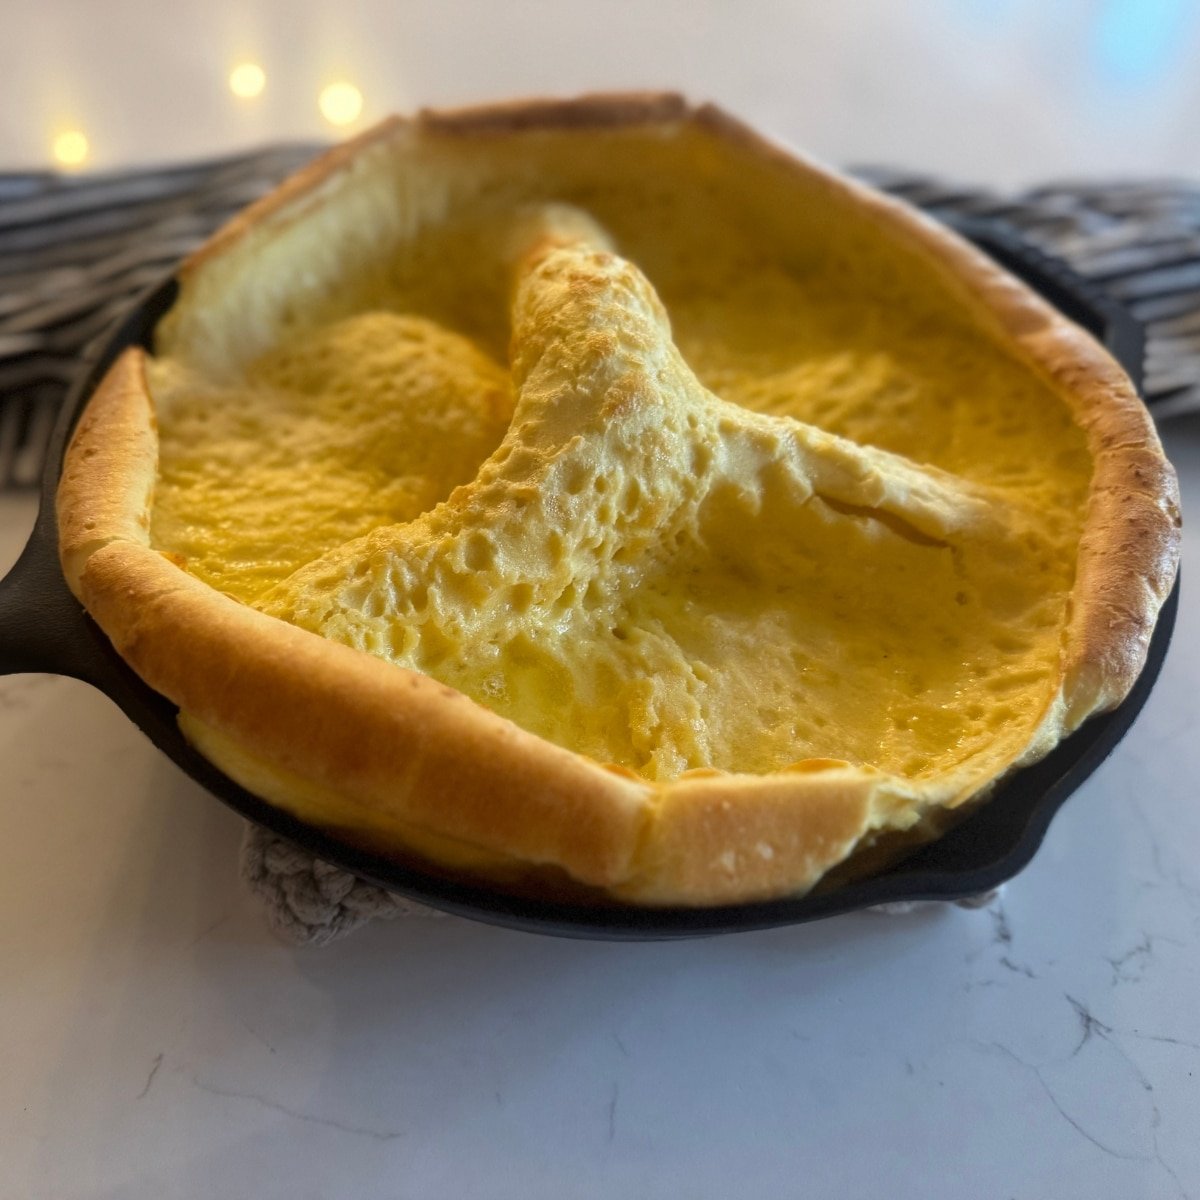
Ultimate Versatility! Use it for sandwiches, tacos, stir-fries, beef stew, or just heat and serve with some mashed potatoes, and make gravy from scratch with the leftover liquid in the jar. It’s the best!
What You’ll Need – The Key Ingredients
- Boneless Roast Beef: The lower the fat, the longer it lasts and the better the seal. Look for lean roasts like the rump roast or eye of round!
- Salt & Pepper or seasonings to taste
- Broth or Water
My Personal Tips & Tricks!
Quality In, Quality Out! The quality of your canned beef totally depends on the quality of beef you start with. Use high-quality beef for the best results!
Searing is Key! Searing your beef chunks adds an amazing browned flavor and texture that you just can’t get with a raw pack method. It’s a little extra work, but it’s so worth it.
Cut the Fat! Trim off as much fat as you can before processing. Fat can go rancid over time, looks yucky, and can even prevent your lids from sealing properly.
Liquid is Flexible: You can use beef broth, chicken broth, or even water for this recipe—whatever you have on hand!
Use the Right Tool! A wide-mouth canning funnel is your best friend here! It helps you get the meat and broth into the jars without making a mess.
I want to know what YOU think… Please review the recipe card!
Roast Beef Canning Recipe
Equipment
- 1 Pressure Canner
- 1 jar lifter
- 1 De Bubbling tool
- 7 pint canning jars with new lids and rings
Ingredients
- 7 pounds boneless Beef Roast Eye of Round or other lean cut. The less fat the longer it stores.
- 7-8 cups beef broth or chicken, or vegetable broth (have extra on hand)
- 3 teaspoons Salt or to taste.
- 3 teaspoons Pepper
- Your Favorite Roast Beef Seasoning optional
- 3 quarts Water for pressure canner, refer to pressure canning instructions for your specific pressure canner model.
- 2 tbsp Vinegar optional, for canner water
Instructions
- Prepare the Canner and Jars: Set up your pressure canner with water as directed by the manufacturer (usually 2-3 inches deep). For a clean finish on your jars, add 2 tablespoons of white vinegar to the canner water. Heat your 7 clean pint jars to keep them hot before filling.
- Prep Beef: Trim all visible fat from the beef. Cut the roast into 1-inch chunks or strips, making sure to cut against the grain for the most tender final product.
- Brown Meat: In a hot skillet, sear the beef chunks until they are browned on all sides. Season them with salt, pepper, and your favorite spices. This "hot pack" method adds incredible flavor.
- Pack Jars: Using a canning funnel, tightly pack the hot, seared meat into your hot jars. Leave a 1-inch headspace at the top.
- Fill and Seal: Pour hot broth or water over the meat, maintaining the 1-inch headspace. Use a bubble wand to remove any trapped air bubbles. Wipe the jar rims with a clean cloth soaked in vinegar, then center a new lid and adjust the band to be fingertip-tight.
Process with Pressure:
- Place the filled jars on the rack inside the canner.
- Secure the lid and turn the heat to medium-high. Let steam vent steadily for 10 full minutes before placing the pressure regulator on the vent.
- Wait for the canner to reach the correct pressure (10 lbs for weighted gauge at 0-1,000 ft, or 15 lbs for higher altitude).
- Set your timer for 75 minutes and maintain a steady pressure by adjusting the heat.
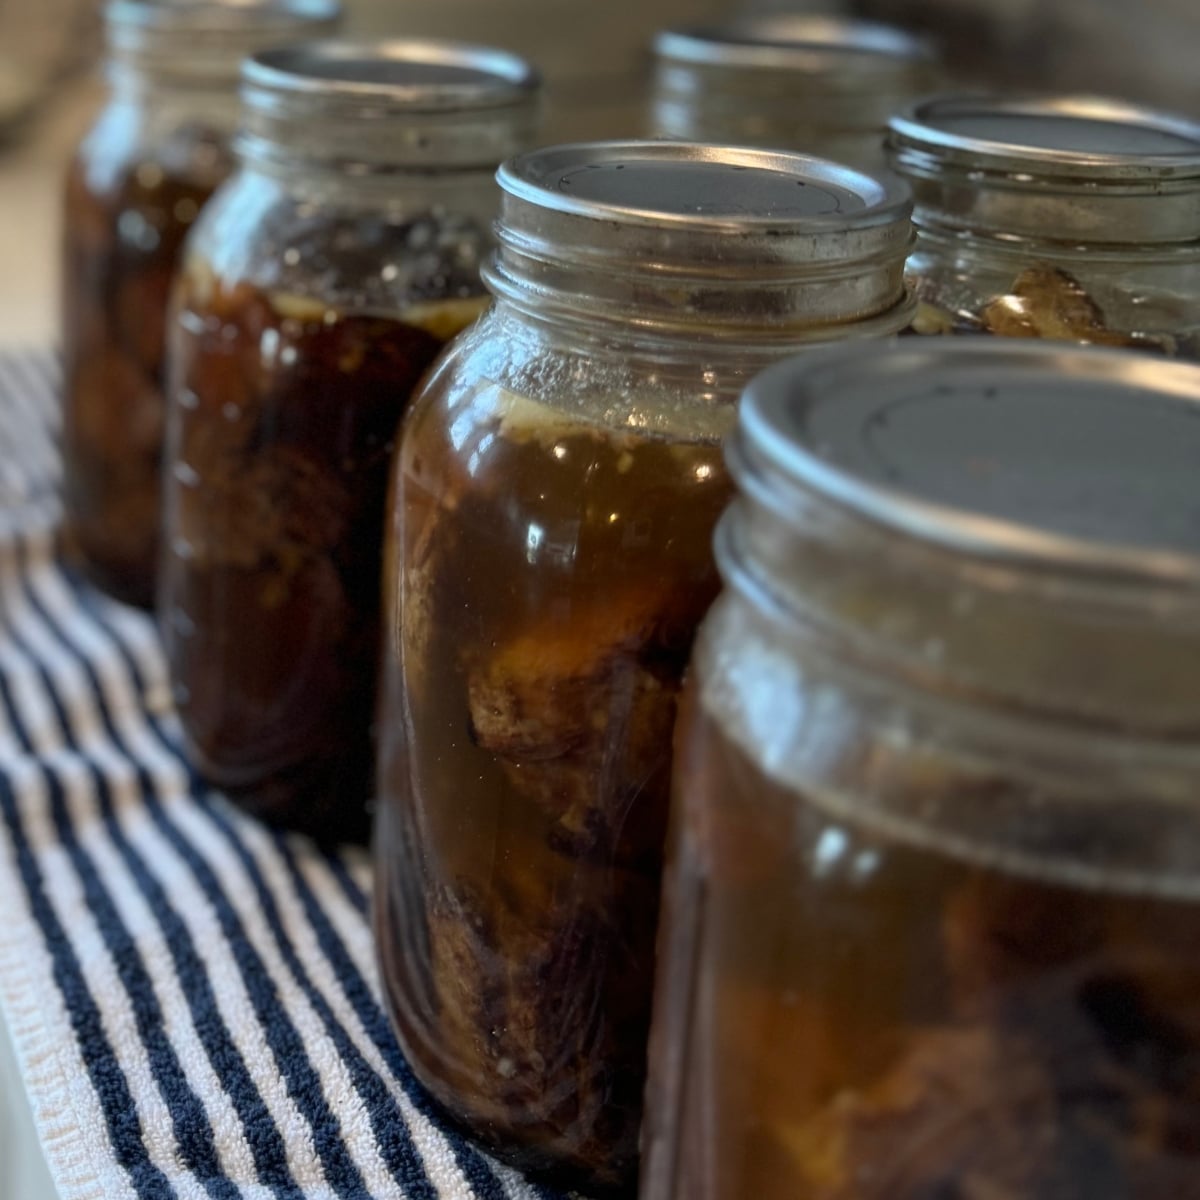
- Cool & Store: When the time is up, turn off the heat. Let the canner depressurize naturally until the gauge returns to zero. Wait another 10 minutes before removing the lid. Carefully lift the jars out and place them on a towel-lined counter to cool for 12-24 hours. Check the seals and remove bands before storing.
Video
Notes
Altitude Adjustments for Pressure Canning
The pressure you use depends on your altitude and the type of canner you have. This chart shows you the standard adjustments for a weighted-gauge canner (like a Presto or All-American) and a dial-gauge canner.Nutrition

About Juliea
Juliea is a mother of six, a sourdough baker, and a homestead builder living in Idaho. Alongside her husband and their horse, Dude, she manages a busy farmhouse and shares her love for scratch-cooking and simple homemaking. Through her blog and YouTube channel, she helps millions of families every year master the art of the handmade home.


3 comments
Timber
This is a great way to preserve your beef. Very delicious. You can’t even tell it’s been canned.
Juliea Huffaker
I am so glad! I’ve found that having these ‘ready-to-go’ roast beef jars is a total game-changer for our busy nights.
Don’t skip the searing step! I know it’s an extra dish to wash, but that deep brown crust is what keeps the beef from tasting like ‘boiled meat’ after 90 minutes in the pressure canner. It’s a trick I swear by to get that ‘Sunday Dinner’ quality straight out of a jar. And the extra liquid in the jar, it makes the most incredible gravy!
Juliea Huffaker
Hi Cheryl! Thanks for stopping by and asking! We love canned beef with mashed potatoes and gravy. I also use it in enchiladas, tacos, burritos, tamales. We also love soups and stews too. I hope this gives you some good ideas!