


This easy chicken canning recipe makes tender fall apart chicken seasoned with the best flavors that’s ready for your favorite meals, and good for years on the pantry shelf!
Pressure Canning Chicken
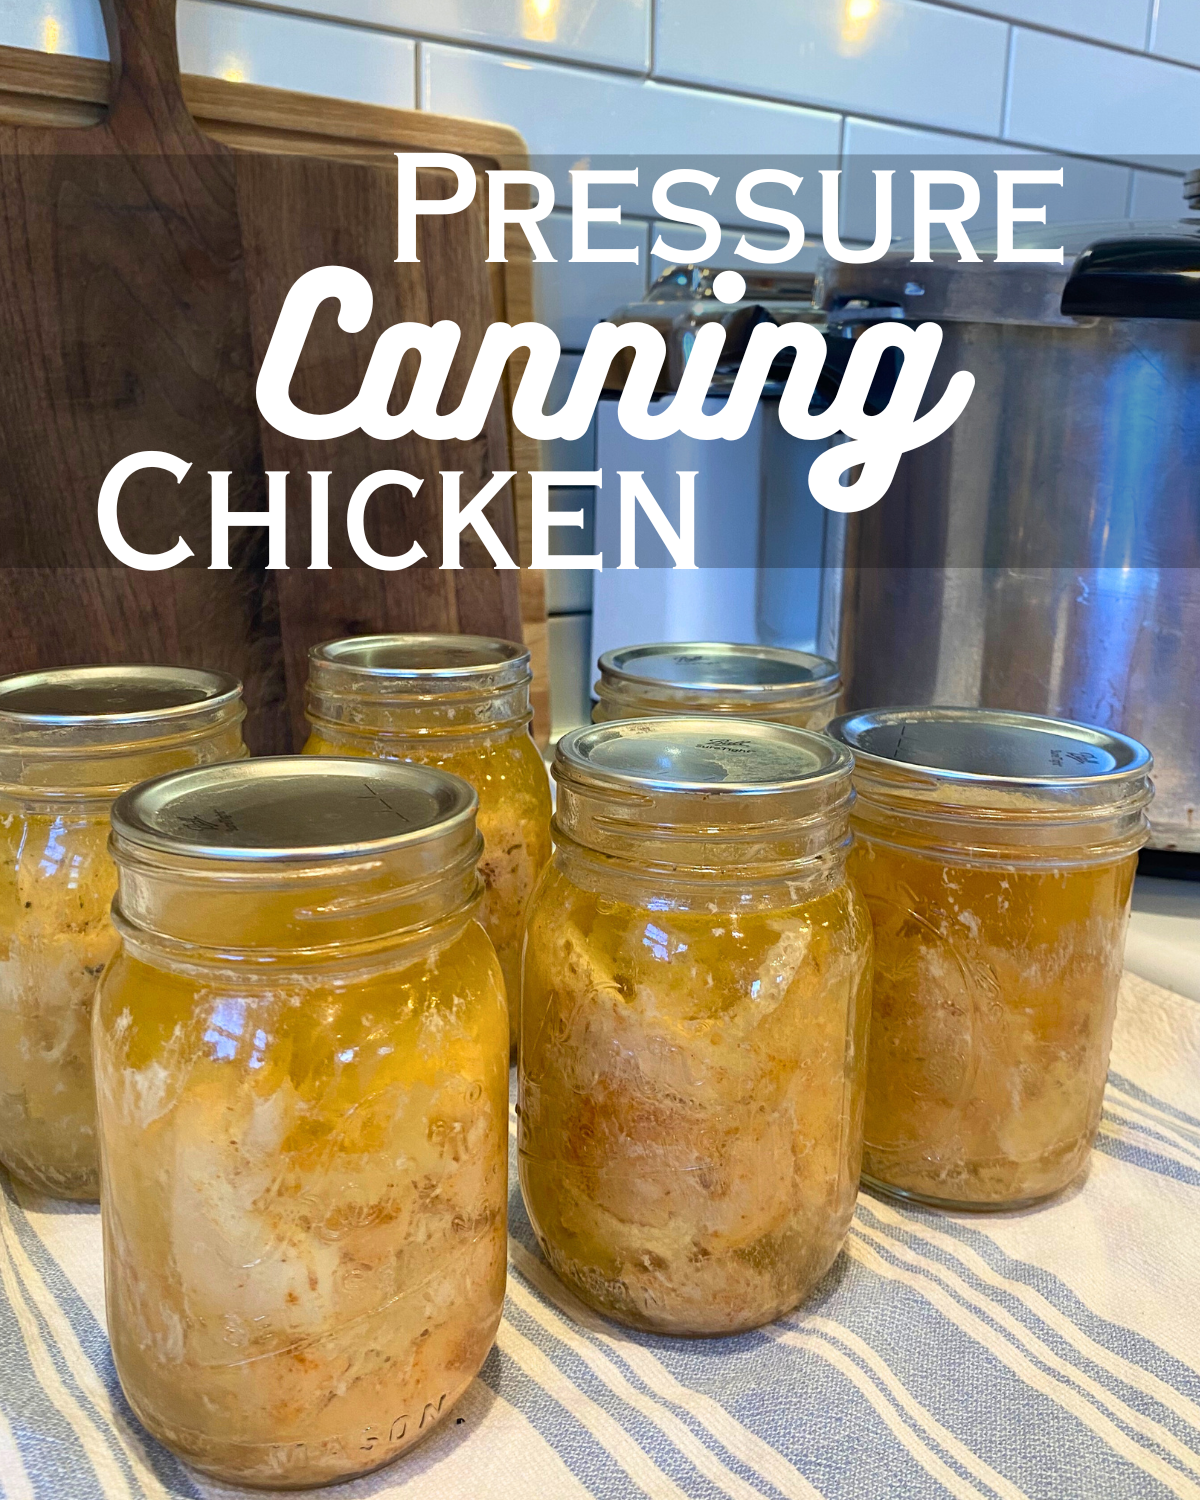
Pressure canning chicken is a fantastic way to preserve delicious chicken for quick and easy meals anytime! Stock your pantry with shelf-stable protein to whip up creative dishes throughout the year.
Easy Raw Pack Pressure Canned Chicken (Pints & Quarts!)
Fill your pantry with wholesome goodness that’s quick to use and packed with flavor! This beginner-friendly guide takes you through the raw pack method for pressure canning chicken. It’s easier than you think, and requires minimal effort compared to the hot pack method.
Why You’ll Love This Recipe
- Effortless Convenience: Raw pack saves time and hassle compared to hot pack canning.
- Versatile Protein Powerhouse: Home-canned chicken adds protein punch to soups, stews, salads, and countless other dishes!
- Long-Lasting Shelf Life: Stock your pantry with shelf-stable protein for months to come.
Tools You’ll Need
- 6 (pint jars) or 3 (quart jars) clean canning jars. Use hot soapy water to clean your jars, no need to sterilize.
- New lids and bands
- Fresh chicken breasts or boneless chicken (boneless or remove meat from bones & trim fat)
- Optional: 1 teaspoon salt per jar
- 3 quarts water + 2 tbsp vinegar (for 7-quart Presto canner)
- Pressure canner (not a water bath canner!) Chicken is a low-acid food making it unsafe for water bath canning.
- Butter knife or bubble remover.
- Jar lifter
- Chicken stock or cold water
- Canning funnel

My Tips & Tricks
- Don’t put cold jars in a hot canner, they’ll break. Heat them together to prevent breakage.
- Let pressure release naturally when you’re done to prevent the liquid from seeping out.
- This fall apart tender home-canned chicken is great in chicken salad, chicken pot pie and chicken soup!
- You can can whole chicken using this recipe, just remove meat from bones and trim off excess fat from raw meat pieces!

Pressure Canning Chicken vs. Water Bath Canning
Pressure canning chicken is a safe and rewarding way to preserve delicious chicken at home. But safety always comes first, so let’s make sure we follow the proper procedures!
It’s crucial to understand why using a pressure canner is mandatory for this task, and why a water bath canner is dangerously insufficient.
The Science of Safety: Chicken, along with other low-acid foods, is susceptible to the growth of dangerous bacteria like Clostridium botulinum, which can cause botulism – a potentially fatal illness. Water bath canning reaches temperatures insufficient to eliminate these bacteria in low-acid foods.
The Pressure Canner: A pressure canner traps steam, raising the internal temperature significantly beyond what’s possible with boiling water. This high heat reaches deep into the food, destroying harmful bacteria and ensuring safe storage for months.
Ignoring the Difference Can Be Deadly: Using a water bath canner for chicken creates a false sense of security. The food may appear cooked, but deadly spores can remain viable, leading to severe illness or even death.
Pressure Canning Done Right:
- Follow a trusted recipe for raw pack or hot pack methods.
- Use a well-maintained pressure canner with reliable gauges and seals.
- Process chicken for the exact times specified for your altitude and jar size.
- Let pressure release naturally before opening the canner.
Invest in Safety: A pressure canner may seem like an extra expense, but it’s an investment in your family’s well-being. Remember, there’s no shortcut to safe food preservation.
With proper pressure canning techniques, you can enjoy all the delicious qualities of home-canned chicken: convenient meals, budget-friendly options, and the satisfaction of preserving your own food. Just remember, safety always comes first!
Hot Pack vs. Raw Pack
To Hot Pack or to. Raw Pack… That is the question! When it comes to chicken, both methods deliver delicious, shelf-stable canned chicken… But which reigns supreme for long-term storage? I’ll let you be the judge!
Hot Pack Pros:
- Enhanced Shelf Life: The precooking step in Hot Pack eliminates air, a potential enemy of long-term preservation. This reduces the risk of spoilage and extends the shelf life of your canned chicken, according to the Ball Complete Book, potentially beyond the typical one year for Raw Pack.
- Texture Consistency: Precooked chicken maintains its texture better during extended storage. Raw Pack chicken can soften slightly over time, which some may find undesirable.
- Flavor Infusion: Simmering chicken in seasoned broth infuses the meat with deliciousness. This pre-flavored base shines through after months of storage, offering a head start on creating flavorful meals.
Hot Pack Cons:
- Time Investment: Precooking adds an extra step, extending the overall canning process. If speed is your priority, Raw Pack might be your pick.
- Potential Toughness: Overcooking during precooking can lead to slightly tougher chicken texture. Finding the perfect simmer time is key.
- Limited Broth Options: Hot Pack often uses seasoned broth, restricting you to the pre-infused flavors during storage. Raw Pack allows for flexibility, letting you adjust broth flavors later.
Raw Pack Pros:
- Effortless Convenience: Skip the precooking step and pack raw chicken directly into jars. A time-saving boon for busy canners.
- Juicy Tenderness: Raw Pack chicken retains more of its natural juices, resulting in succulent, tender meat even after months.
- Broth Creativity: Unleash your culinary spirit! Raw Pack allows you to customize broth flavors later, adding versatility and creative control.
Raw Pack Cons:
- Limited Shelf Life: As mentioned, the Ball Complete Book suggests a slightly shorter shelf life for Raw Pack chicken compared to Hot Pack due to potential air pockets.
- Texture Change: Some report a slight textural softening in Raw Pack chicken over time, though still enjoyable for many.
- Flavor Neutral: Raw Pack chicken is a blank canvas, requiring additional seasoning when used, which some might find less convenient.
The long-term storage crown goes to Hot Pack for its enhanced shelf life and texture consistency, thanks to the precooking step. But the Raw Pack is so much easier if you prioritize speed and creative control. Ultimately, it’s up to you… The best method is the one that fits your priorities and preferences!
Processing Time
Pressure canning your own chicken unlocks a pantry full of delicious goodness, but the magic truly happens during the “processing time.” So, how long do you keep that pressure gauge jiggling for juicy wings and flavorful drumsticks? Don’t fret, friend, this section guides you through the time warp like a seasoned canner.
How Long to Pressure Can Chicken
First things first, processing time depends on two key factors: altitude and jar size. Don’t worry, you don’t need a scientific calculator. Here’s a handy breakdown:
Altitude:
- Sea Level to 2,000 ft: This lucky zone gets 75 minutes for pint jars and 90 minutes for quarts, regardless of bone status (boneless or in!).
- 2,001 to 4,000 ft: Add a mere 5 minutes to each time in this intermediate zone. So, pints become 80 minutes and quarts a leisurely 95 minutes.
- 4,001 to 8,000 ft: Higher altitudes require more pressure power. Add 10 minutes for pints and 15 minutes for quarts in this range.
Jar Size:
- Pints: These smaller buddies get a slightly shorter processing time compared to their quart counterparts. Remember the pint times mentioned above!
- Quarts: Larger jars mean slightly longer pressure snoozes. Refer to the chart or add the relevant additional minutes based on your altitude.
Bone or No Bone? Good news! Processing times are the same for boneless and bone-in chicken, both in hot pack and raw pack methods. The pressure penetrates deeply, ensuring safe and delicious results regardless of bone structure.
Canned Chicken Shelf Life
The shelf life of properly pressure-canned chicken is more nuanced than simply saying “up to a year.” While the one-year timeframe is a general guideline, several factors can influence how long canned chicken remains safe and good to eat:
Factors Affecting Shelf Life:
- Processing method: Hot Pack tends to have a slightly longer shelf life due to precooking, while Raw Pack may last slightly less (around 8-10 months).
- Storage conditions: Cool, dark, and dry pantries are ideal. Avoid heat, light, and moisture.
- Jar integrity: A proper seal is crucial. Discard any jars with dents, bulges, or leaks.
- Quality of ingredients: Use fresh, high-quality chicken for optimal shelf life.
While exceeding the one-year mark isn’t recommended for guaranteed safety, some experienced canners report enjoying properly canned chicken even older than that. Remember, safety always comes first. If you’re unsure about the age of your canned chicken or notice any signs of spoilage, discard it without hesitation.
Tips for Maximizing Shelf Life:
- Follow a trusted recipe with accurate processing times for your altitude and jar size.
- Use clean, sterilized jars and lids.
- Cool your pressure canner naturally before storing the jars.
- Monitor your pantry temperature and adjust storage if needed.
- Label your jars with processing date and contents.
Canning Recipes
Applesauce Canning Recipe without Sugar
Crushed Tomato Sauce Canning Recipe
Tomatillo Salsa Canning Recipe
Cowboy Candy Jalapeno Canning Recipe
Source
National Center for Home Food Preservation Source
Let me know what you think!
Share your cooking tips and feedback in the comments below. Did you add any twists to these recipes? I’d love to hear!

Chicken Canning Recipe – Raw Pack, Pressure Canned
Ingredients
- 6 large chicken breast
- *optional – 2 teaspoons taco seasoning or your favorite chicken seasoning!
- *optional – 2 teaspoon “The Usual” seasoning
- About 2 cups Water or broth.
Instructions
- Check you canner and make sure the rubber ring and parts are all working right and not damaged.
- Clean your jars, and get new lids.
- Trim fat from chicken and cut into 1-2 inch cubes.
- *optional season half the chicken with taco seasoning and half with the usual seasoning, if desired.
- Fill jars evenly with chicken breast cubes.
- Top jars off to 1 inch head space with water or broth.
- Use a butter knife to remove air bubbles or pockets in the jar, and make sure there is 1 inch head space.
- Clean jar rims with a towel and vinegar
- Add a clean, new lid to the top.
- Add bands and tighten to finger tight.
- Put 3 quarts of water and 2 tablespoons vinegar into your pressure canner (for a 7qt presto canner). (Vinegar keeps your jars clean so they don't get an ugly film on them.)
- Load your jars in to canner, Secure the lid, and turn the heat up to medium – medium high.
- Let the steam vent through the vent hole for 10 minutes before placing weights on top. Recipe call s for a 10 pounds of pressure, but I am at a higher altitude so I use 15 pounds pressure or both weight rings.)
- Let the pressure canner come to pressure when the metal button pops up.
- When weights start rocking back and forth you can start your timer for 75 minutes (for pint jars) or 90 minutes for qt jars. See notes below to adjust time for altitude!
- After the processing time is up, Turn off the heat and allow the canner to depressurize naturally until the pressure gauge reads zero or the air vent/plunger drops down. This can take 30-45 minutes.
- Wait for another 10 minutes before carefully unfastening the lid and opening it away from your face to avoid a steam burn.
- Carefully remove the jars using a jar lifter and place them on a wire rack or a towel-lined counter to cool, undisturbed, for 12-24 hours.
- After cooling, check the seals by pressing on the center of each lid. It should not flex or pop. If a jar hasn’t sealed, you must refrigerate it immediately and use it within a few days.
Notes
If you have a Weighted Gauge Canner
(These are the canners with a rocking or jiggling weight)If you have a Dial Gauge Canner
Nutrition

About Juliea
Juliea is a mother of six, a sourdough baker, and a homestead builder living in Idaho. Alongside her husband and their horse, Dude, she manages a busy farmhouse and shares her love for scratch-cooking and simple homemaking. Through her blog and YouTube channel, she helps millions of families every year master the art of the handmade home.


2 comments
Timber
This is a great recipe super easy to follow for beginners
Darlene
Great recipe. Love that’s it’s tested. thank you