
If you love the idea of filling your pantry shelves with quick, ready-to-heat dinners, this raw pack chicken vegetable soup canning recipe is an absolute game-changer.
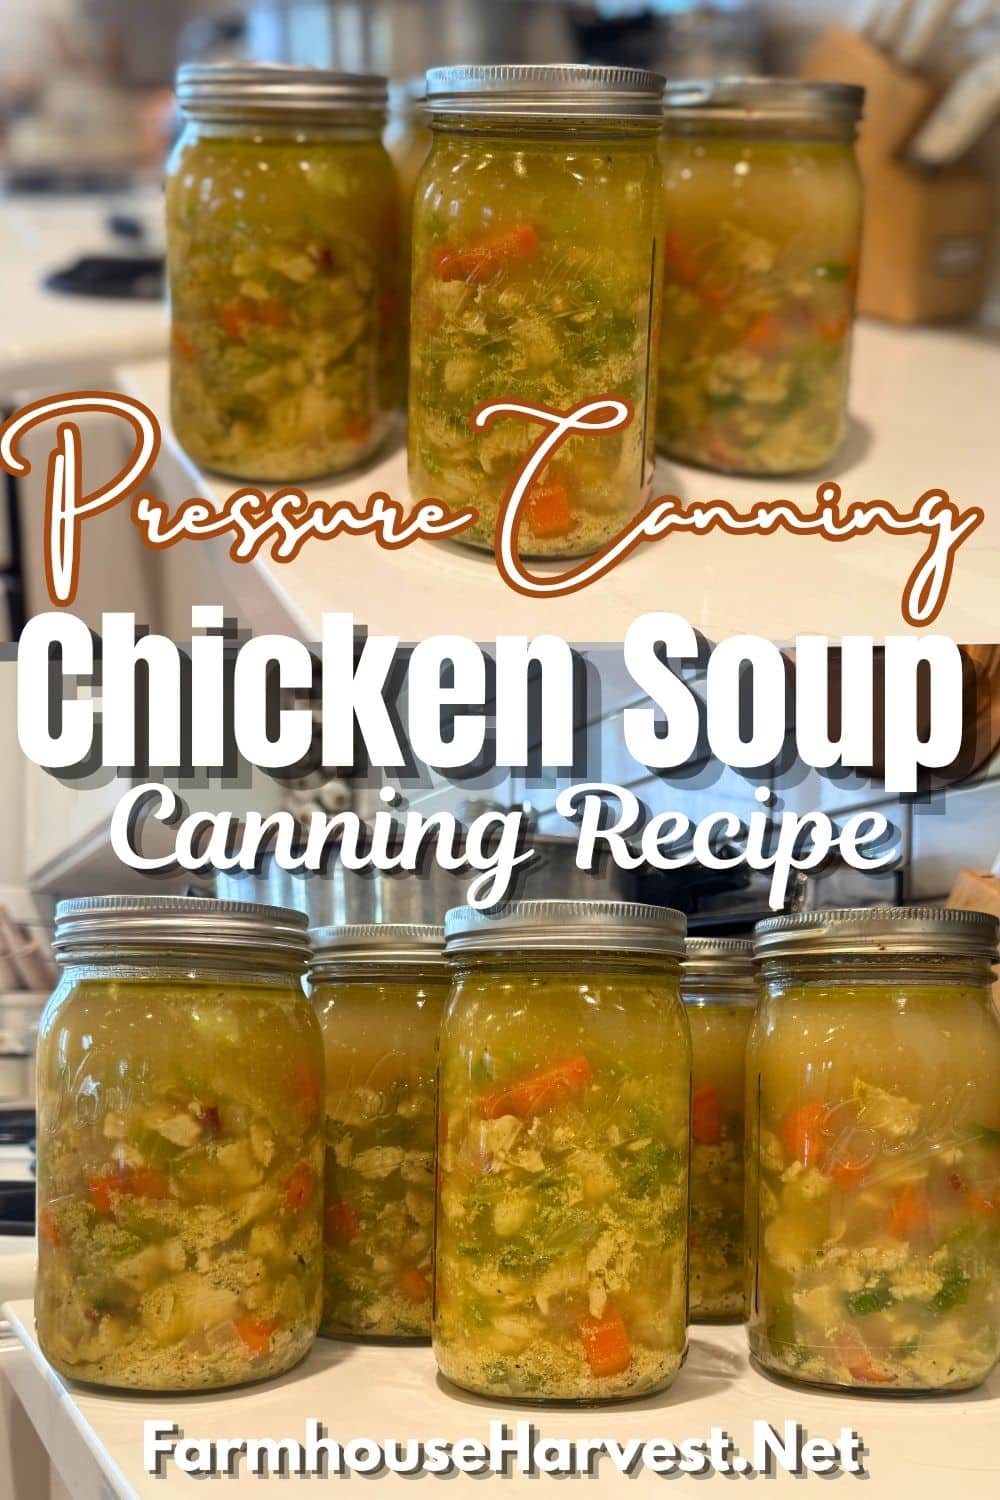
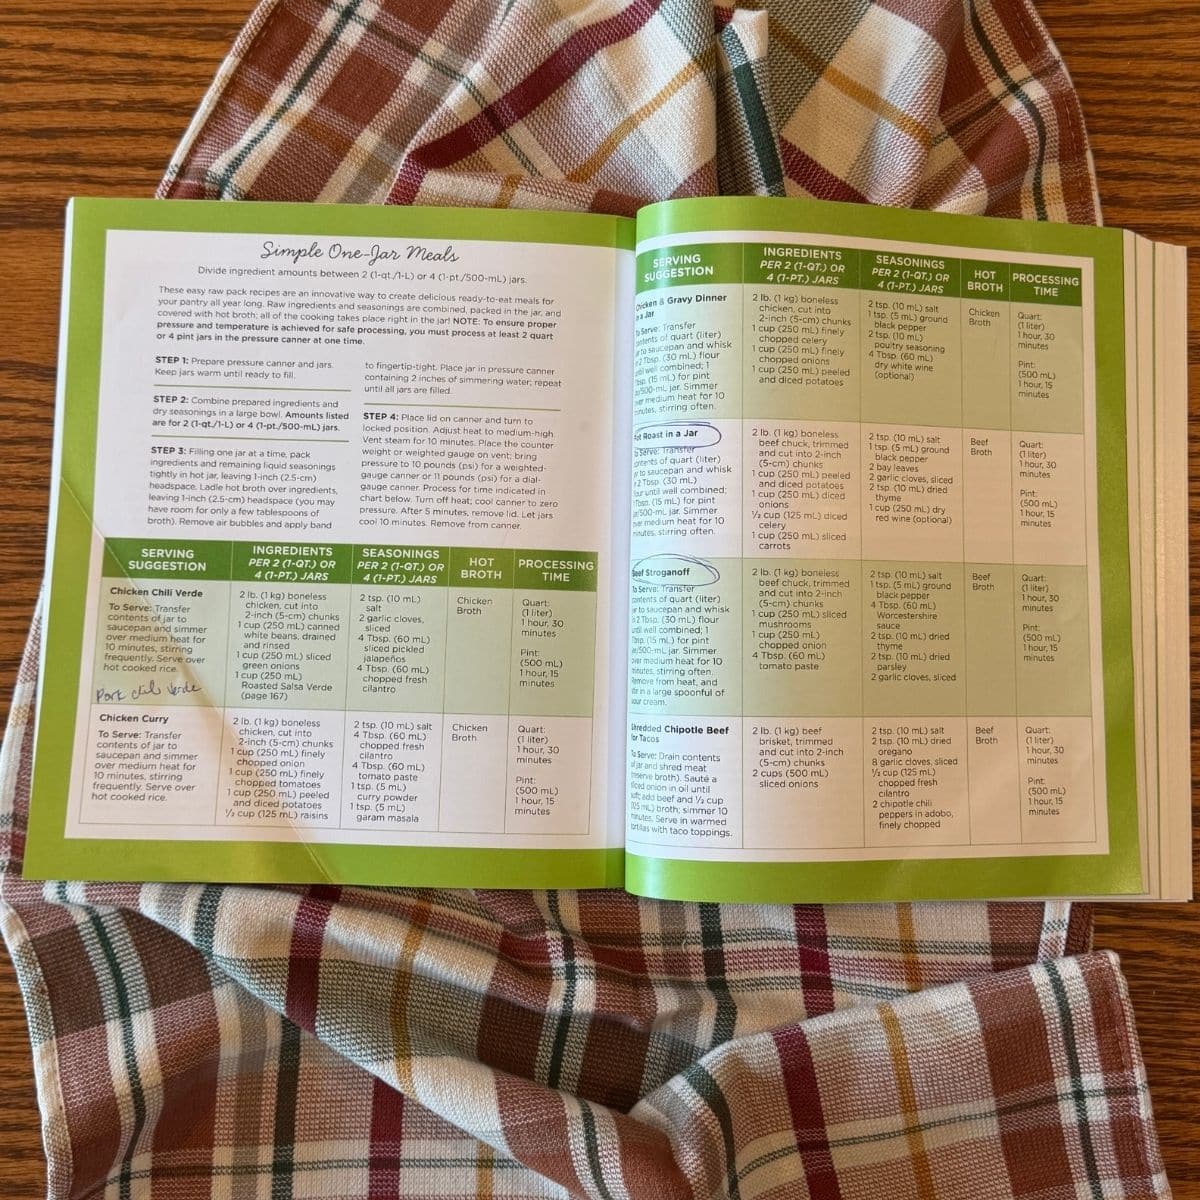
Unlike standard brothy soup recipes that cap your ingredients at half a jar, this recipe follows Ball’s tested “Simple One-Jar Meals” method (adapting their tested Pot Roast in a Jar protocol). You pack raw cubed chicken, potatoes, carrots, onions, and celery straight into the jar, pour in warm broth, and let your pressure canner do all the work. The chicken cooks up incredibly tender while creating a rich, flavorful homemade meal right inside the jar!
Serve it hot on busy weeknights with warm dinner rolls, soft sourdough rolls, or a fresh batch of moist & sweet sourdough cornbread.
Why You’ll Love This Raw Pack One-Jar Meal
No Pre-Cooking Required: Raw packing saves tons of prep time and dishes—no boiling poultry or simmering stock pots on the stove beforehand.
Tender, Juicy Chicken: Raw chicken breast or thigh meat retains its natural juices, staying perfectly tender after processing instead of turning dry or rubbery.
A True Meal-in-a-Jar: Packed with heartier ratios of meat and root vegetables, opening a jar gives you a thick, satisfying complete dinner ready to heat in 5 minutes.
Essential Ball Safety Rules for Raw Pack Meals
When canning raw pack meal recipes with chicken and vegetables, sticking to Ball’s exact tested parameters ensures complete thermal safety:
- Pressure Canner Only: Low-acid foods like poultry, potatoes, carrots, celery, and onions must be pressure canned to safely eliminate botulism spores.
- Maintain 1-Inch Headspace: Leaving an exact 1-inch headspace gives the ingredients and expanding broth room to circulate properly during thermal processing.
- Uniform 1-Inch Cuts: Trim all visible skin and hard fat from your chicken breast or thighs and cut into uniform 1-inch to 2-inch cubes. Cut your vegetables to match so heat penetrates evenly to the center of the jar.
- No Thickeners or Grains: Never add flour, cornstarch, noodles, or rice to the jar before canning. If you prefer a thick gravy consistency, simply whisk a quick cornstarch slurry into the soup while reheating it on the stovetop.
- Minimum Batch Size: Process a minimum batch of at least 2 quart jars or 4 pint jars at a time to ensure your pressure canner retains proper heat dynamics throughout the cycle.
Canning Safety: Why Meat Ratios Matter
If you have spent any time looking at pressure canning recipes, you may have noticed two different sets of rules for packing chicken and vegetables into jars. Understanding why these rules exist will give you confidence in the kitchen!
The General “Choice Soup” Standard (1/2 Solids Rule): When you create a custom, brothy soup without following a specific fixed-ratio recipe, the National Center for Home Food Preservation (NCHFP) requires keeping solid ingredients (chicken, carrots, onions, celery) to no more than half the jar. This ensures the broth stays thin enough to circulate rapidly via convection, carrying heat evenly to the cold spot in the center of the jar during the 75-minute (pints) or 90-minute (quarts) process.
The “One-Jar Meal” Standard (Ball Tested Ratios): Ball’s tested “Simple One-Jar Meals” series (like their Pot Roast in a Jar or Chicken and Gravy Dinner protocols) uses a different thermal processing model. Because Ball laboratory-tested fixed proportions of raw cubed meat, root vegetables, and broth, they established that swapping equal weights of raw cubed chicken breast for beef chuck roast in these specific recipes retains safe heat penetration. The uniform 1-inch meat and vegetable cuts allow heat to transfer safely even with a heartier density.
Why We Avoid Thickeners In the Jar: Never add flour, cornstarch, rice, or dairy into your jars before pressure canning. Thickeners slow down heat transfer and create dense zones inside the jar where botulism spores could survive. Always whisk your cornstarch slurry, flour, or cream into the soup when you open the jar and reheat it on the stove!
Ingredients & Simple Prep Tips
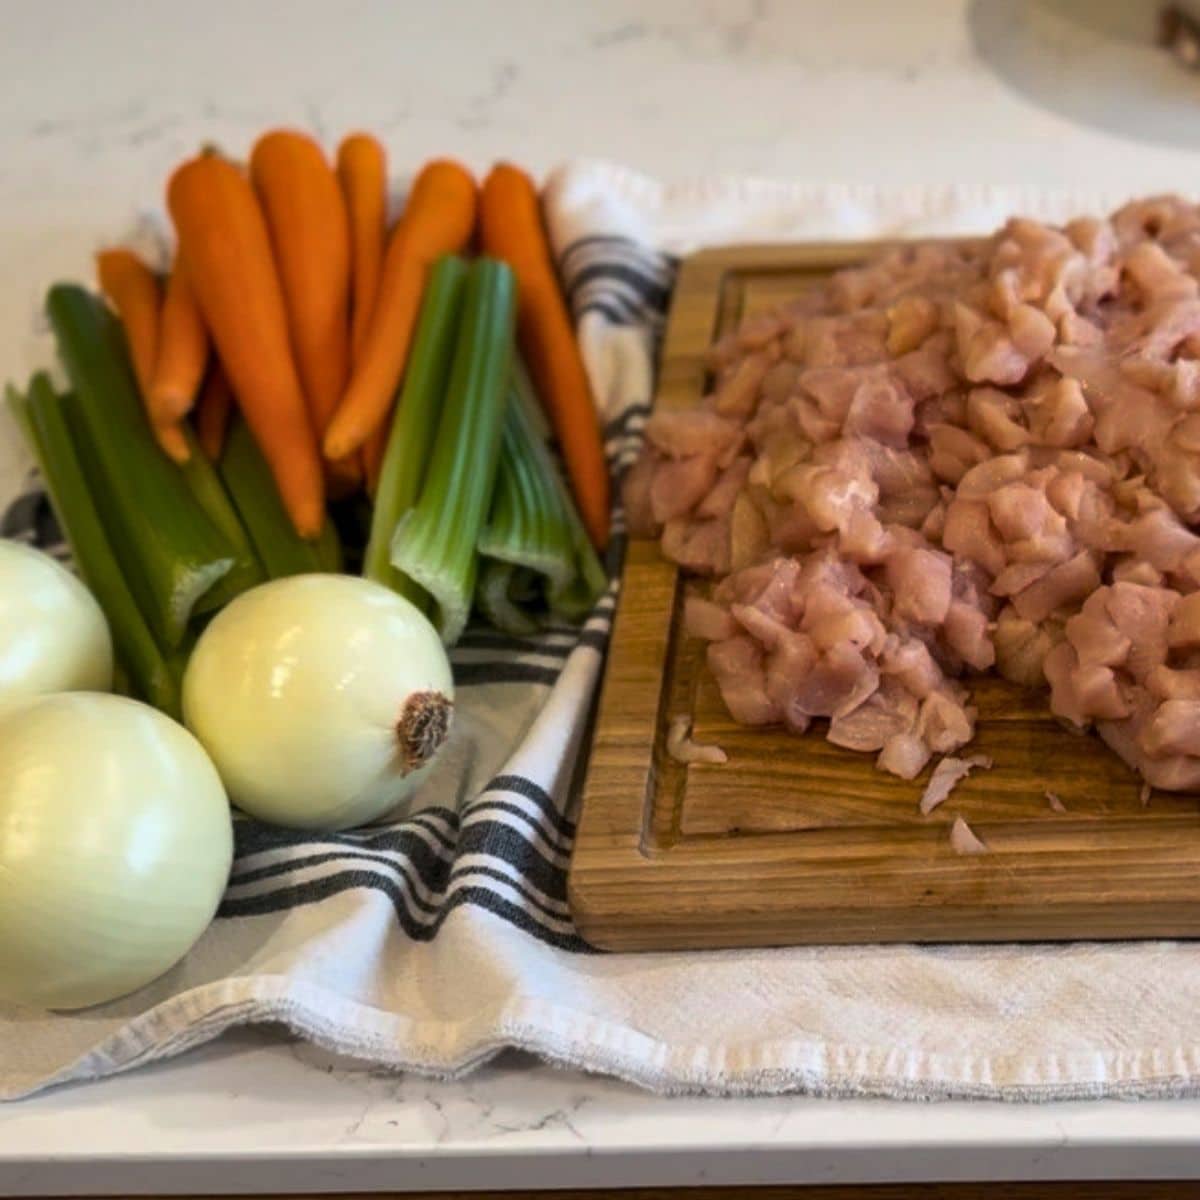
Raw Chicken: 2 to 3 lbs boneless, skinless chicken breasts or thighs, trimmed of fat and cut into 1-inch cubes. (Direct tested swap for beef chuck roast!)
Chopped Root Veggies: 4 cups total of diced potatoes, carrots, celery, and yellow onions, cut into 1-inch pieces.
Warm Liquid: 4 to 6 cups of warm chicken broth or water.
Seasoning & Salt: 1 tsp canning salt per quart jar (optional), plus black pepper, garlic powder, or dry thyme.
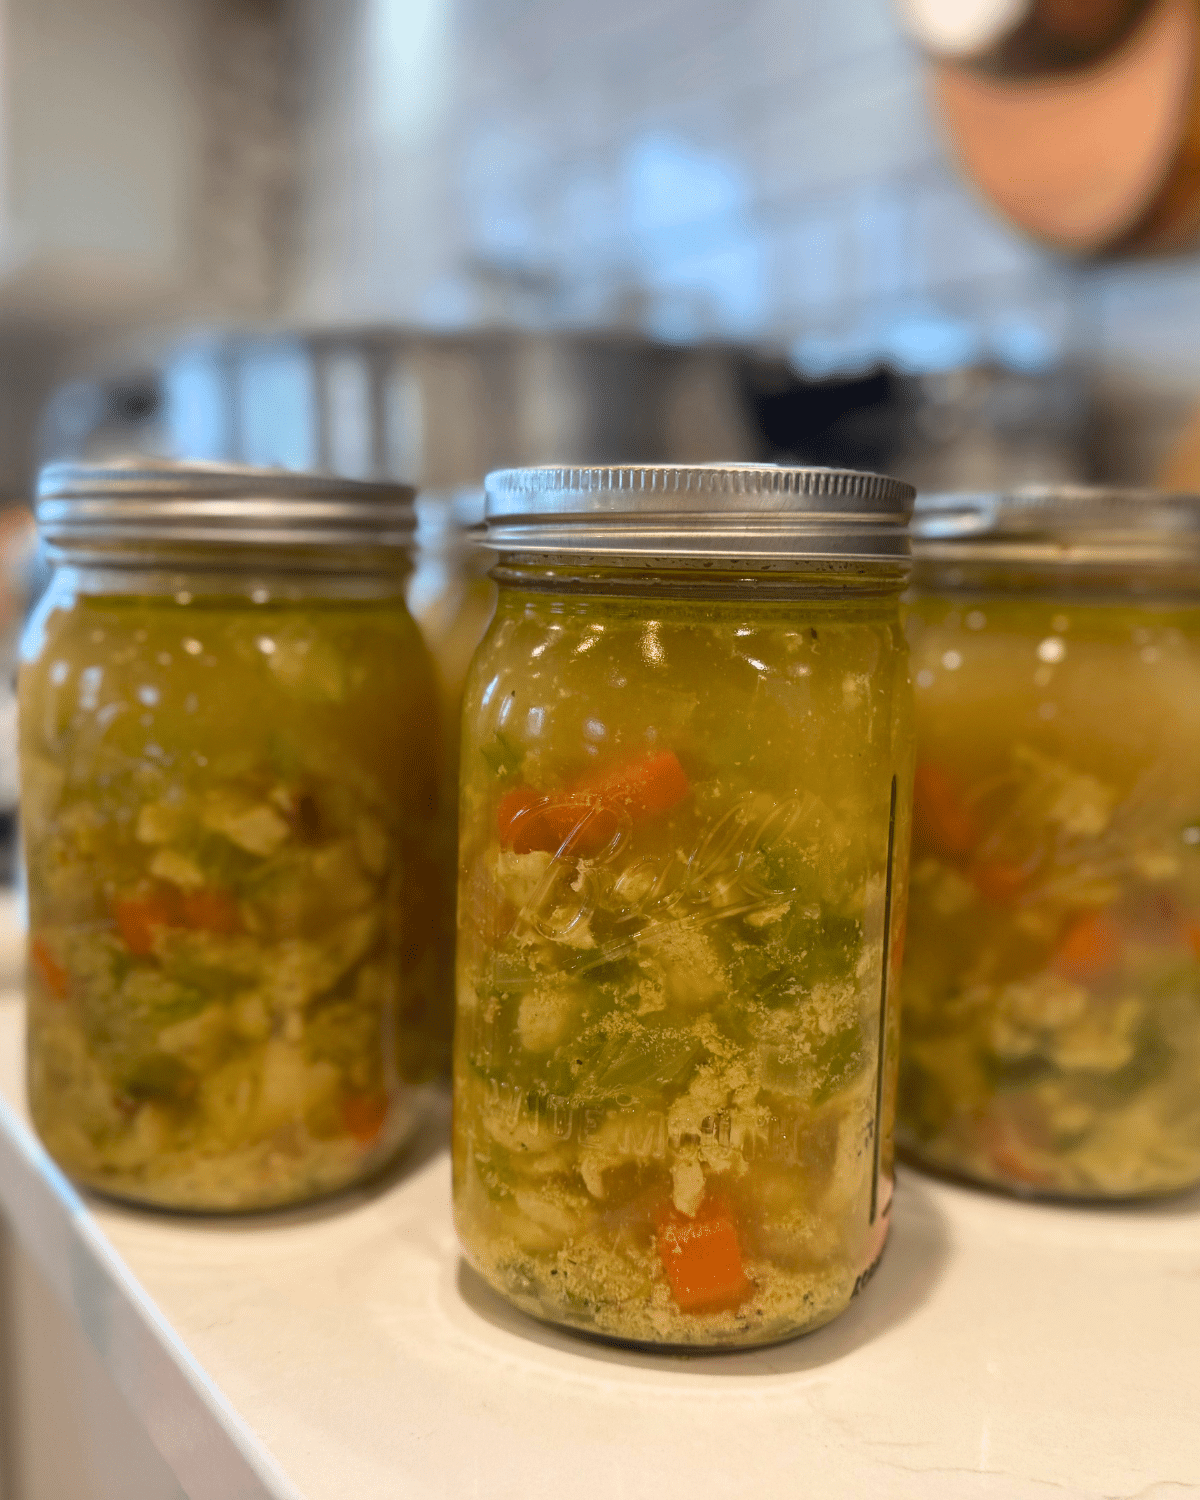
Chicken Vegetable Soup Canning Instructions
Prep Canner & Jars: Place your pressure canner on the stove with 2 to 3 inches of warm water. Keep clean pint or quart jars warm in the canner while you prep ingredients.
Pack the Jars: Evenly distribute your raw cubed chicken and chopped vegetables into warm jars, packing them lightly without mashing down. Add canning salt and dried spices if using.
Add Broth & Set Headspace: Ladle hot chicken broth or water over the raw chicken and vegetables, leaving 1 inch of headspace at the top of the jar.
Debubble & Apply Lids: Slide a non-metallic bubble remover down the inside edges of the jar to release trapped air. Adjust liquid if needed to maintain 1 inch headspace. Wipe jar rims with a damp paper towel, center lids, and screw bands on until fingertip-tight.
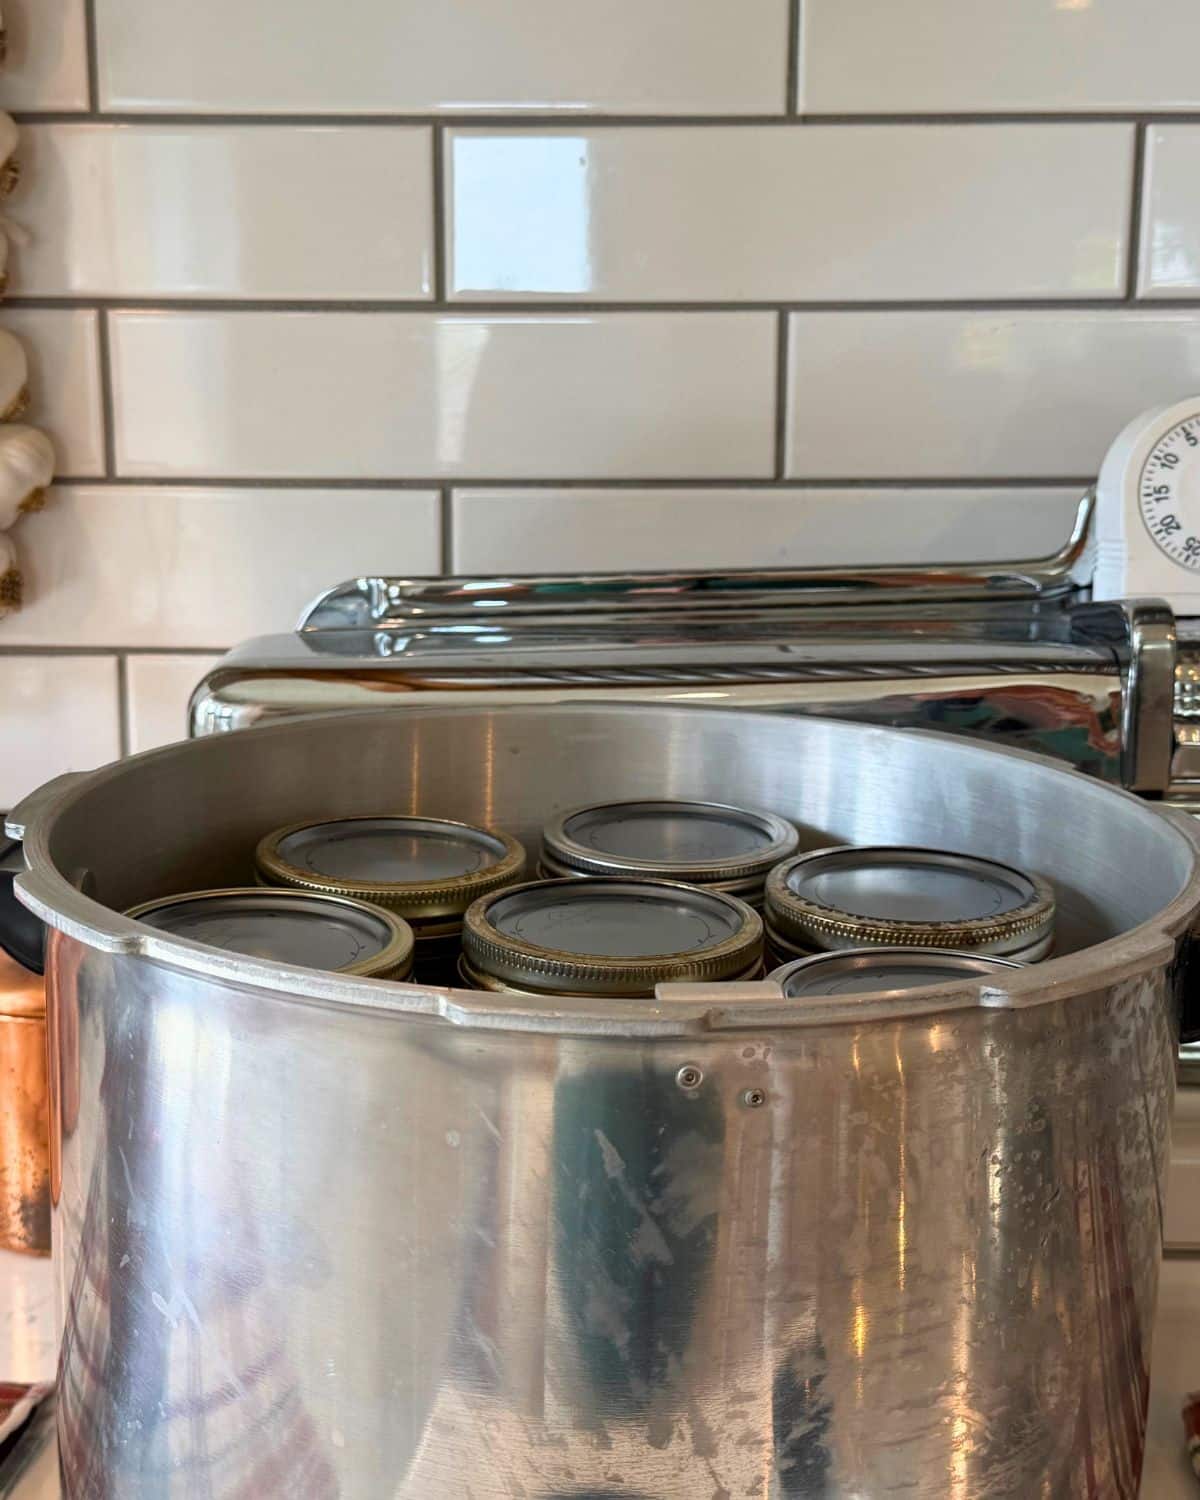
Process in Pressure Canner: Load jars into the canner, lock the lid, and let steam vent steadily for 10 full minutes before placing your weight or regulator. Process quart jars for 90 minutes (or pint jars for 75 minutes) at the correct pressure for your elevation.
Cool & Check Seals: When time is up, turn off the heat and allow the canner to depressurize completely on its own. Carefully remove jars with a jar lifter and let them sit undisturbed on a towel-lined counter for 12 to 24 hours before checking seals and stocking your pantry!
Pressure Canner Altitude Chart
Processing time stays at 90 minutes for quart jars (75 minutes for pints), but check this chart to adjust your PSI based on your elevation:
- 0,000 – 1,000 ft: Dial Guage 11 PSI – Weighted Guage 10 PSI
- 1,001 – 2,000 ft: Dial Guage 11 PSI – Weighted Guage 15 PSI
- 2,001 – 4,000 ft: Dial Guage 12 PSI – Weighted Guage 15 PSI
- 4,001 – 6,000 ft: Dial Guage 13 PSI – Weighted Guage 15 PSI
- 6,001 – 8,000 ft: Dial Guage 14 PSI – Weighted Guage 15 PSI
Questions & Troubleshooting
Can I swap out the potatoes or carrots?
Yes! You can swap the potatoes, carrots, or celery for other low-acid canning vegetables like green beans or corn, as long as you keep the total volume and 1-inch cut sizes identical to Ball’s tested proportions.
Why did my broth level drop during canning (siphoning)?
Liquid loss (siphoning) happens if the pressure inside the canner fluctuates rapidly or if jars are removed too quickly after processing. To prevent it, adjust your stovetop heat gently to maintain steady pressure and let the canner rest for 10 minutes after depressurizing before lifting the lid.
How to Serve Chicken Vegetable Soup
When you’re ready to pull a jar off your pantry shelf for a quick weeknight meal, Ball’s serving instructions make it super easy:
Reheat: Empty the contents of the jar into a medium saucepan. Bring the soup to a simmer – boil over medium-high heat, then reduce the heat, cover, and simmer gently for 10 minutes.
Thicken into Gravy (Optional): If you prefer a thick, rich gravy consistency instead of a brothy soup, whisk 2 tablespoons of cold water with 1 to 2 tablespoons of cornstarch or all-purpose flour in a small bowl to make a smooth slurry. Stir the slurry into the simmering soup during the last 2 minutes of cooking until it thickens up beautifully. And ladle hot into big soup bowls.
Meal-in-a-Jar Recipes
Chicken Pot Pie filling is perfect baked in a flaky butter pie crust!
Raw pack beef stew is so easy to just heat and serve!
Did you make this raw pack chicken vegetable soup canning recipe? I want to knoww what YOU think, Please review the recipe card!
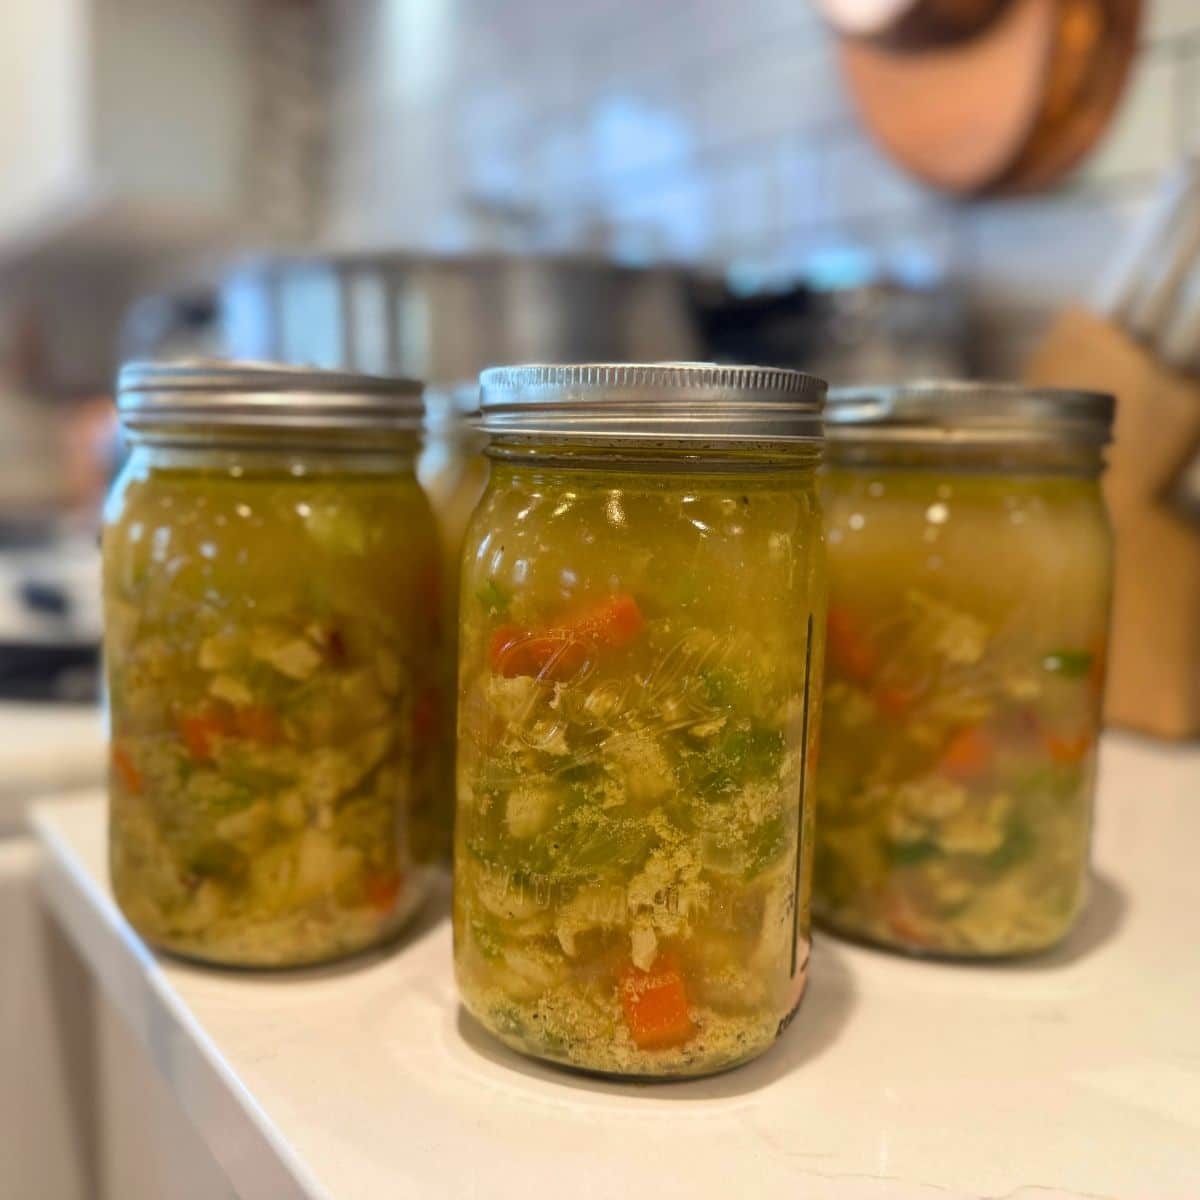
Raw Pack Chicken Vegetable Soup Canning Recipe (Ball Tested)
Equipment
- Pressure Canner with rack on bottom to prevent scorching.
- jar lifter
- 4 Quart mason Jarswith lids and bands.
Ingredients
- 2 to 3 lbs boneless skinless chicken breasts or thighs (trimmed of visible fat and skin, cut into uniform 1-inch cubes)
- 4-6 cups warm chicken broth or water
- 4 tsp canning and pickling salt optional; use 1 tsp per quart jar or 1/2 tsp per pint jar
- 1/4 tsp Optional dried seasonings 1/4 tsp per quart jar of black pepper, garlic powder, or dried thyme
4 cups total mixed root vegetables:
- Potatoes peeled or thin-skinned, diced into 1-inch pieces
- Carrots peeled and sliced into 1-inch pieces
- Celery sliced into 1-inch pieces
- Yellow onion chopped into 1-inch pieces
Instructions
- Prep Canner & Jars: Fill your pressure canner with 2 to 3 inches of water and heat over low heat on the stovetop until warm (not boiling). Keep clean pint or quart jars warm inside the canner or in hot water so they don't crack when filled.
- Pack the Jars: Evenly distribute the raw cubed chicken and chopped root vegetables among warm jars, packing them comfortably without mashing or forcing them down. Add canning salt (1 tsp per quart, 1/2 tsp per pint) and optional dried seasonings directly into each jar.
- Add Warm Liquid & Measure Headspace: Ladle warm chicken broth or water over the chicken and vegetables, leaving exactly 1 inch of headspace between the top of the liquid and the top rim of the jar.
- Debubble & Apply Lids: Run a non-metallic bubble remover tool around the inside edge of each jar to release trapped air bubbles. Recheck your headspace and add a splash more warm liquid if needed to maintain 1 inch. Wipe jar rims with a clean, damp cloth, center the flat lids, and screw bands on until fingertip-tight.
- Load Canner & Vent Steam: Place filled jars onto the rack inside the pressure canner. Lock the canner lid securely into place, keeping the vent pipe (petcock) open. Turn stove heat to medium-high. Watch for a steady column of steam to escape from the vent pipe. Set a timer and let the steam vent continuously for 10 full minutes to purge all air from the chamber.
- Bring Canner Up to Pressure: Place your weighted gauge (or close the petcock) over the vent pipe. Heat will build up steam and pressure inside the vessel. Watch the dial gauge or wait for the weighted gauge to begin rocking/jiggling as specified by your canner manufacturer.
- Process the Batch: Once your target pressure is reached (e.g., 11 PSI on a dial gauge or 10–15 PSI on a weighted gauge adjusted for your altitude), start your timer immediately. Process quart jars for 90 minutes (or pint jars for 75 minutes). Adjust stovetop heat gently during processing to keep pressure stable; if pressure drops below your target, reset the timer and restart the entire processing time.
- Safe Depressurization & Cool Down: When processing time is up, turn off the burner completely. Do not touch or move the canner, and do not pull off the weight. Allow the canner to depressurize naturally on its own. The pressure is fully down when the dial gauge reads zero and the lid safety lock drops.
- Remove Weight & Rest Jars: Once fully depressurized, wait 2 minutes, then carefully remove the weight from the vent pipe. Unlatch the lid, lifting it away from your face to avoid escaping steam. Let jars sit inside the open canner for 10 minutes to stabilize before removing.
- Cool & Verify Seals: Using a jar lifter, lift jars straight up out of the canner without tilting them. Place jars onto a towel-lined counter, leaving 1 to 2 inches of space between them. Let them cool undisturbed for 12 to 24 hours. Press jar centers to confirm lids have sealed shut (they should not flex or pop) before storing in your pantry!
Notes
- 0,000 – 1,000 ft: Dial Guage 11 PSI – Weighted Guage 10 PSI
- 1,001 – 2,000 ft: Dial Guage 11 PSI – Weighted Guage 15 PSI
- 2,001 – 4,000 ft: Dial Guage 12 PSI – Weighted Guage 15 PSI
- 4,001 – 6,000 ft: Dial Guage 13 PSI – Weighted Guage 15 PSI
- 6,001 – 8,000 ft: Dial Guage 14 PSI – Weighted Guage 15 PSI
Nutrition

About Juliea
Juliea is a mother of six, a sourdough baker, and a homestead builder living in Idaho. Alongside her husband and their horse, Dude, she manages a busy farmhouse and shares her love for scratch-cooking and simple homemaking. Through her blog and YouTube channel, she helps millions of families every year master the art of the handmade home.