Welcome to the farmhouse, where the tantalizing smells of my tried-and-true rib rub recipe transform humble ribs into a masterpiece that’ll have your family & friends begging for more!

The sweet, smokey and spicy aroma of smoked ribs is filling the air today! I’m excited to share my rib rub recipe for smoked, or grilled ribs… This rib rub recipe transforms ordinary spare ribs, or baby back ribs, into an irresistible feast!
With just the right balance of brown sugar, smoked paprika, and aromatic spices, this rib rub will take your smoked rack of ribs to new heights! Join me in the kitchen as we dive into the step-by-step instructions of this rib rub recipe. Together, let’s unlock the secrets of sweet, smoky, and slightly spicy perfection of the best ribs.

How to Make Rib Rub Recipe
The best way I’ve found to make rib rub and use it:
Spice Blend Ingredients
brown sugar – This gives your ribs a nice caramelized crust and sweetness that is excellent with the savory smokey herbs!
smoked paprika – You can use just plain paprika… but smoked paprika is so much better! it has a great smokey flavor that is perfect for smoked ribs!
kosher salt – I recommend my favorite, course ground salt! But you can also use what you have on hand!
black pepper – Just like with the sale… I like to use course ground pepper, but if you don’t have that, plain ground black pepper works great too. The texture just isn’t as exciting.
chili powder – another great pepper flavor that compliments smoked ribs beautifully!
onion & garlic powder – both these seasonings are wonderful with the smokey pepper flavors and really go well with smoked pork!
cayenne pepper or crushed red pepper flakes – A touch of heat goes a long way here… Adjust according to your spice preference!

Prepare the rib rub mixture.
In a bowl, combine all the spice rub ingredients. Mix everything together until well combined…. This blend of spices will give your ribs that perfect balance of sweet, smoky, and spicy flavors.
Prep the ribs. Before applying the rib rub, make sure to dry ribs, and remove the thin membrane on the back of the ribs. Use a paper towel to pat them dry and remove any excess moisture. This will help the rib rub adhere better to the meat.
Apply the dry rib rub. Generously sprinkle the bbq rub mixture all over your baby backs ribs, making sure to coat both sides generously. Use your hands to gently rub the mixture into the meat, allowing the flavors to penetrate. Be sure to cover every nook and cranny for maximum flavor.
Let the flavors marry. Once you’ve applied the rib rub, it’s time to let the flavors develop. Place the seasoned ribs in a sealed container or wrap them tightly in plastic wrap. Refrigerate for at least 4 hours, but for best results, let them marinate overnight. This will allow the sweet, smoky, and spicy flavors to infuse the meat!

My Tips and Tricks for Smoked Ribs for Knock Your Socks Off Ribs:
Rib Prep (Sort Of): Okay, so the whole “room temp” thing? Yeah, not super crucial. Just get ’em out of the fridge while you’re firing up the smoker. We’re not trying to bake a cake here. Remove the membrane on the bones, and season!
Smoker Setup: Get your smoker rockin’ at a steady 225-250°F. Seriously, stability is your best friend. And toss in some wood chips or chunks—hickory, oak, whatever floats your boat. Keep that smoker temp steady… Fluctuation can ruin ribs.
The Long Smoke (Unwrapped): Put your ribs on the grate bone-side down. Now, this takes patience. 4-5 hours is a ballpark, but we’re going for feel here. You want that internal temp around 195-203°F. But, more importantly, that probe should slide in like butter! And you want a deep reddish-brown bark.
The Texas Crutch (Wrapping): Around the 3-hour mark, when they’ve got that killer color, wrap them up. Foil or butcher paper both work well, so your call. Just so you know foil will make ’em more tender, and butcher paper keeps the bark a little firmer. 😉 You can drizzle some apple juice, beef broth, or even a cider vinegar in there before you seal ’em up in foil… Trust me. 😉 Seal that package up tight.
Continued Cooking (Wrapped): Put them back on the smoker for another 1 to 1.5 hours.
Unwrap and Finish: Carefully unwrap those bad boys. They’ll smell amazing. Now, brush on some BBQ sauce for that final glaze. Then, put them back on the smoker for just 30 minutes to an hour! This gets that sauce sticky and the bark set!
The Crucial Rest: 10-15 minutes, minimum. Let those juices chill out. Don’t skip this!
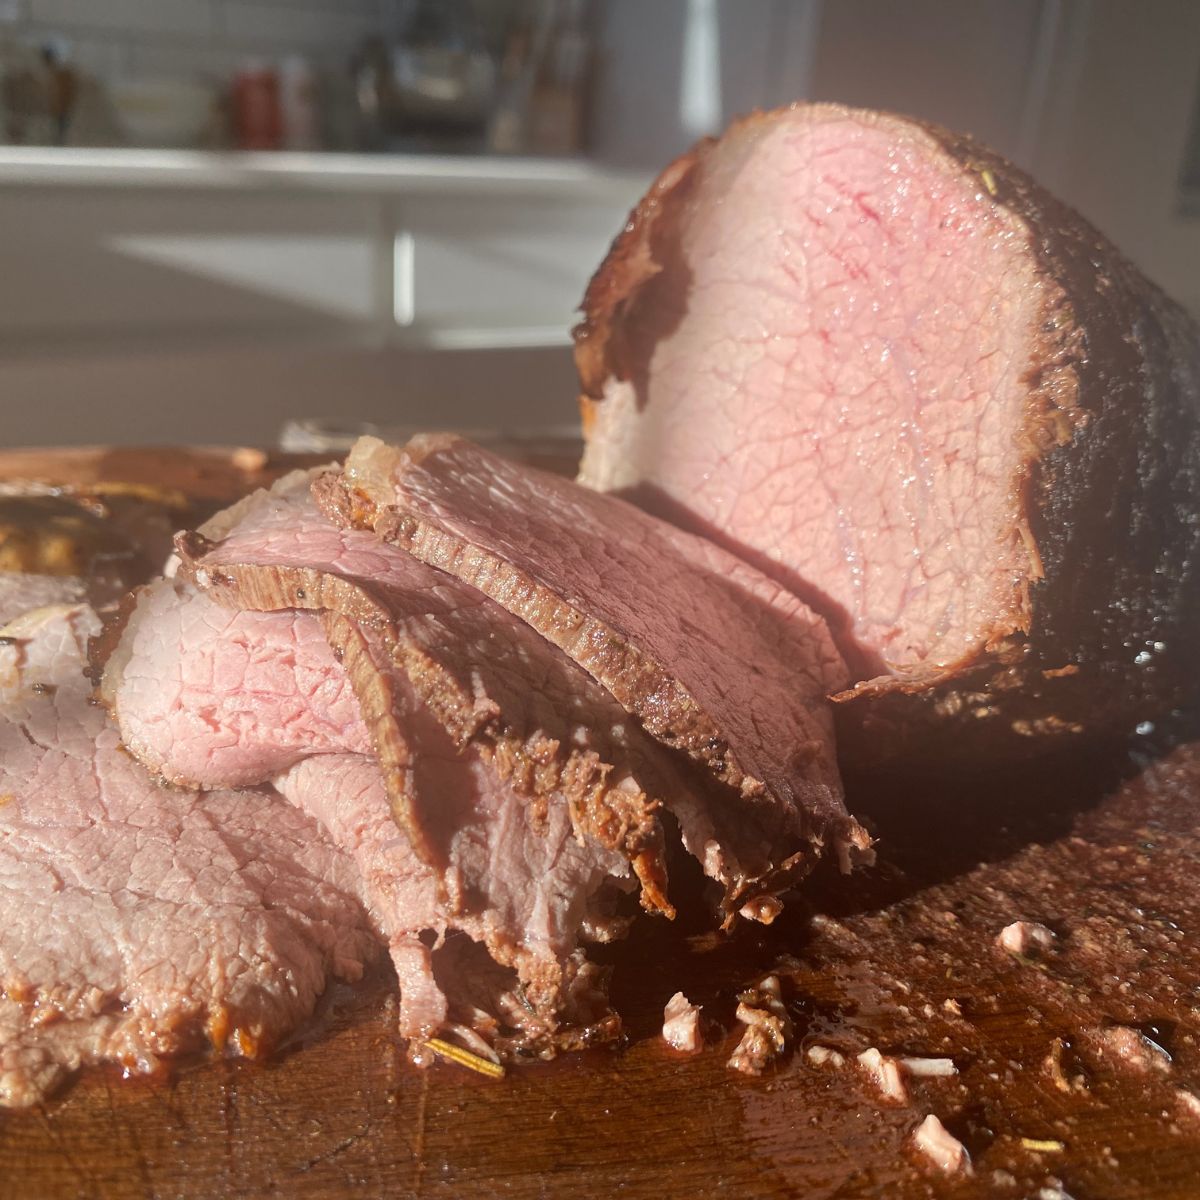
Slicing and Serving: Slice ’em between the bones… And get ready for some serious rib appreciation.
Pro Tip Doneness: Forget just the temp. That probe should slide in like it’s going into warm butter. Also, the meat should have pulled back from the bone a quarter to half an inch… That’s how you know they are ready.

Rib Rub Recipe for the Best Smoked Prok Ribs
Equipment
- set of measuring cups and spoons
Ingredients
- 1/4 cup brown sugar
- 2 tablespoons smoked paprika
- 2 tablespoons kosher salt course
- 1 tablespoon black pepper course
- 1 tablespoon chili powder
- 1 tablespoon garlic powder
- 1 tablespoon onion powder
- 1 teaspoon cayenne pepper or crushed red pepper flakes… adjust according to your spice preference
Instructions
- Prepare the rib rub mixture. In a bowl, combine the brown sugar, smoked paprika, kosher salt, black pepper, chili powder, garlic powder, onion powder, and cayenne pepper. Mix everything together until well combined. This blend of spices will give your ribs that perfect balance of sweet, smoky, and spicy flavors.
- Prep the ribs. Before applying the rib rub, make sure to dry ribs, and remove the thin membrane on the back of the ribs. Use a paper towel to pat them dry and remove any excess moisture. This will help the rib rub adhere better to the meat.
- Apply the dry rib rub. Generously sprinkle the bbq rub mixture all over your baby backs or spare ribs, making sure to coat both sides generously. Use your hands to gently rub the mixture into the meat, allowing the flavors to penetrate. Be sure to cover every nook and cranny for maximum flavor.
- Let the flavors marry. Once you’ve applied the rib rub, it’s time to let the flavors develop. Place the seasoned ribs in a sealed container or wrap them tightly in plastic wrap. Refrigerate for at least 4 hours, but for best results, let them marinate overnight. This will allow the sweet, smoky, and spicy flavors to infuse the meat!
Notes
- Quality matters! Start with high-quality ribs. Look for fresh, meaty ribs that have a good amount of marbling. This will contribute to their tenderness and flavor.
- Patience is key. Take your time and allow the ribs to marinate in the rib rub. While a minimum of 1 hour is recommended, letting them marinate overnight will result in more pronounced flavors.
- Temperature control. Maintain a consistent temperature in your smoker. Fluctuations in heat can affect the cooking time and overall tenderness of the ribs. Invest in a reliable meat thermometer to monitor the internal temperature accurately.
- Low and slow! Opt for low and slow cooking to achieve tender, juicy ribs. Smoking at a temperature of around 225-250°F (107-121°C) allows the flavors to develop slowly while breaking down the connective tissues.
- Keep it moist. To prevent the ribs from drying out, you can spritz them with apple juice or a mixture of apple cider vinegar and water throughout the cooking process. This helps maintain moisture and enhances the smoky flavors.
- Customization is key! Adjust the amount of cayenne pepper in the rib rub according to your preference for spiciness. Start with the recommended amount and gradually increase or decrease as desired.

How to Store Rib Rub Recipe
This is the best rib rub and you can make this dry rub recipe ahead of time! It stores easily in an airtight container for future use on bbq ribs.
If you have leftover rib rub, store it in an airtight container for several months! Make sure to label it, so you remember what it is, and can use up every bit of this good dry rub!
MORE RECIPES

About Juliea
Juliea is a mother of six, a sourdough baker, and a homestead builder living in Idaho. Alongside her husband and their horse, Dude, she manages a busy farmhouse and shares her love for scratch-cooking and simple homemaking. Through her blog and YouTube channel, she helps millions of families every year master the art of the handmade home.