


Most beginners are scared of making low-sugar or honey-sweetened jams because traditional pectin requires a HUGE amount of sugar to set… And if you cut the sugar down, you get syrup not jam.
Pomona’s Pectin is a total game-changer because it uses calcium water to set, not sugar. You might think the two-part mixing process is intimidating, but I’ll show you just how easy it really is!
Why Pomona’s Pectin is a Total Game-Changer
If you’ve ever tried making traditional homemade jam, you already know the dirty little secret of store-bought pectin: it requires a massive, almost frightening amount of sugar to actually set. We’re talking a 1:1 ratio of fruit to sugar! If you try to cut that sugar down to actually taste your fruit, you don’t get jam—you get a runny syrup.
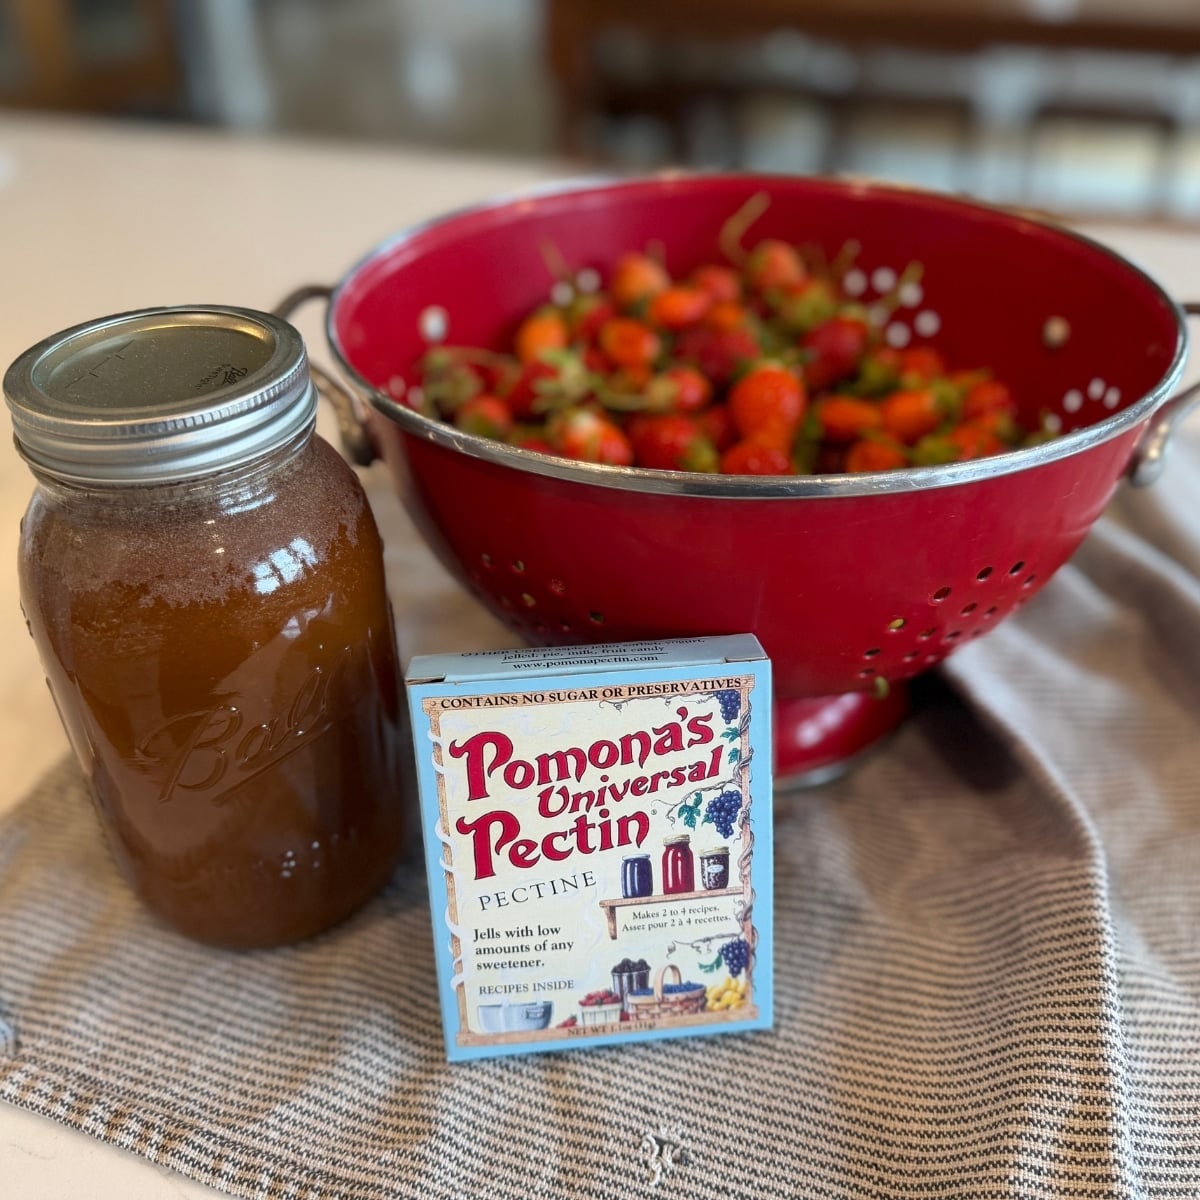
That is exactly why I am completely obsessed with Pomona’s Universal Pectin. Unlike the standard grocery store boxes, Pomona’s doesn’t rely on a heavy sugar reaction to thicken. Instead, it uese calcium water to activate the jelling process. This means you can make low-sugar jam, use honey or maple syrup, or even make completely sugar-free jam, and it will turn out beautifully thick every single time. You finally get to taste the actual fresh, sun-ripened fruit, not just pure sugar!
Demystifying the Calcium Water (It’s So Easy!)
When you open a box of Pomona’s, you’re going to find two different packets inside: a large packet of tan pectin powder, and a tiny little packet of white monocalcium phosphate powder.
That little white powder is your calcium, and it’s usually the exact spot where canning beginners start to panic. Do not let it intimidate you!
How to Mix It Up:
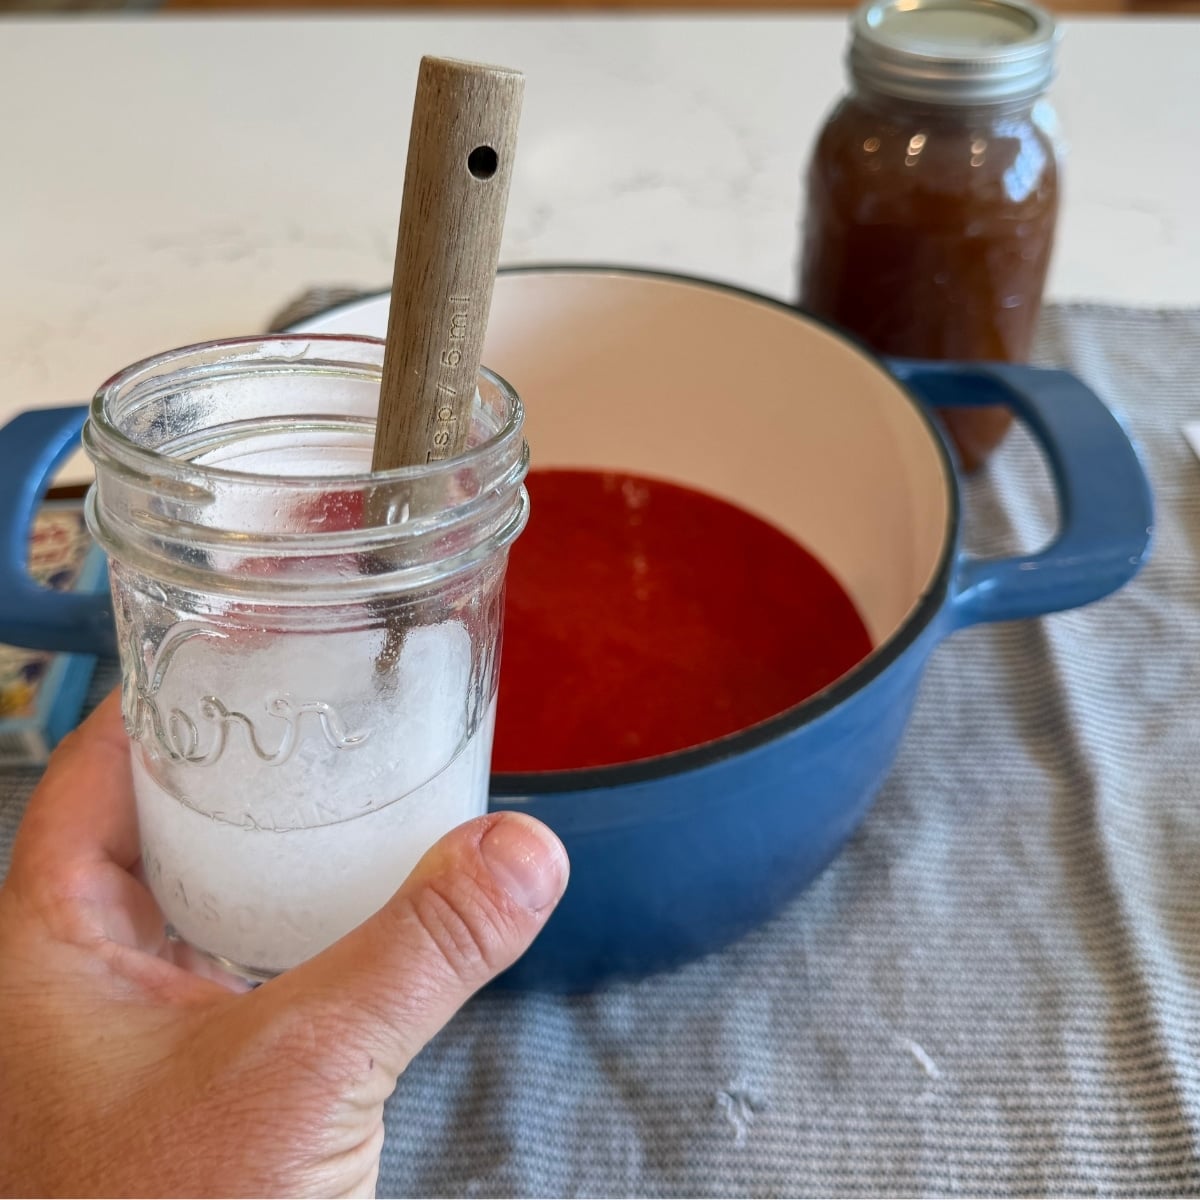
Before you start cooking your fruit, grab a small, clean glass jar with a lid (a half-pint mason jar works perfectly).
- Measure out 1/2 cup of water into the jar.
- Add 1/2 teaspoon of the white calcium powder.
- Put the lid on tight and shake it vigorously until the powder completely dissolves.
That’s it! You’ve just made your calcium water. You’ll only use a few teaspoons of this liquid per batch of jam. The absolute best part? Whatever you don’t use can be tucked right into your refrigerator. It stays perfectly good in the fridge for months, ready for your next harvest day.
My Veteran “Never Clump” Mixing Trick
If there is one golden rule to using Pomona’s Pectin successfully, it’s this: never dump the bare pectin powder directly into your hot pot of fruit. If you do, the pectin will instantly seize up into rubbery, gummy little lumps that absolutely refuse to dissolve, no matter how hard you stir.
To completely skip the mess, use this simple shortcut:
Because the tiny grains of pectin are fully coated and separated by the sugar, they will dissolve beautifully and smoothly the second they hit your boiling fruit pot. No lumps, no stress!

Don’t Panic! Your Visual Troubleshooting Checklist
When you are new to water bath canning with this method, it’s easy to second-guess yourself while watching the pot boil. If you hit a moment of doubt, check this quick list:
- “My jam looks totally cloudy while it’s cooking!” Don’t panic: This is completely normal! The calcium water can create a slightly milky or cloudy look in the hot pot. The second your jam cools down in the jars, it clears right up into a beautiful, vibrant, translucent fruit color.
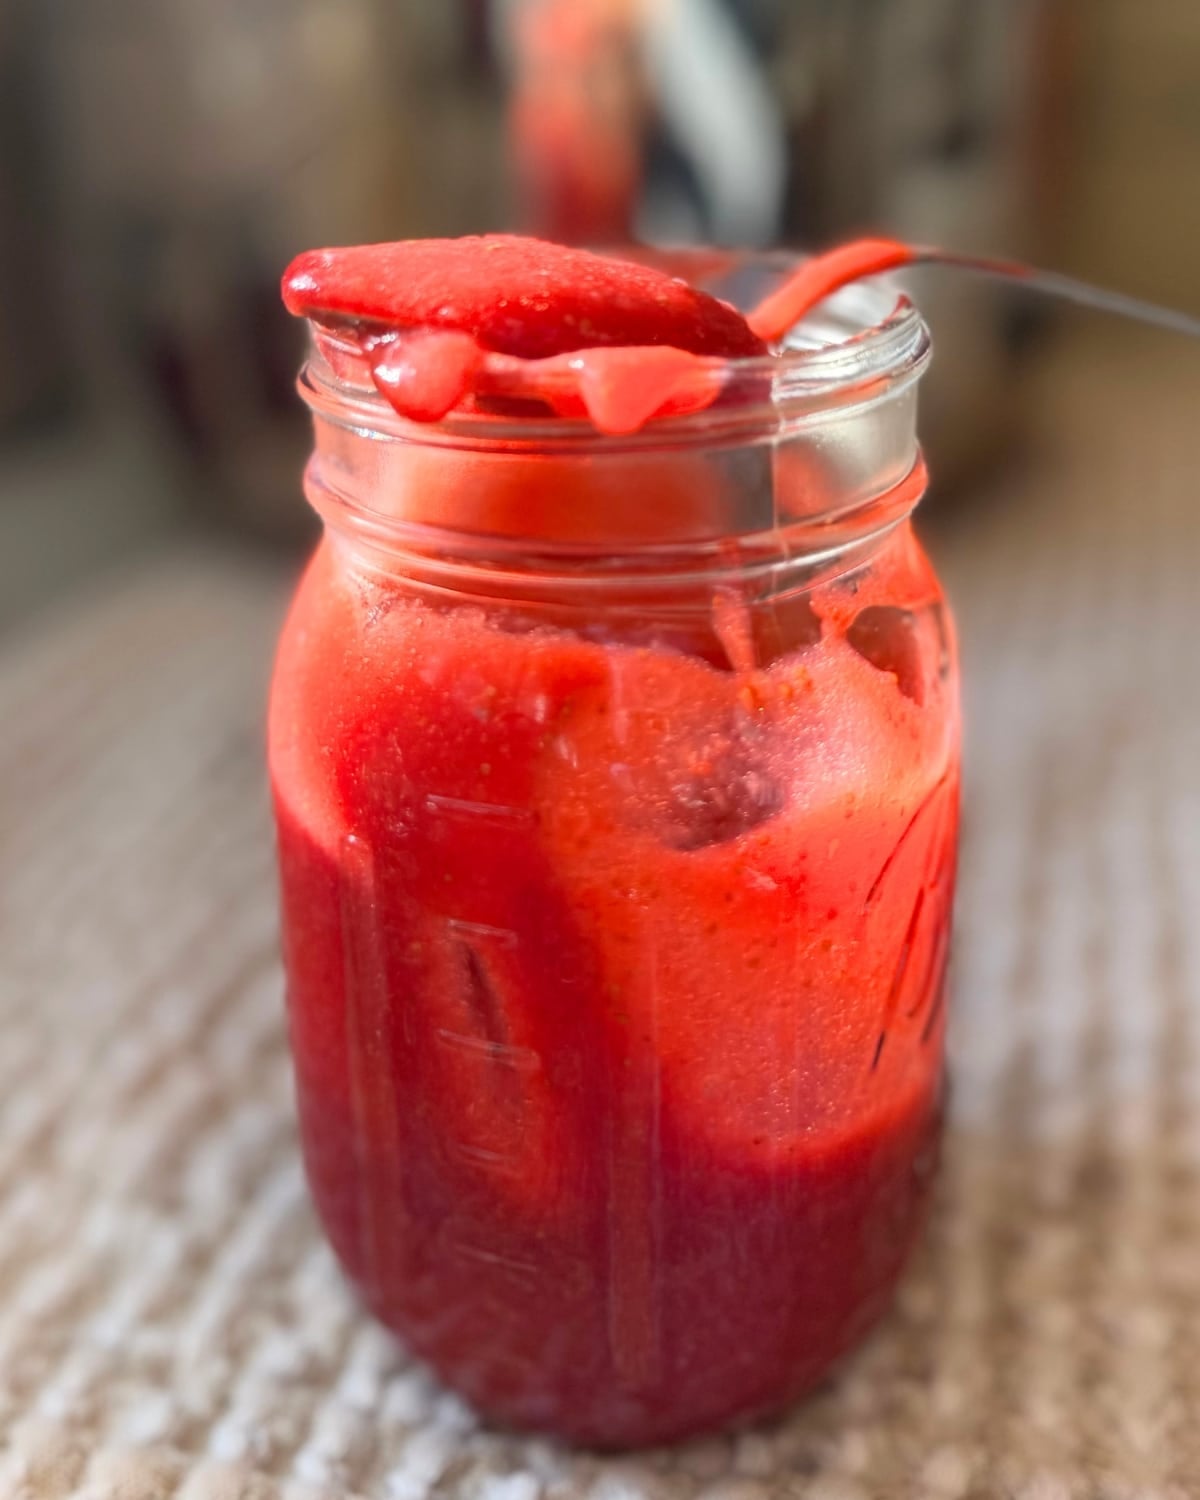
- “It’s boiling up crazy hot but it isn’t gelling in the pot at all.” Don’t panic: Traditional pectin thickens up right on the stove, but Pomona’s is different. Because it relies on the calcium reaction, it does its heavy lifting as it cools down. It will look loose and runny when you funnel it into your jars, but give it 12 to 24 hours on the counter after water bathing, and you’ll see a perfect set.
- “Oh no… I completely forgot to add the calcium water to the fruit!” Don’t panic, it’s an easy fix: If your jars are still sitting on the counter un-canned, just dump the fruit back into the pot, stir in the required teaspoons of calcium water, bring it back to a full boil, and re-jar them. If you already processed them and they turned out runny, you can easily empty the jars, bring the jam to a boil with the missed calcium water, and re-process with fresh lids!
The Beginner-Friendly Water Bath Step-by-Step
If you’ve never water bath canned before, this is the part that might make you a little nervous. Take a deep breath! Water bath canning is incredibly simple once you know the rhythm. Think of it as just a hot bath to seal your jars so they are shelf-stable for the pantry.
Here is exactly how to do it, step-by-step:
Step 1: Prep Your Canner and Jars
Before you even start smashing your fruit, get your water bath canner on the stove. Fill it about half full of water, drop your clean jars inside, and turn the heat to medium-high. We want those jars hot so they don’t crack when we pour hot jam into them later!
Step 2: Leave Proper Headspace
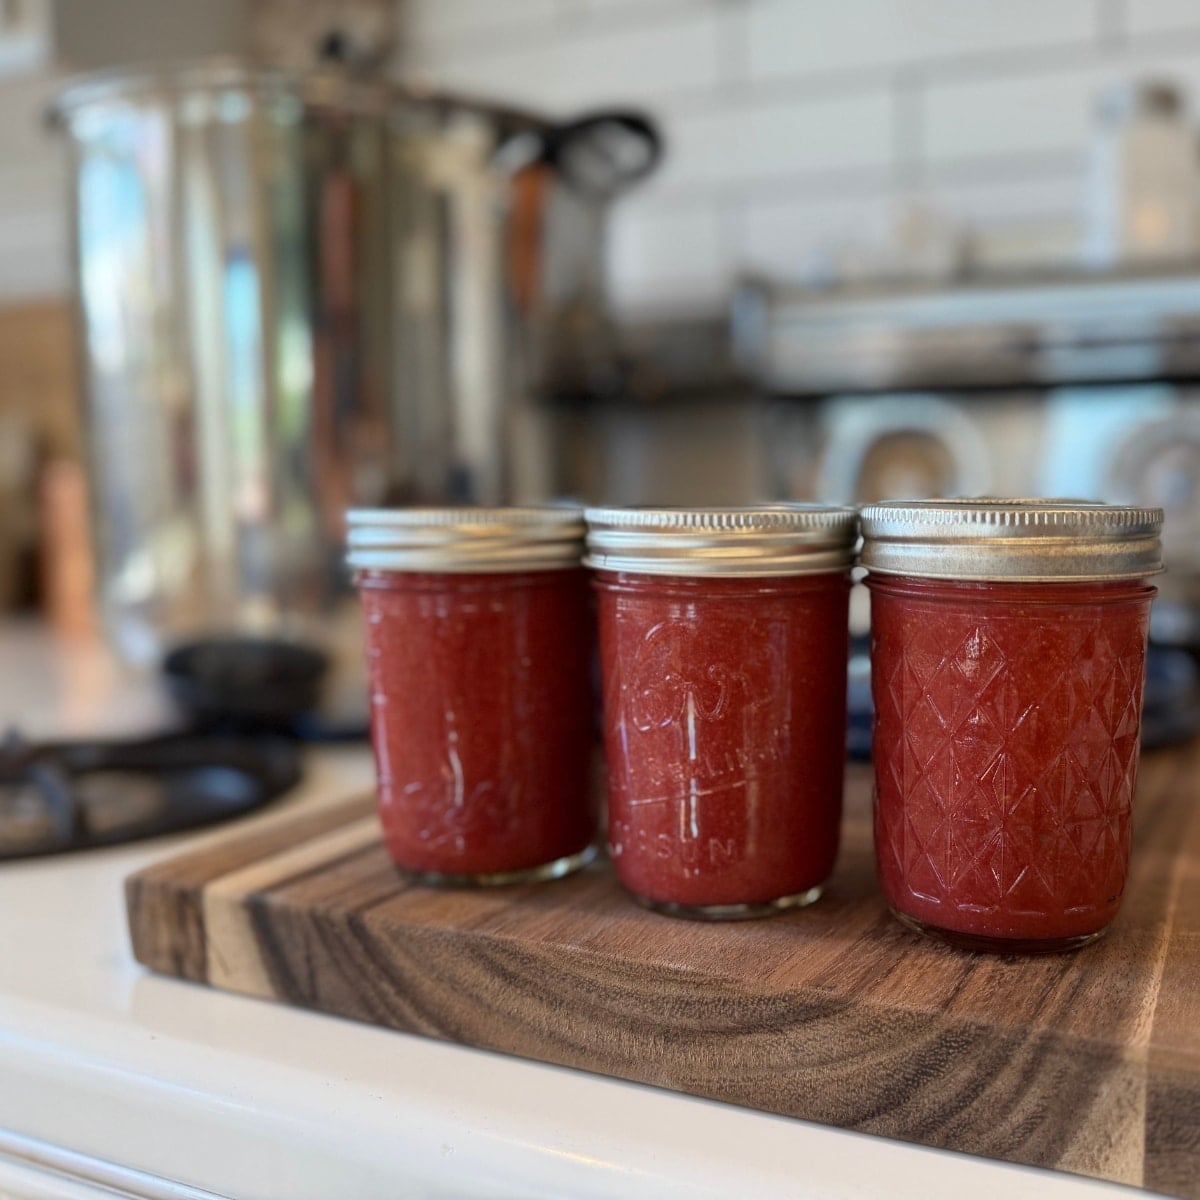
Once your jam is boiling and ready, pull a hot jar from the canner. Funnel your hot strawberry jam inside, leaving 1/4 inch of headspace at the top. (Headspace is just the empty air space between the top of the jam and the very rim of the jar. Pomona’s needs this exact gap to create a strong vacuum seal!)
Step 3: Wipe the Rims (Don’t Skip This!)
Dip a clean, damp paper towel or cloth into hot water and wipe the rim of the jar completely clean. Even a tiny speck of sticky jam on the rim will prevent your lid from sealing, which means your jam won’t be shelf-stable.
Step 4: Add Lids and Bands
Center your clean flat lid on top of the jar. Screw the metal band on until it is finger-tight.
What is finger-tight?
Step 5: Into the Bath!
Use your jar lifter to carefully lower the filled jars back into the hot canner. Once all your jars are in, make sure the water covers the tops of the lids by at least 1 to 2 inches. If the water level is too low, pour a little boiling water from a kettle in until it’s deep enough.
Step 6: The Processing Countdown
Put the lid on your big canner and turn the heat up to high. Wait until the water reaches a full, rolling boil before you start your kitchen timer.
- Process your half-pint or pint jars in the boiling water for 10 minutes (if you live above 1,000 feet in elevation, check your local altitude charts to add a few extra minutes!).
Step 7: The Cool Down and the “Pop!”
When your timer goes off, turn off the stove and remove the canner lid. Let the jars sit undisturbed in the hot water for 5 minutes—this lets the pressure inside the jars stabilize.
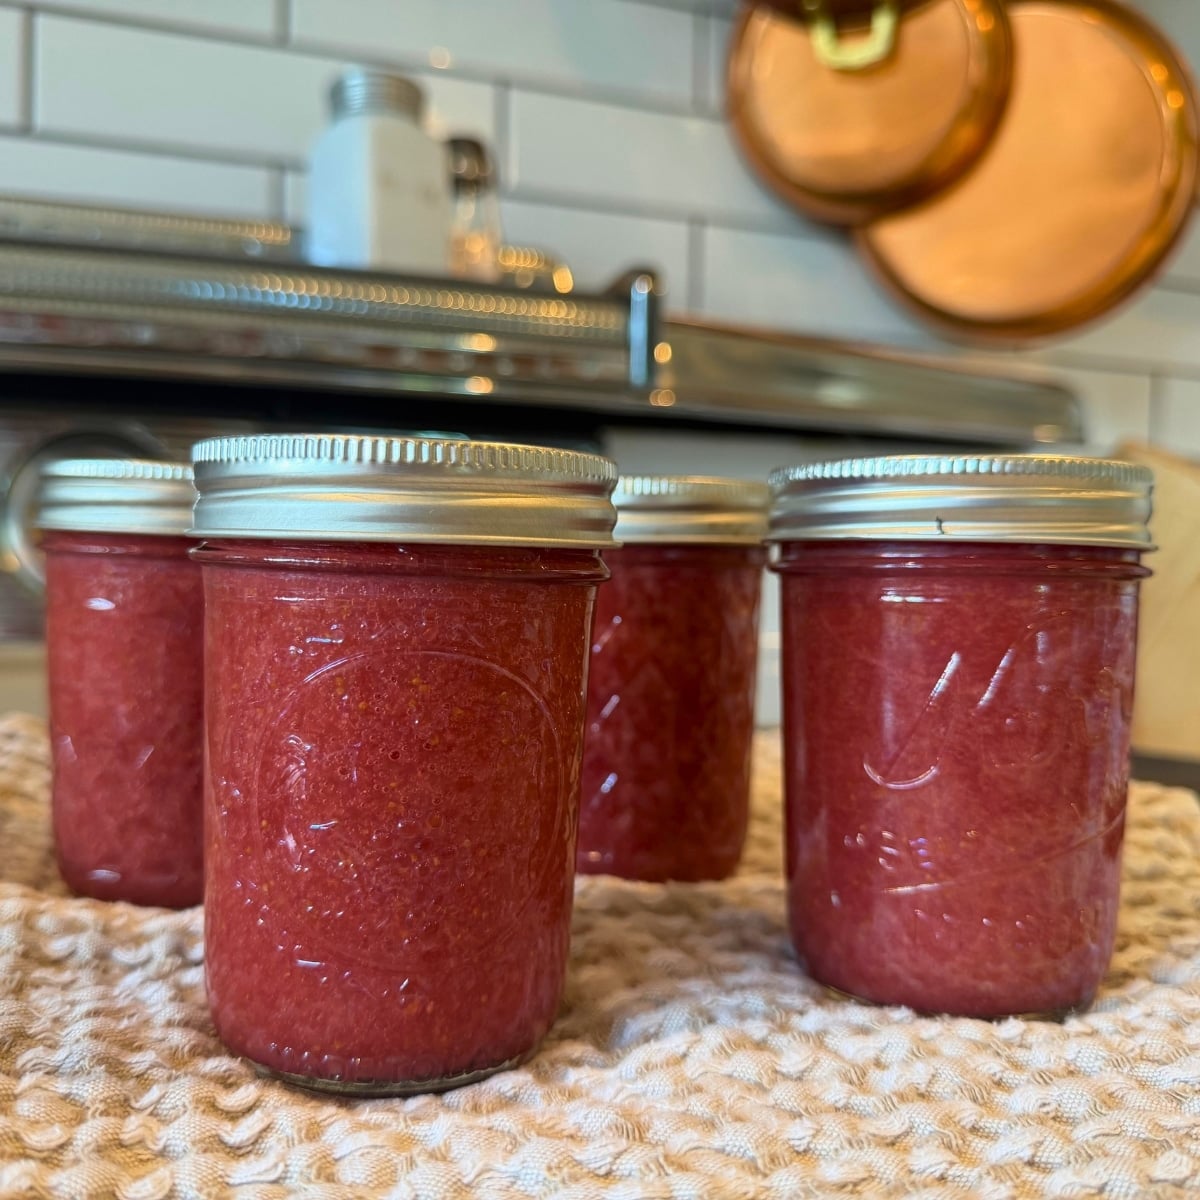
Finally, use your jar lifter to pull them straight up and out of the water (don’t tilt them to pour water off the lids!). Set them on a clean kitchen towel on the counter. Leave them completely alone for 12 to 24 hours. Soon, you’ll hear that beautiful, satisfying PING! or POP! of the lids sucking down, telling you your low-sugar jam is officially preserved and ready for the pantry!

About Juliea
Juliea is a mother of six, a sourdough baker, and a homestead builder living in Idaho. Alongside her husband and their horse, Dude, she manages a busy farmhouse and shares her love for scratch-cooking and simple homemaking. Through her blog and YouTube channel, she helps millions of families every year master the art of the handmade home.


