After years of canning hundreds of jars of jams, salsas, and fruits in my farmhouse kitchen, I’ve learned that knowing how to use a water bath canner correctly comes down to mastering a few simple fundamentals!
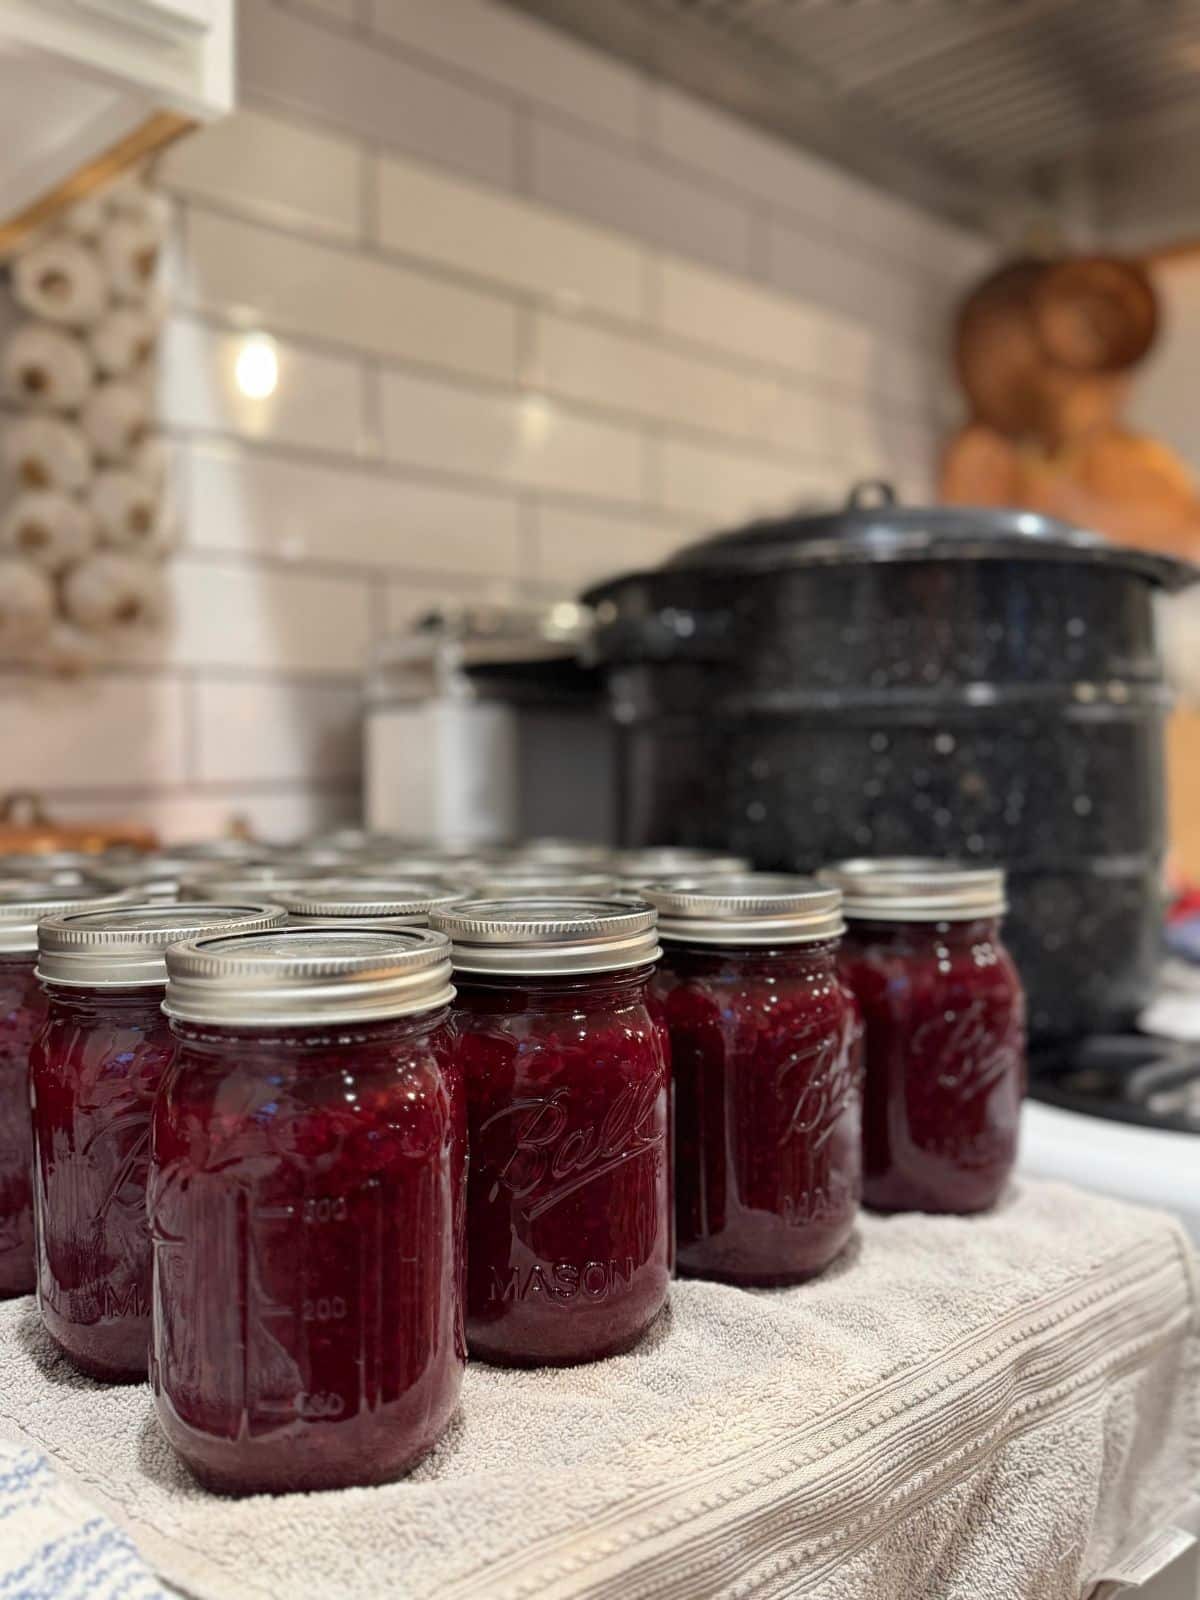
Whether you’re a total beginner or just want to refresh your safety methods, this guide covers everything you need to know from setup to finish.
Water bath canning is only for high-acid foods like jams, jellies, pickles, fresh tomatoes with added acid, peaches and most fruits… Low-acid foods like vegetables, meats, and soups must be pressure canned (in a pressure canner, not water bath canner) to prevent botulism. 😉
Table of Contents
Equipment & Prepping the Canner
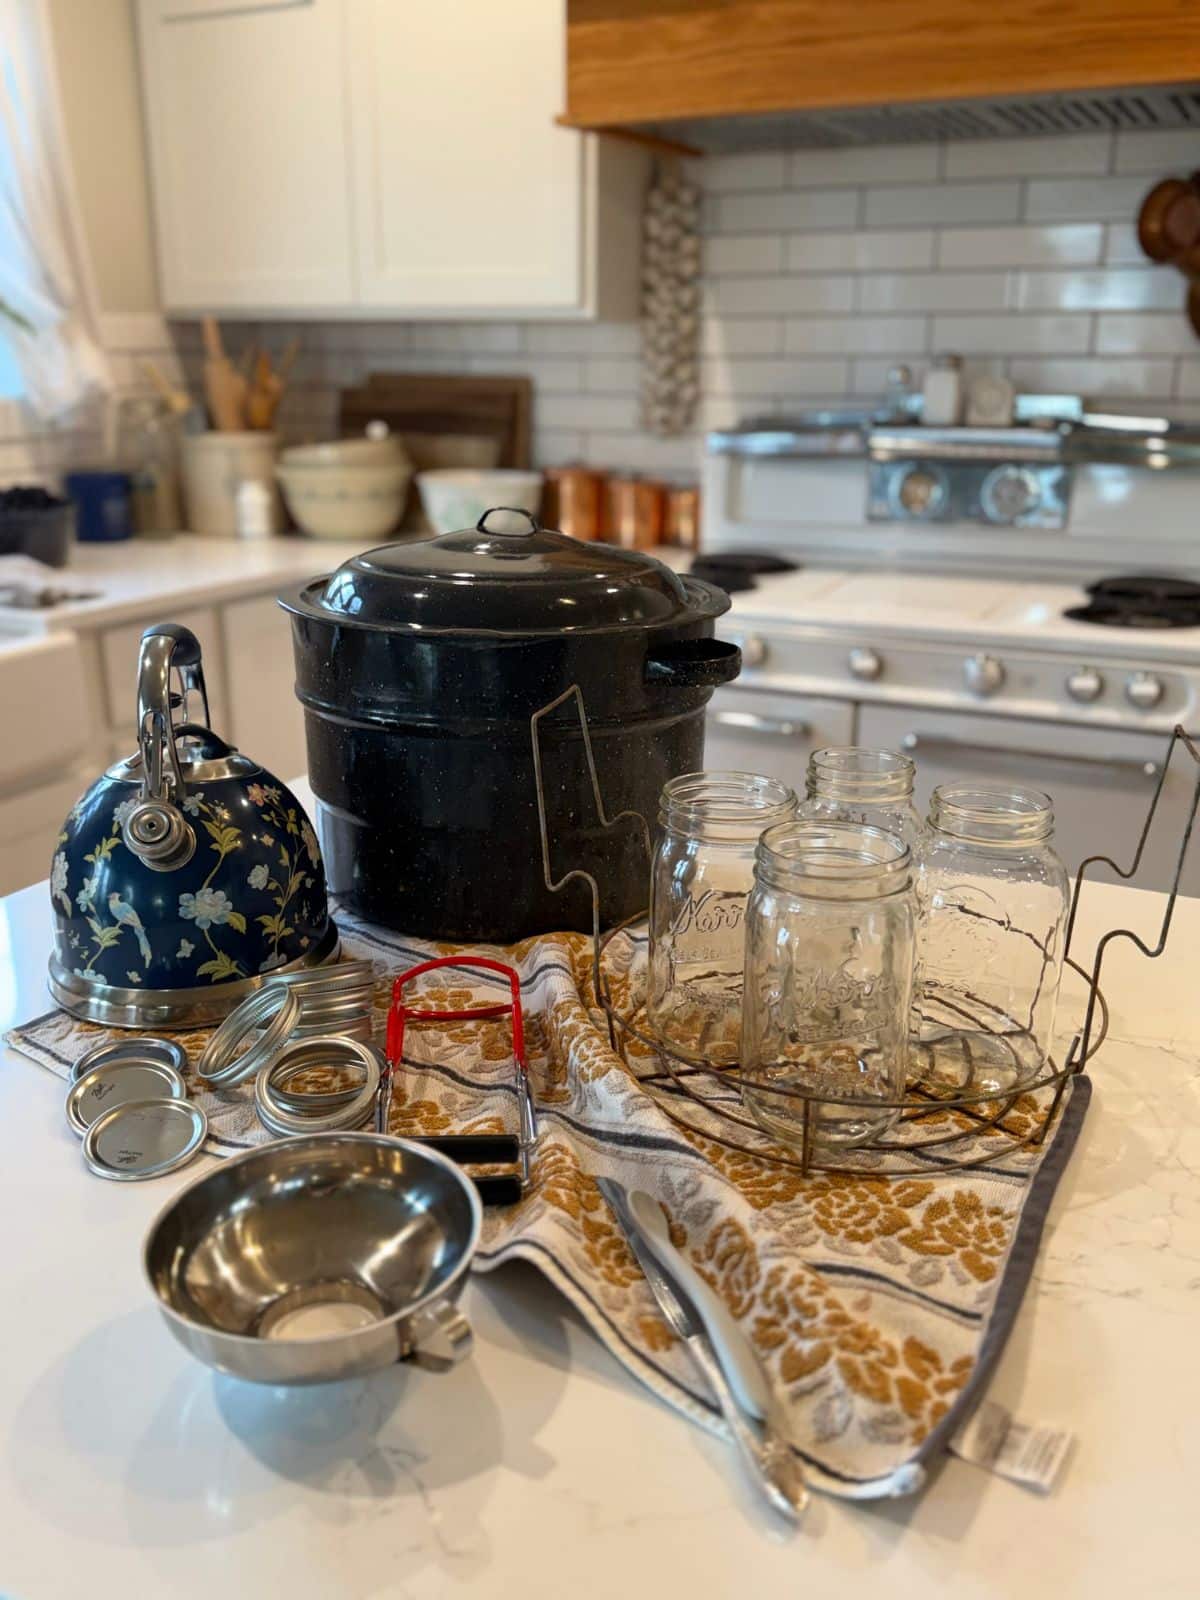
Before starting your recipe, assemble your supplies:
- Large Canner or Deep Pot: Must be deep enough to cover your jars with at least 1 to 2 inches of water while maintaining a full rolling boil. Large, heavy canners (especially traditional ridged-bottom enamel pot canners) may not heat evenly on glass stovetops or could crack the glass on smooth-top and glass top stoves…. So flat-bottom pots or stainless-steel canners are recommended for glass/induction cooktops.
- Canning Rack: Never place jars directly on the bottom of the pot. Glass jars resting directly on the pot’s heated surface can crack or cause food to scorch. If your canner didn’t come with a wire rack, a silicone trivet, cake rack, or extra canning rings tied together with baker’s twine works well.
- Jars, Lids & Bands: Check jars for nicks, cracks, or uneven rims. Wash jars, lids, and rings in warm, soapy water.
- Canning Tools: A jar lifter, canning funnel, headspace ruler, and bubble remover (or non-metallic spatula)
Filling the Canner & Water Temperature Prep
To prevent thermal shock (which causes jars to crack), match the water temperature in your canner to the temperature of the food going into the jars:
For Cold/Raw-Pack Foods: Fill your water bath canner half-full with warm water and preheat to roughly 140°F (60°C). If you have the water too hot and put cool jars into it, they will break and you will have to clean up a mess before starting over. 😉
For Hot-Pack Foods: Fill the canner half-full and preheat to roughly 180°F (82°C) (simmering, but not boiling).
Tip – Keep Extra Hot Water on Hand!
Filling & Loading Jars
All processing times and headspace recommendations in this guide align with tested USDA safety standards to prevent risks and spoilage!
Keep Jars Warm: Store clean jars in the hot water bath until you are ready to pack them so they don’t cool down.
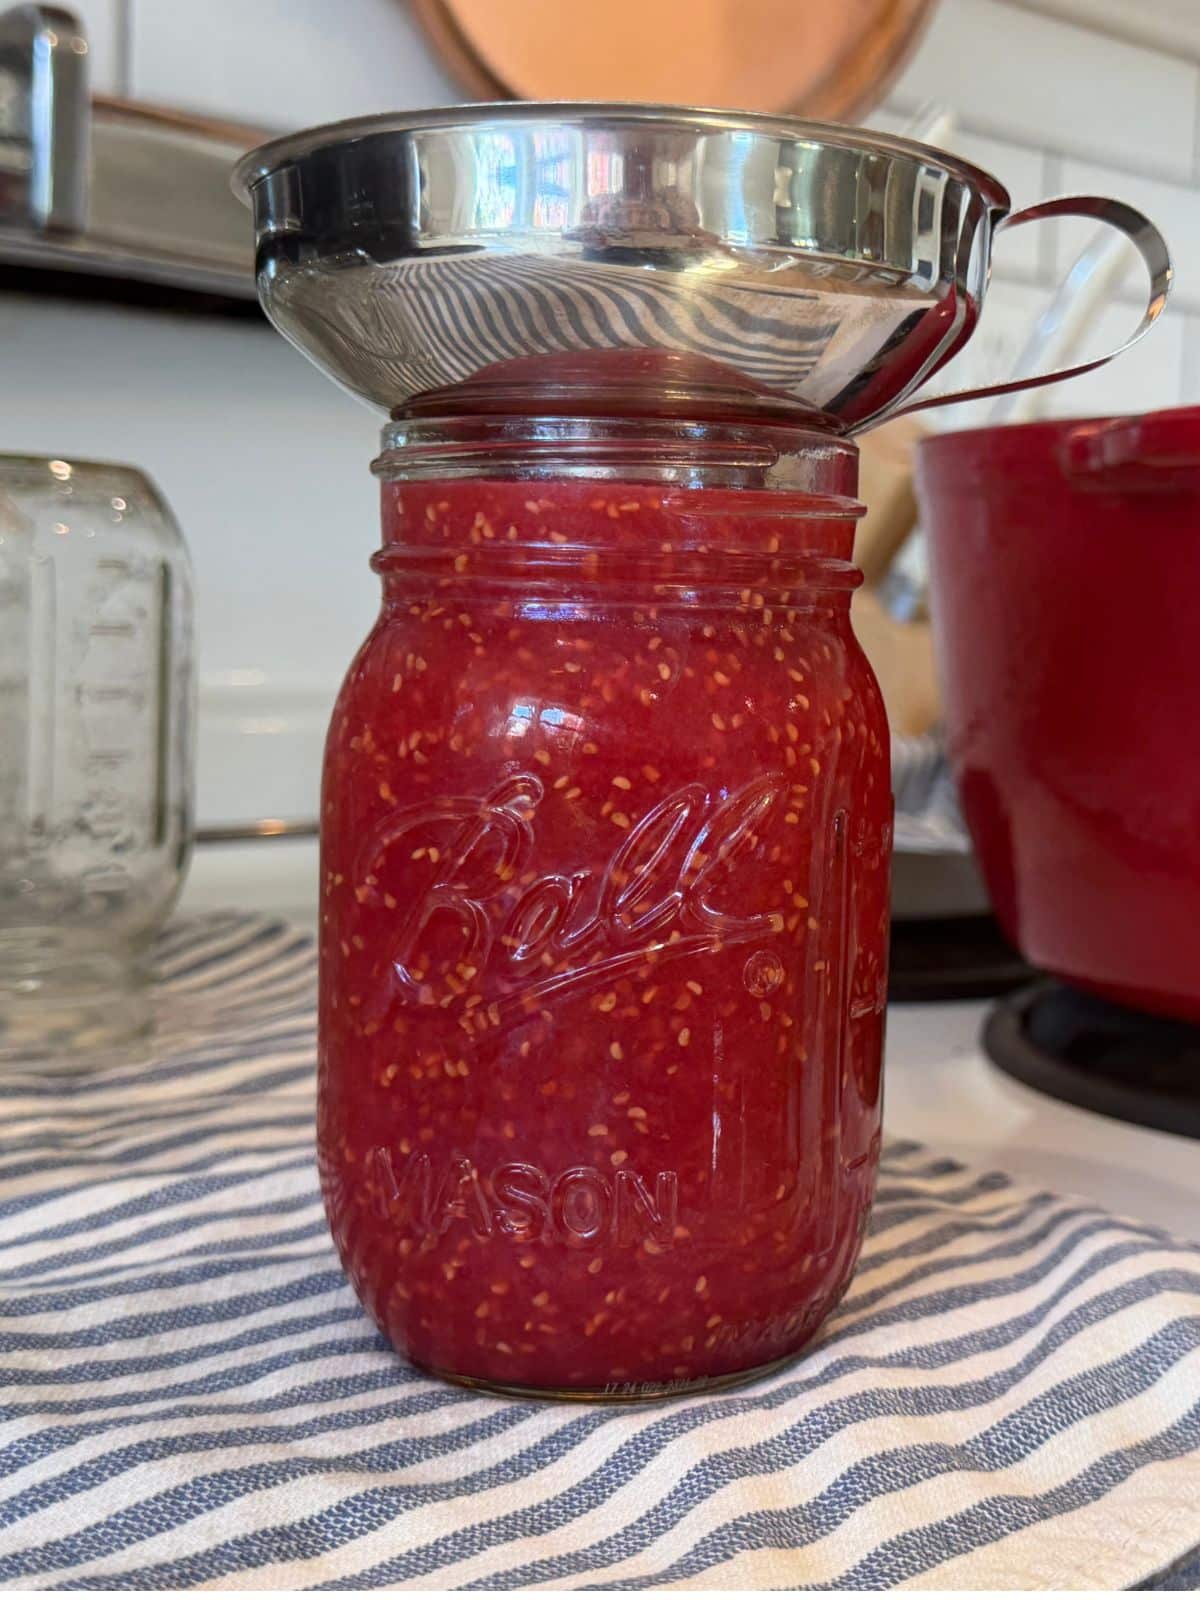
Fill & Leave Headspace: Fill jars according to your tested recipe, leaving the recommended headspace (usually ¼” for jams/jellies, ½” for pickles and fruits). If you don’t leave enough headspace, food will expand and spill under the lid which will prevent it from sealing onto the jar correctly… And too much headspace leaves extra air that might not vent completely.
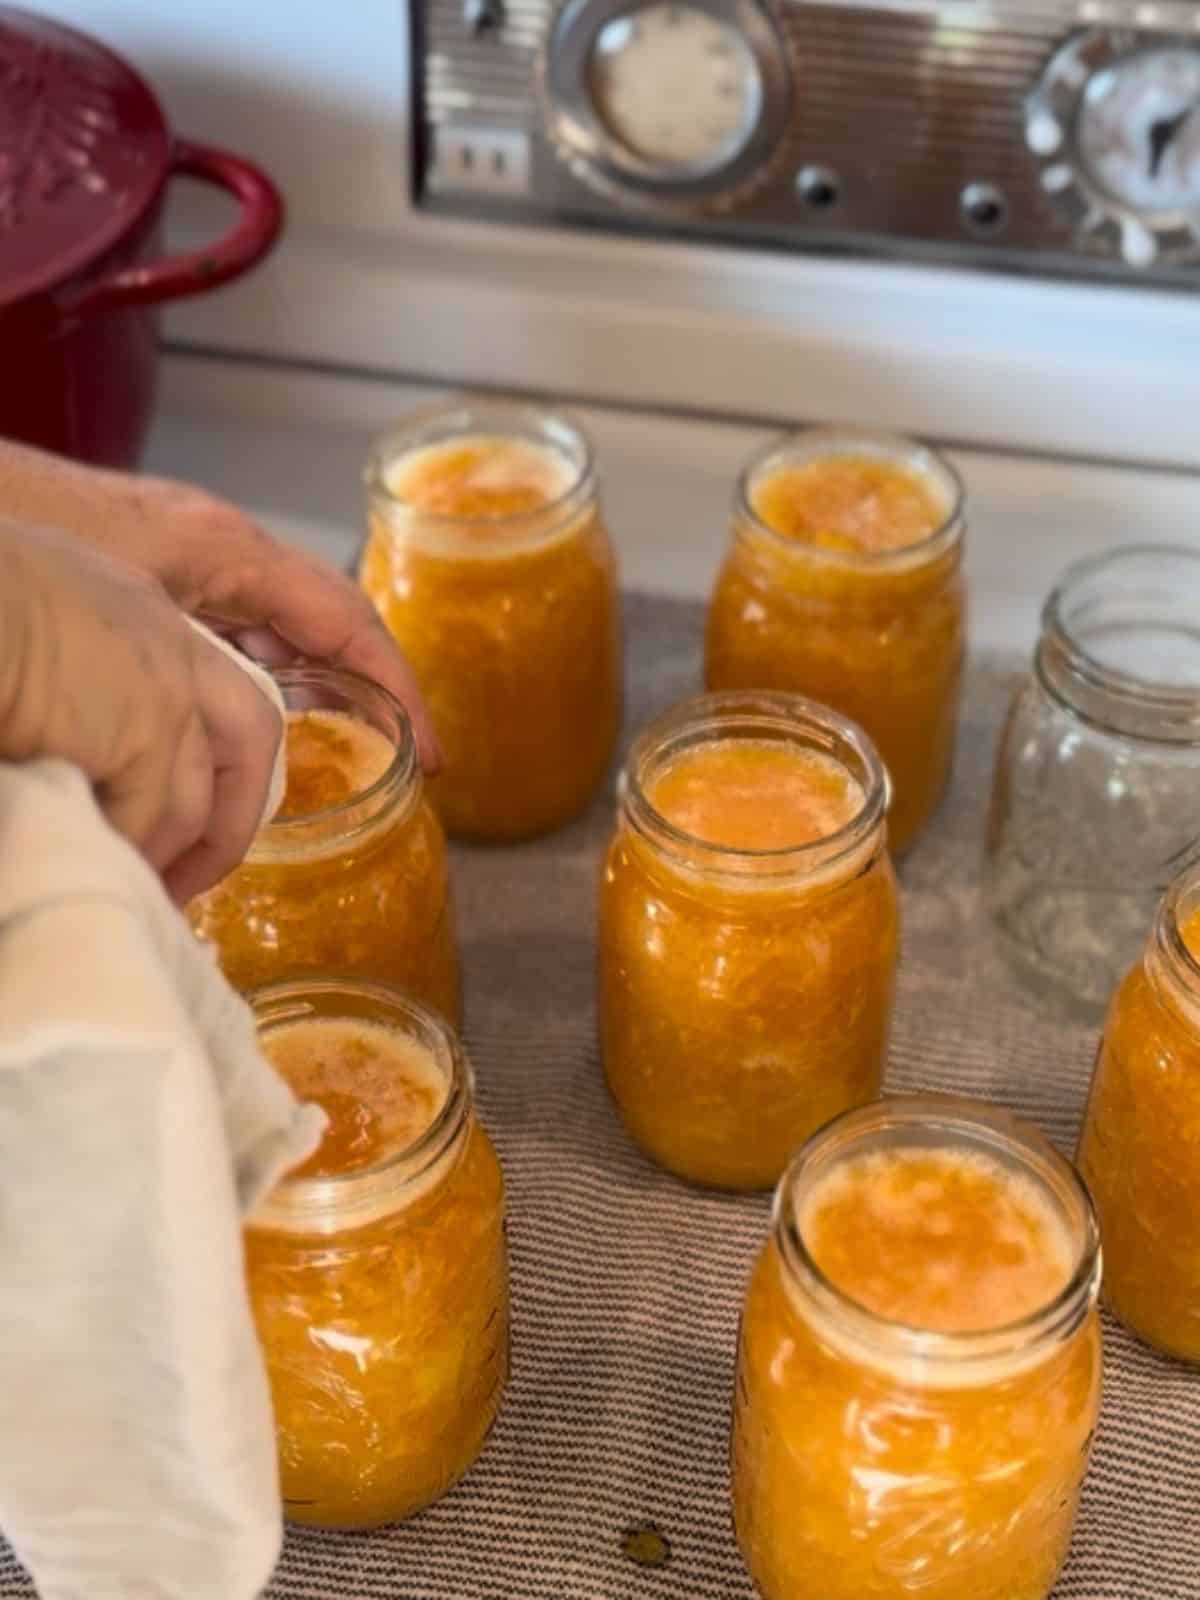
Debubble & Wipe Rims: Run a non-metallic spatula or bubble tool around the inside edge to release trapped air bubbles. Re-check headspace. Wipe the jar rim with a clean, damp paper towel to ensure no stickiness prevents a proper seal.
Apply Lids & Rings: Place the lid on top and screw the metal band on until it is fingertip-tight…. Screw the ring on until you meet resistance, then turn it just slightly more using only your fingertips, not your whole hand or palm. Do not over-tighten, or air won’t escape during processing. 😉
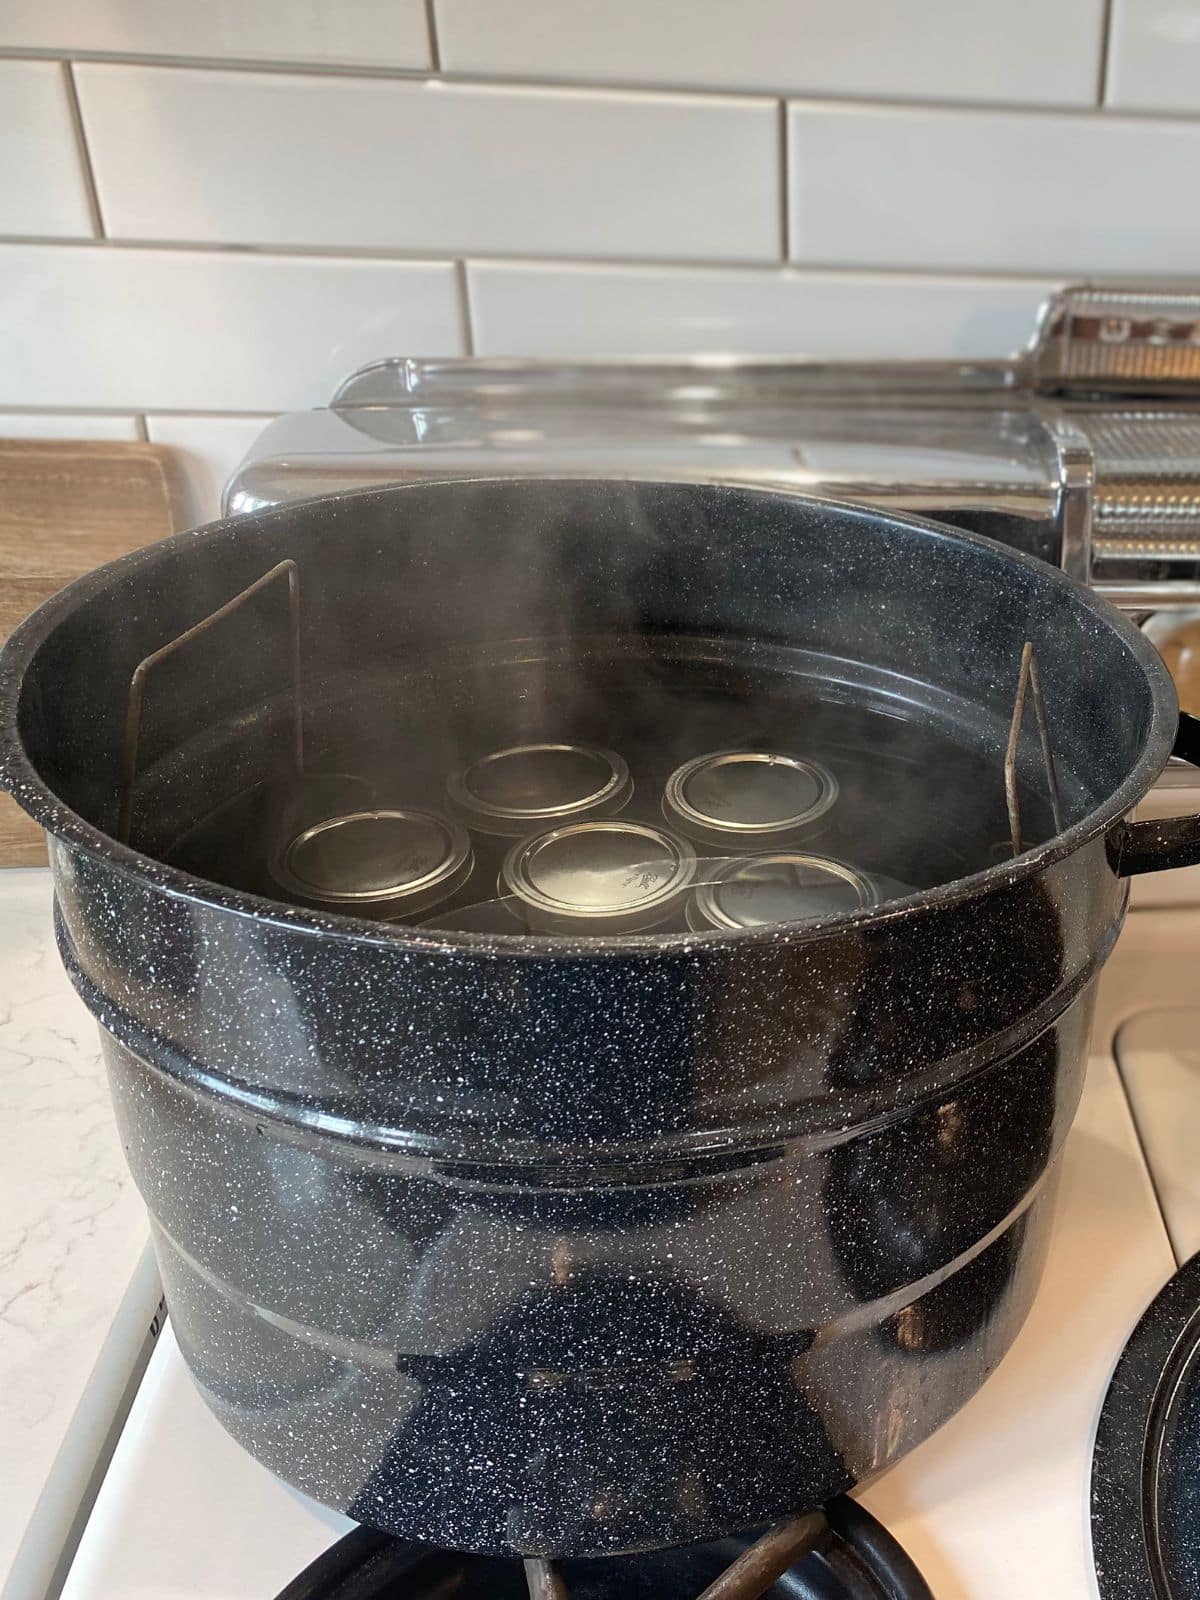
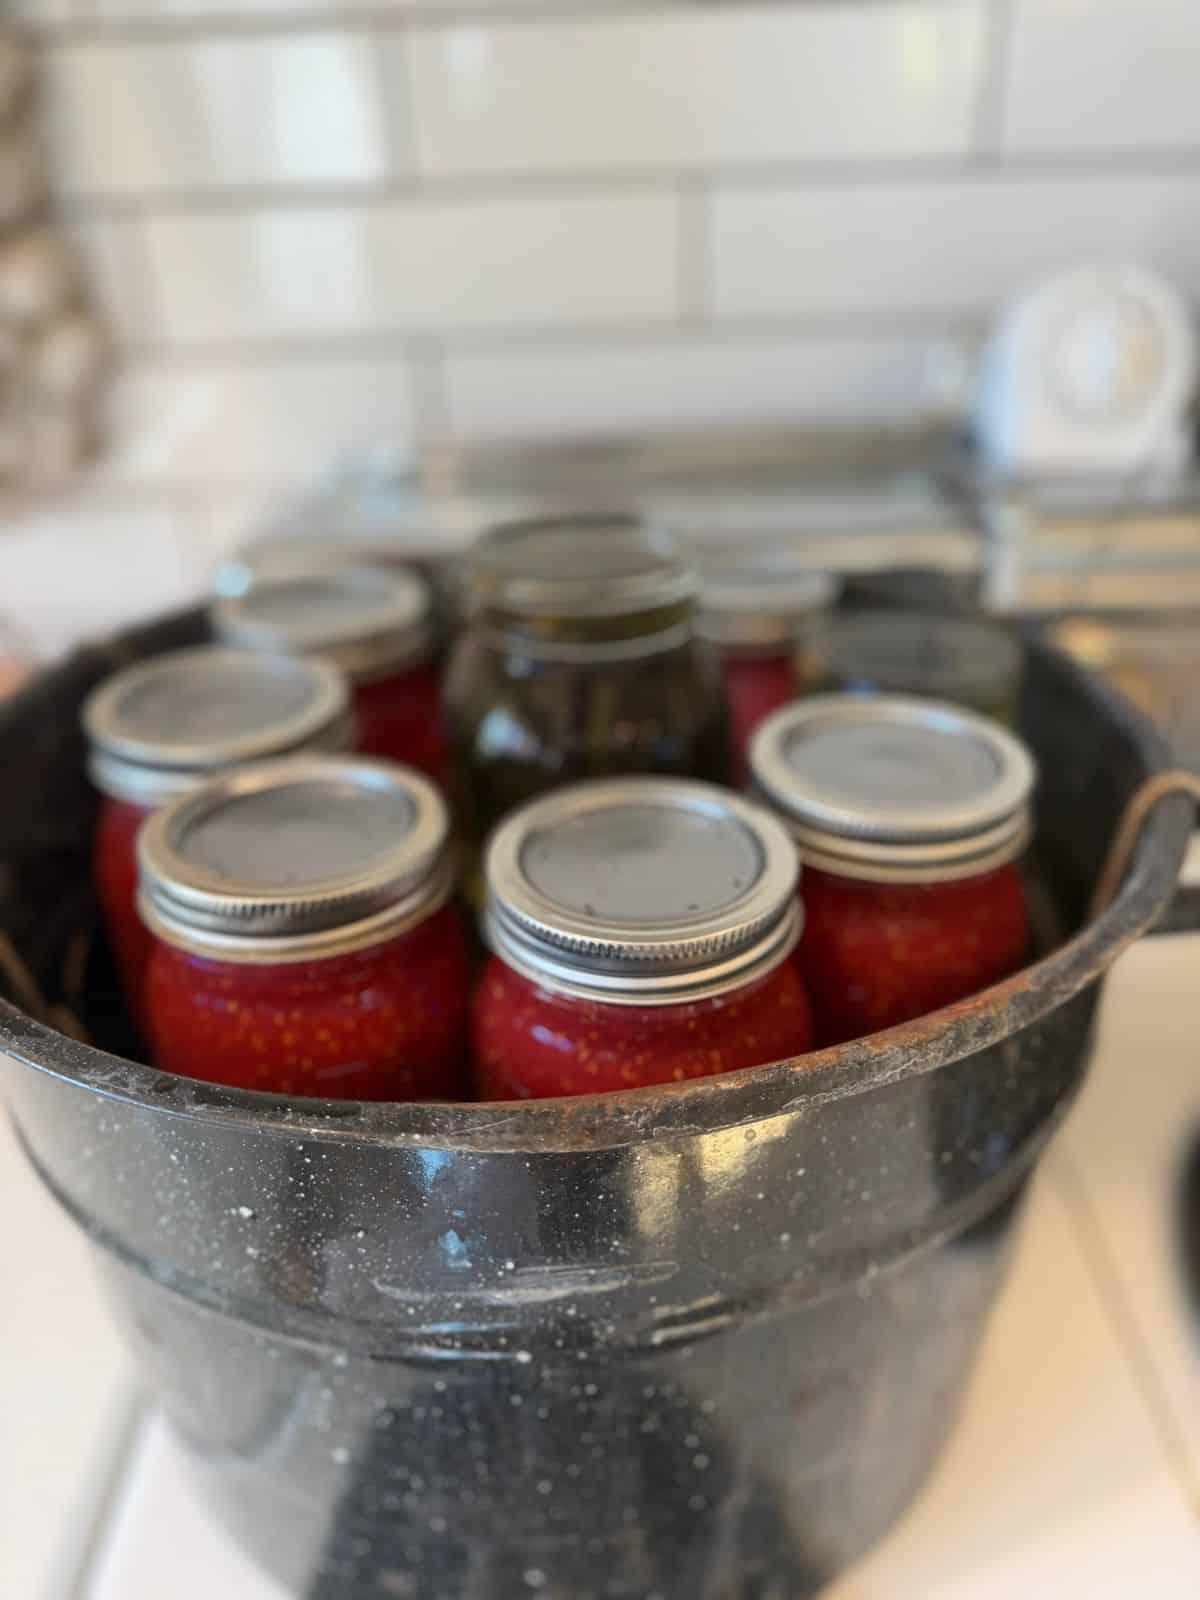
Load into Canner: Use a jar lifter to keep jars vertical (do not tilt). Lower them onto the rack in the canner. Once all jars are loaded, check that the water level is 1 to 2 inches above the tops of the jars. Add boiling water from your kettle if necessary.
What if you don’t have enough jars to fill the canner? If your recipe yields fewer jars than your rack holds, don’t leave wide empty spaces where jars can tip over during a vigorous boil! Fill extra clean jars with hot water, and place them in the empty spots on the rack. This keeps your filled recipe jars standing upright and stable throughout processing.
Jar Sterilization & Lid Prep
Lids – Older canning recipes required simmering lids in hot water before putting them onto filled jars… But modern lids, like Ball and Kerr, no longer require pre-heating. Washing them in warm water is enough.
Processing Time – When to Start the Timer
Cover & Bring to a Boil: Place the lid on the canner and turn the burner to high heat.
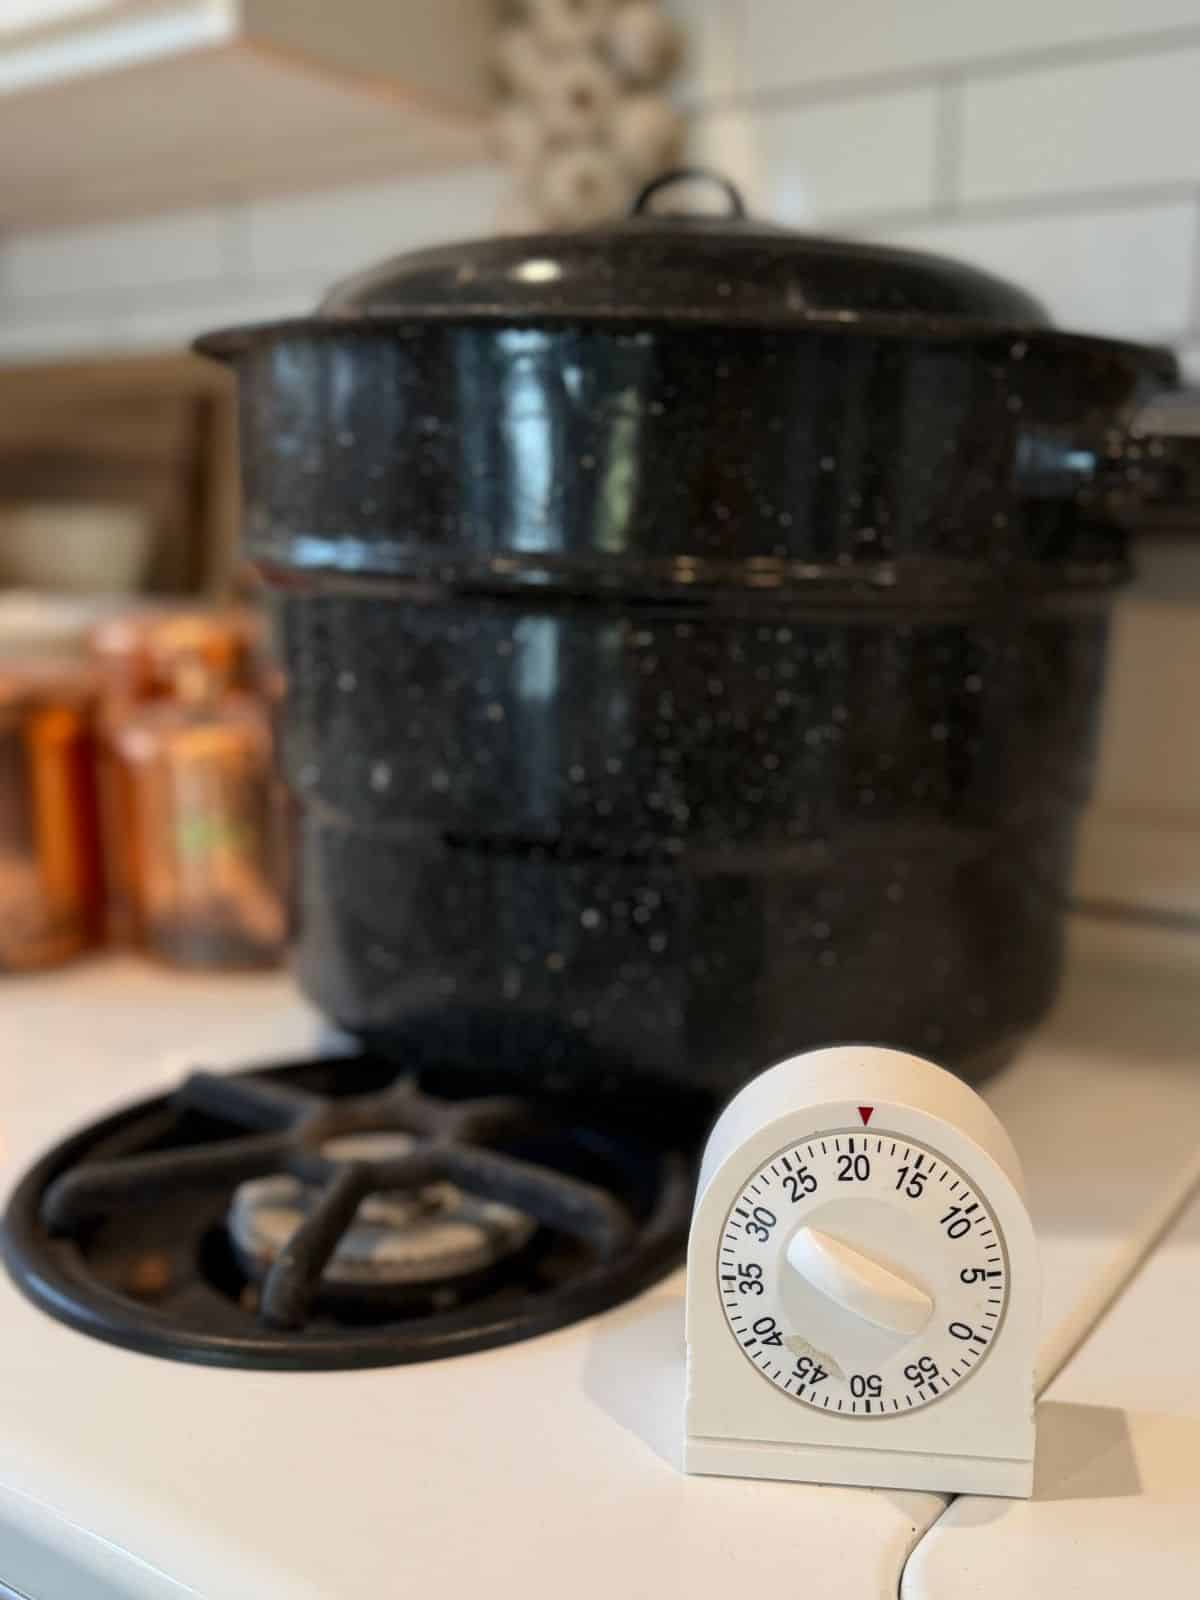
Start the Timer: DO NOT start your timer when you put the jars in. Wait until the water reaches a vigorous, full rolling boil, then start your processing timer.
Maintain the Boil: Keep the pot covered and adjust the heat as needed to maintain a continuous, steady boil for the entire processing time required by your tested recipe (adjusting for altitude if you live over 1,000 feet above sea level). If the water stops boiling mid-processing time (if cold water is added or the burner heat drops), you have to bring the water back to a full rolling boil and restart the processing timer from the beginning… That’s why you need a kettle of hot water going during water bath canning 😉
Keep Water level 1-2 Inches Above Jar Lids
Altitude Adjustments: Did you know water boils at a lower temperature at higher elevations? Because lower boiling temperatures aren’t as hot, you must increase your processing time to ensure your canned food is safe from bacteria. Check your local elevation online before canning. If you live above 1,000 feet, add extra processing time according to this simple chart (unless your specific tested recipe provides custom altitude times):
| Elevation (Feet above sea level) | Increase Processing Time By |
| 0 ft – 1000 ft | Use recipe time. |
| 1,001 ft – 3000 ft | Add 5 Minutes |
| 3,001 ft – 6,000 ft | Add 10 minutes |
| 6,001 ft – 8,000 ft | Add 15 Minutes |
| 8,001 ft – 10,000 ft | Add 20 Minutes |

Removing & Cooling Jars
Turn Off Heat & Rest: When processing time is up, turn off the heat, remove the canner lid, and let the jars sit undisturbed in the water for 5 minutes. This prevents liquid from boiling over out of the jars (siphoning) due to sudden temperature changes.
Lift Jars Straight Up: Using your jar lifter, remove jars one by one. Keep them upright and vertical—do not tilt them to drain water off the lids, as this can break the seal or pull food into the sealing area.
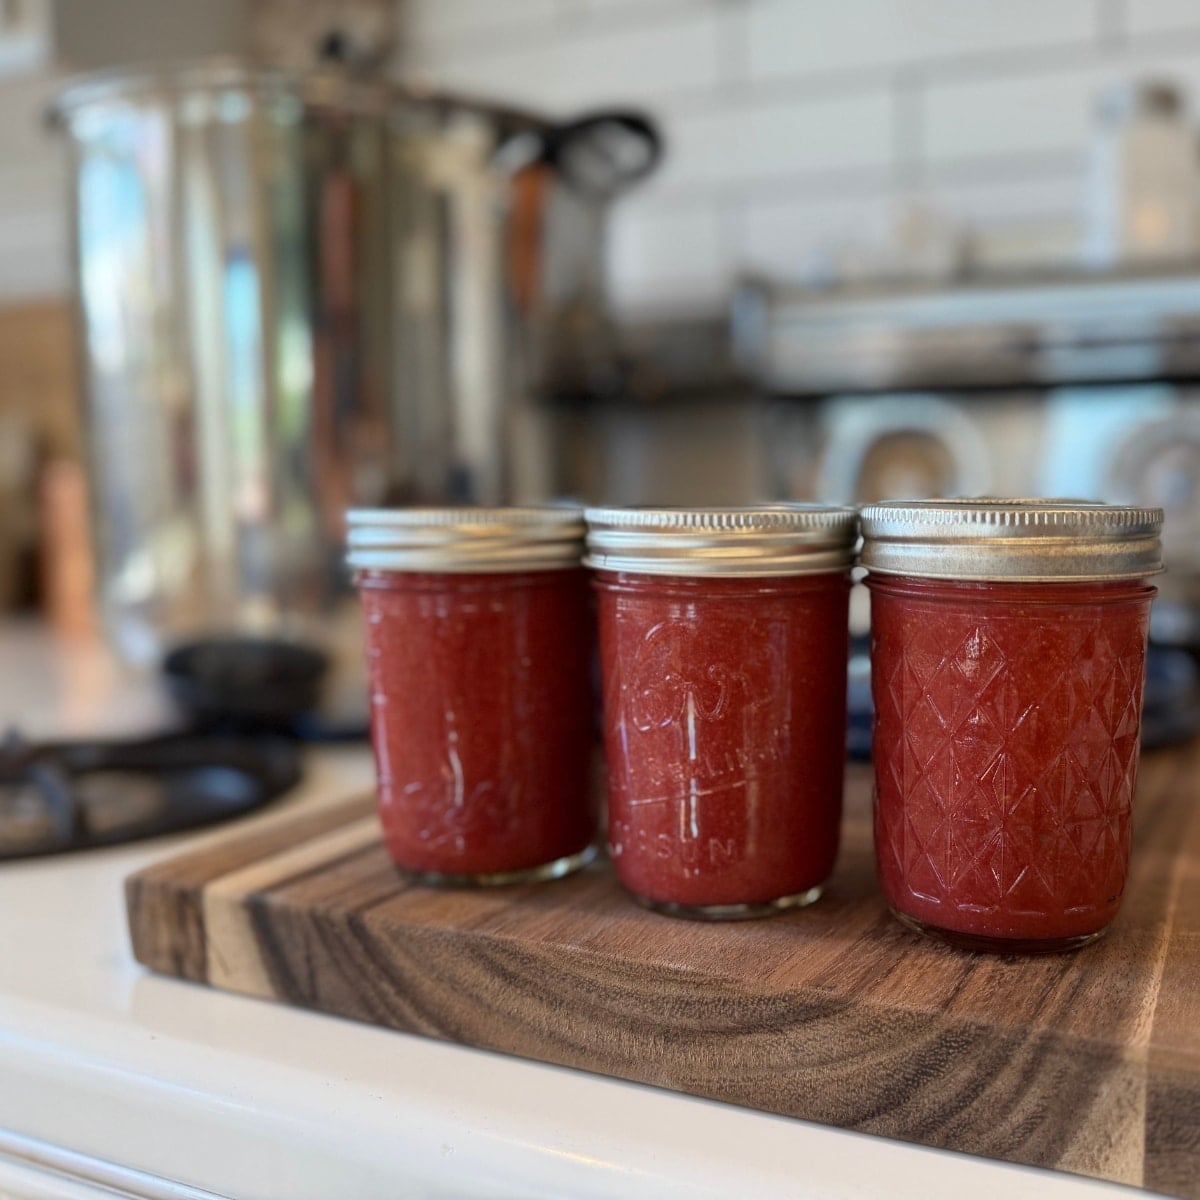
Cool on a Towel: Place jars on a thick kitchen towel or wooden board spaced 1 to 2 inches apart in a draft-free spot. Do not retighten the rings or press down on the lids while they cool.
Cool for 12 to 24 Hours: Let the jars cool undisturbed for 12–24 hours. You’ll hear the satisfying “ping!” as the lids seal.
Do NOT Press the Center of the Lids Early
Testing Seals & Storage
Test the Seals: After 12–24 hours, press the center of each lid. If it doesn’t flex up and down, it’s properly sealed! If a jar didn’t seal, place it in the refrigerator and eat it within a few days, or reprocess within 24 hours.
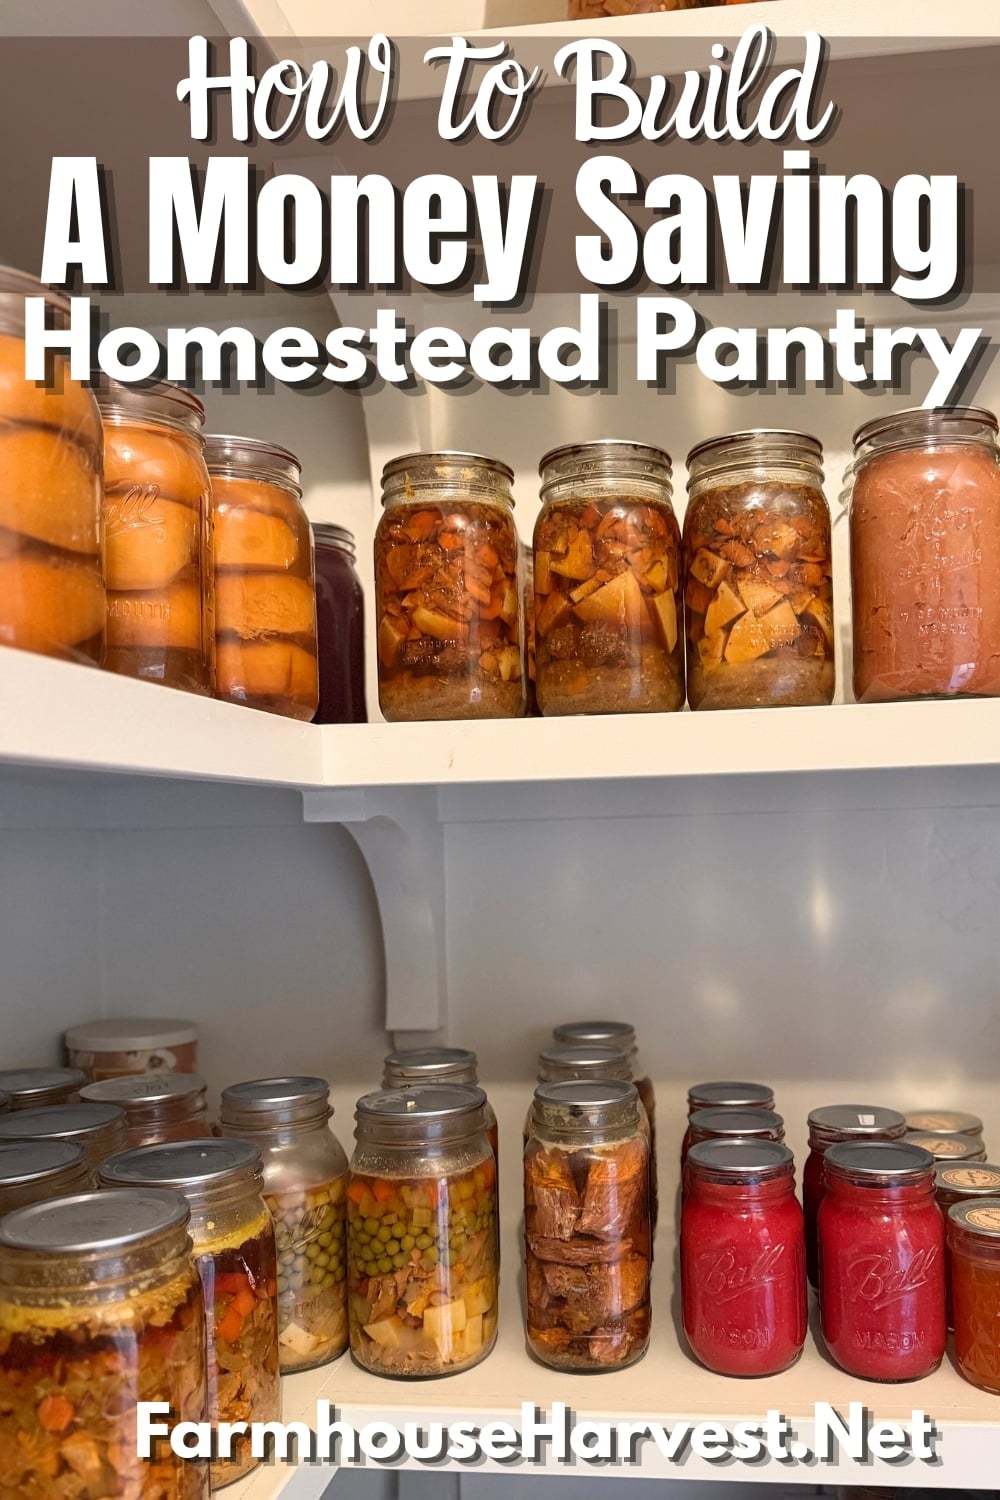
Store Proper: Remove the screw bands, gently wash/dry the outside of the jars, label with contents and date, and store in a cool, dark, dry place. Storing jars without rings (or screw bands) prevents “false seals” (where a unsealed lid gets stuck down by a rusty ring) and prevents the bands from rusting shut over time. 😉
Get Started!
Now that you know the step-by-step process, you’re ready to start preserving with confidence! Grab your jars and try out these beginner-friendly water bath canning recipes to get started:
🍑 Canned Peaches & Peach Jam – Learn how to preserve sweet, juicy summer peaches in a light syrup or turn them into delicious jam.
💃 Homemade Canning Salsa – A garden-fresh salsa recipe packed with flavor and perfected for safe water bath processing.
🍓 Easy Strawberry Jam – The ultimate beginner canning project with vibrant color and simple ingredients.
🥒 Canned Pickled Beets – Classic, sweet beets that bring fresh garden flavor to your pantry year-round!
Next Step: Bookmark this guide or pin it for later so you can easily jump back to these setup instructions whenever you’re prepping a batch of canned goods!
About Juliea
Juliea is a mother of six, a sourdough baker, and a homestead builder living in Idaho. Alongside her husband and their horse, Dude, she manages a busy farmhouse and shares her love for scratch-cooking and simple homemaking. Through her blog and YouTube channel, she helps millions of families every year master the art of the handmade home.