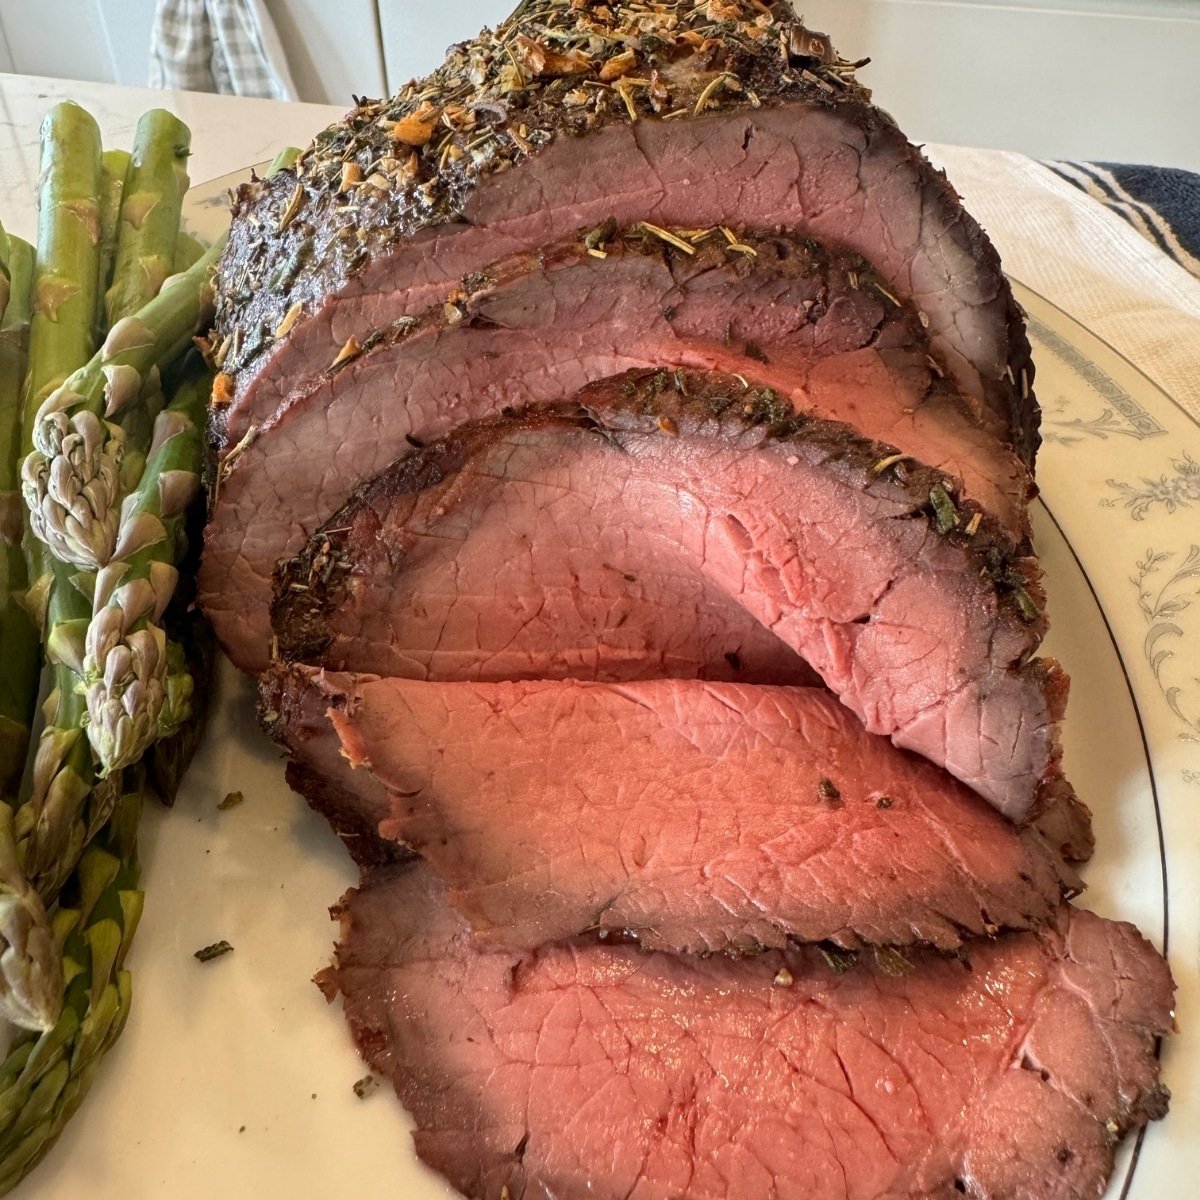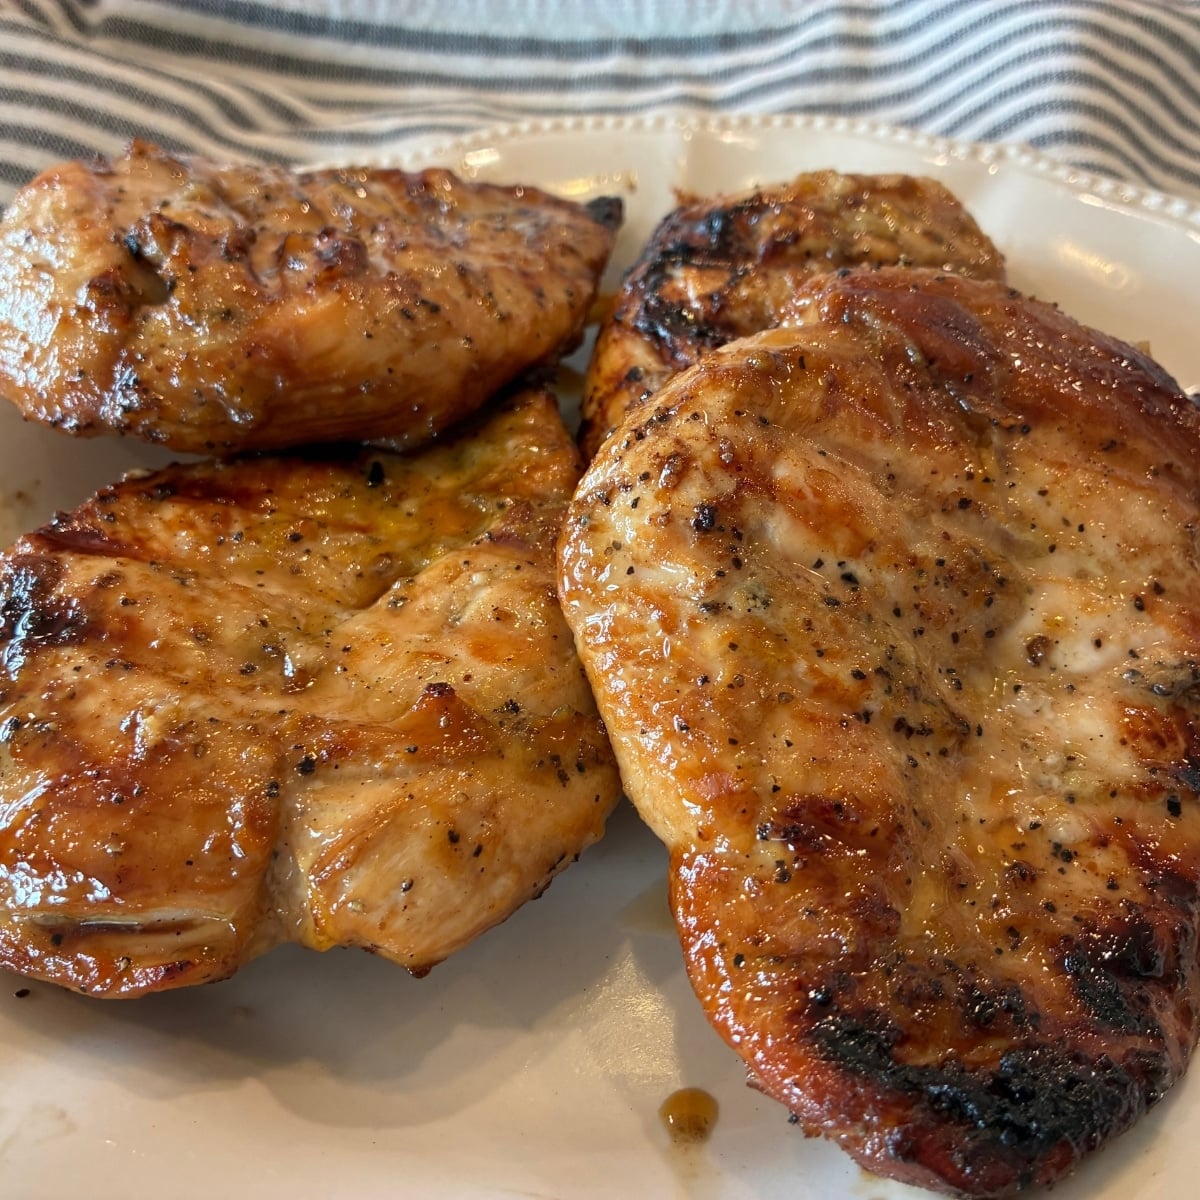

This egg and vinegar flakey pie crust recipe has been passed down in my family for generations. It’s really easy to make and super crispy, for a flaky pie crust that you can even see the flaky layers in… Perfect with any filling!
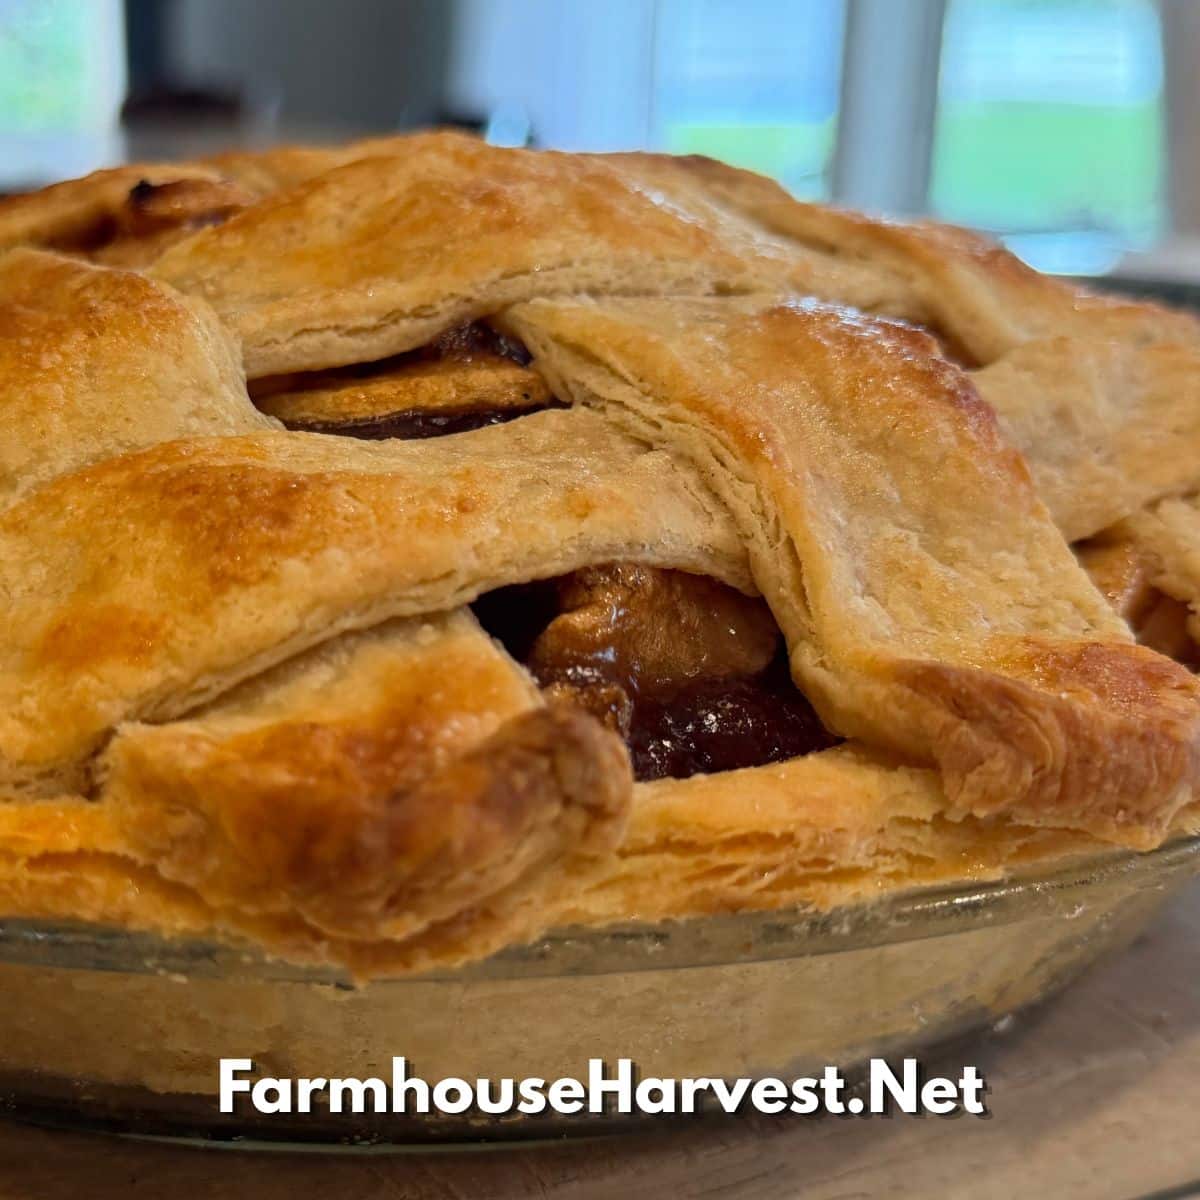
This is the best pie crust recipe that is super easy to make and turns out perfectly flaky… Every time! This recipe makes 2-3 flaky pie crusts. Printable Recipe At Bottom!
It only takes about 10 minutes to put together, so make a double batch and keep pie crusts in the fridge or freezer for convenient use!
This recipe is so versatile… You can use this pie crust for desserts or savory dishes like a chicken pot pie. Having them in the fridge or freezer makes cooking these types of dishes fast & easy!

Main Ingredients & Why
An egg and vinegar pie crust is a classic for a reason… It creates an insanely flaky, tender, and forgiving dough that rolls out like a dream. Here is a breakdown of what each ingredient brings to the table:
Cold Salted Butter: I use 100% butter because nothing compares to its rich, delicious flavor! Vegetable shortening might keep its shape easily, but it lacks real flavor and contains processed fats I prefer to avoid… Because this recipe uses salted butter, the added salt in the recipe is reduced so so your flaky pie crust is perfectly balanced, never overly salty. 😉
Unbleached Flour: Unbleached all-purpose or soft white wheat flour provides the ideal amount of gluten structure without making the crust tough.
Large Egg: Adding an egg adds richness, binds the dough together, and makes it much more pliable and easier to roll out without cracking. It also gives the baked crust a gorgeous golden color!
Ice Water (9 to 12 Tablespoons): Flour absorbency varies depending on humidity, elevation, how tightly the flour was packed, and whether you are using all-purpose or soft white wheat flour. Start with 9 tablespoons, then add cold water 1 tablespoon at a time just until the dough comes together into a cohesive ball without feeling overly sticky.
White Vinegar: Vinegar relaxes the gluten strands in the flour, so this flaky pie crust turns out tender rather than chewy or tough… White vinegar is my favorite because it adds that gluten-relaxing acidity without altering the clean, classic butter flavor. However, apple cider vinegar works great too if that’s what you have on hand!
Fine Ground Salt: Enhances the buttery notes and ties all the flavors together.
If you try this recipe, I’d love if you give it a review on the recipe card, and let me know how it turned out in the comments or review! Tag me on Instagram @farmhouse_harvest with your delicious creation!

How To Make Flaky Pie Crust Recipe
In a large bowl, use a pastry cutter to work the cold butter into your flour and salt till it looks like a coarse meal or crumb. I like to use a cheese grater to grate my COLD butter into my flour, it makes this so much easier!
Then, In a smaller bowl, beat 1 large egg with a fork. Add 9 tablespoons of cold water, and 1 tablespoon of white vinegar.
Pour the egg mixture into the flour and butter mixture, pressing gently until the flaky pie crust dough comes together.
Flaky Pie Crust Water Tip: Flour naturally absorbs moisture differently from day to day depending on air humidity, flour type, and measuring technique. Start with 9 tablespoons of ice water, then add up to 3 more (one tablespoon at a time) only if the dough still feels dry or crumbly and won’t hold together when pressed.
- Flour Type & Protein Content: Soft white wheat, unbleached AP, and bleached flour absorb liquid at slightly different rates.
- Ambient Humidity & Season: Flour acts like a sponge—it holds more ambient moisture in humid summer weather (needing less added water) and stays drier in winter heating (needing more liquid).
- Measuring Variation: Scooping flour directly with a measuring cup packs in more flour than fluffing and spooning it, requiring a bit more moisture to bind.

Cut the pie crust dough into 2-3 even pieces, roll each piece into a ball, flatten into a disk, and place each one in a gallon-sized Zip Lock bag… Or wrap them in plastic wrap.
Put pie crust balls in the freezer for 15 to 20 minutes to chill… Or chill in the refrigerator for at least 30 minutes.
Remove one pie crust dough ball from the fridge or freezer, and unwrap it.

On a floured surface, roll pie crust dough… Start at the center of the ball and work your way out!
Roll to about 1/4 inch thick and a couple of inches wider in diameter than your 9-inch pie pan!
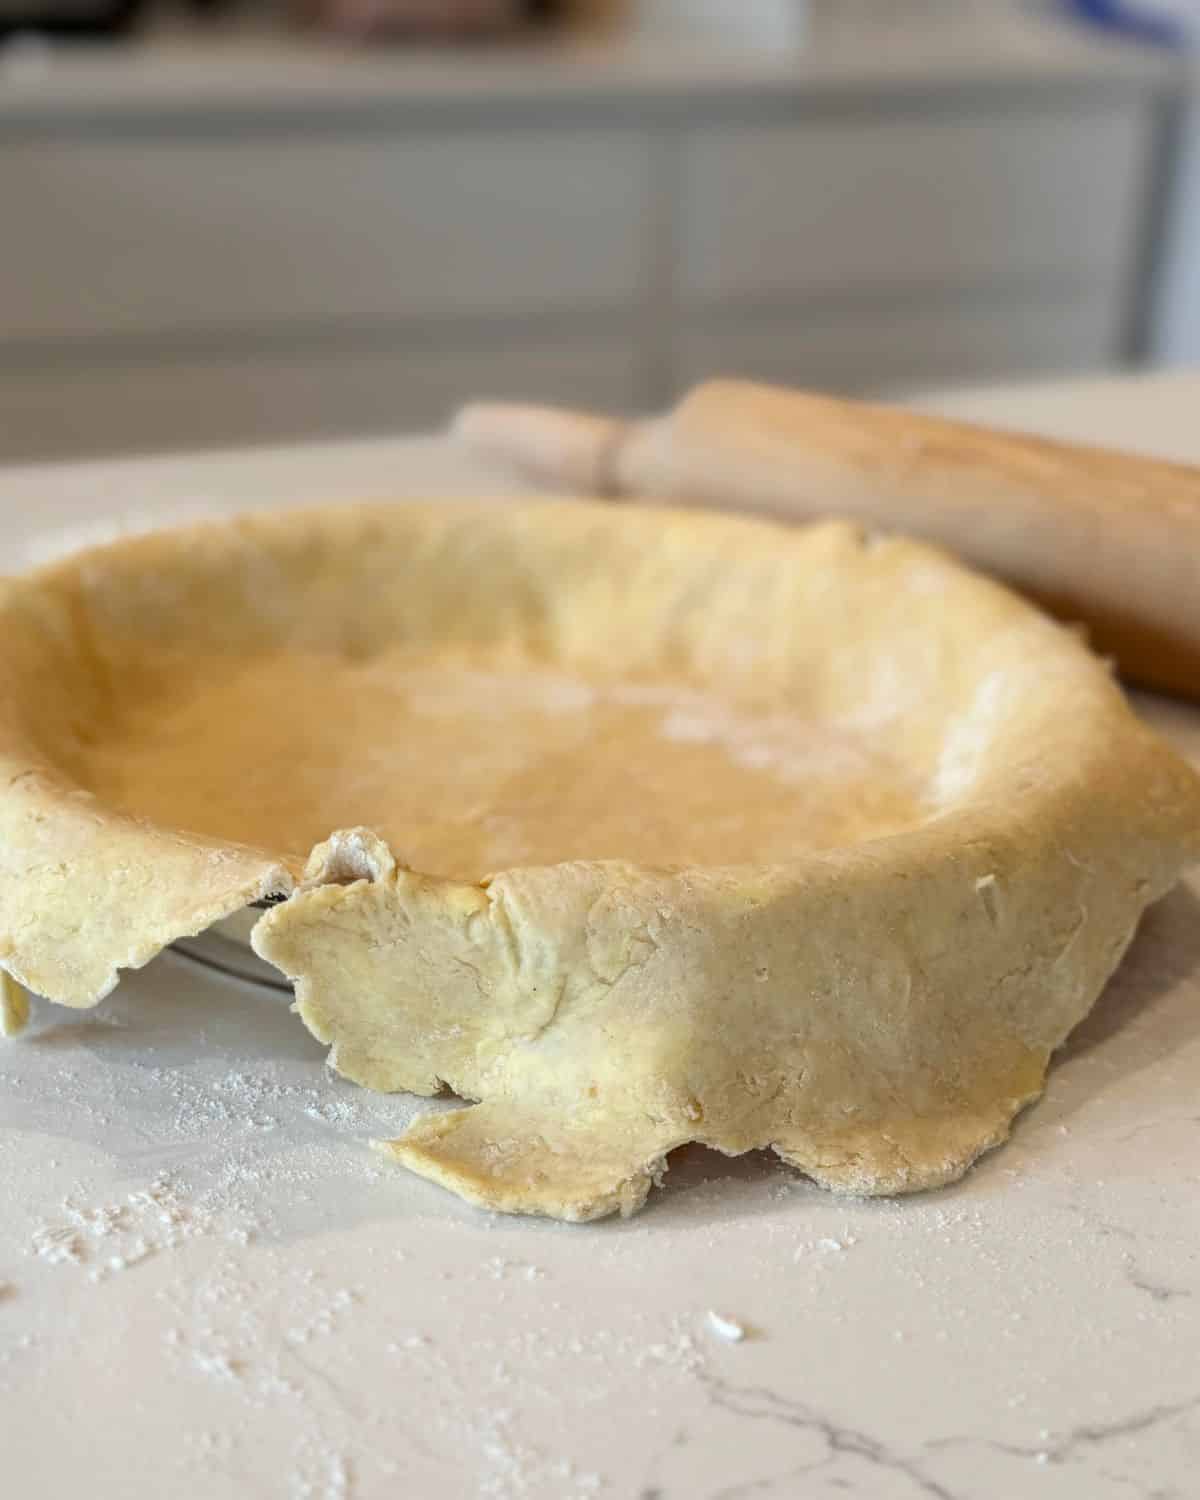
Roll the crust up on your rolling pin and transfer it to the pie pan, where you can roll it back out and set in place!
Flaky Pie Crust Recipe Tips
- If your flaky pie crust dough gets sticky, sprinkle flour on your dough and a rolling pin.
- If the pie crust dough sticks to your countertop, use a metal spatula or bench scraper to gently scrape it off. Then flip it over and finish rolling it out to about 1/4 inch thick (and a larger diameter than your pie pan!)
- Transferring Pie Crust to Pie Pan: With a rolling pin, roll the pie crust up onto the rolling pin and then you can easily roll it back out over your pie pan.
- Pinching Edges: Gently press the dough against the corner of the pan. Go around the pie pan pinching and tucking the dough to make a clean edge.
- Bake according to the type of pie you are making, but 25-30 minutes at 375 degrees F makes this nice and brown.
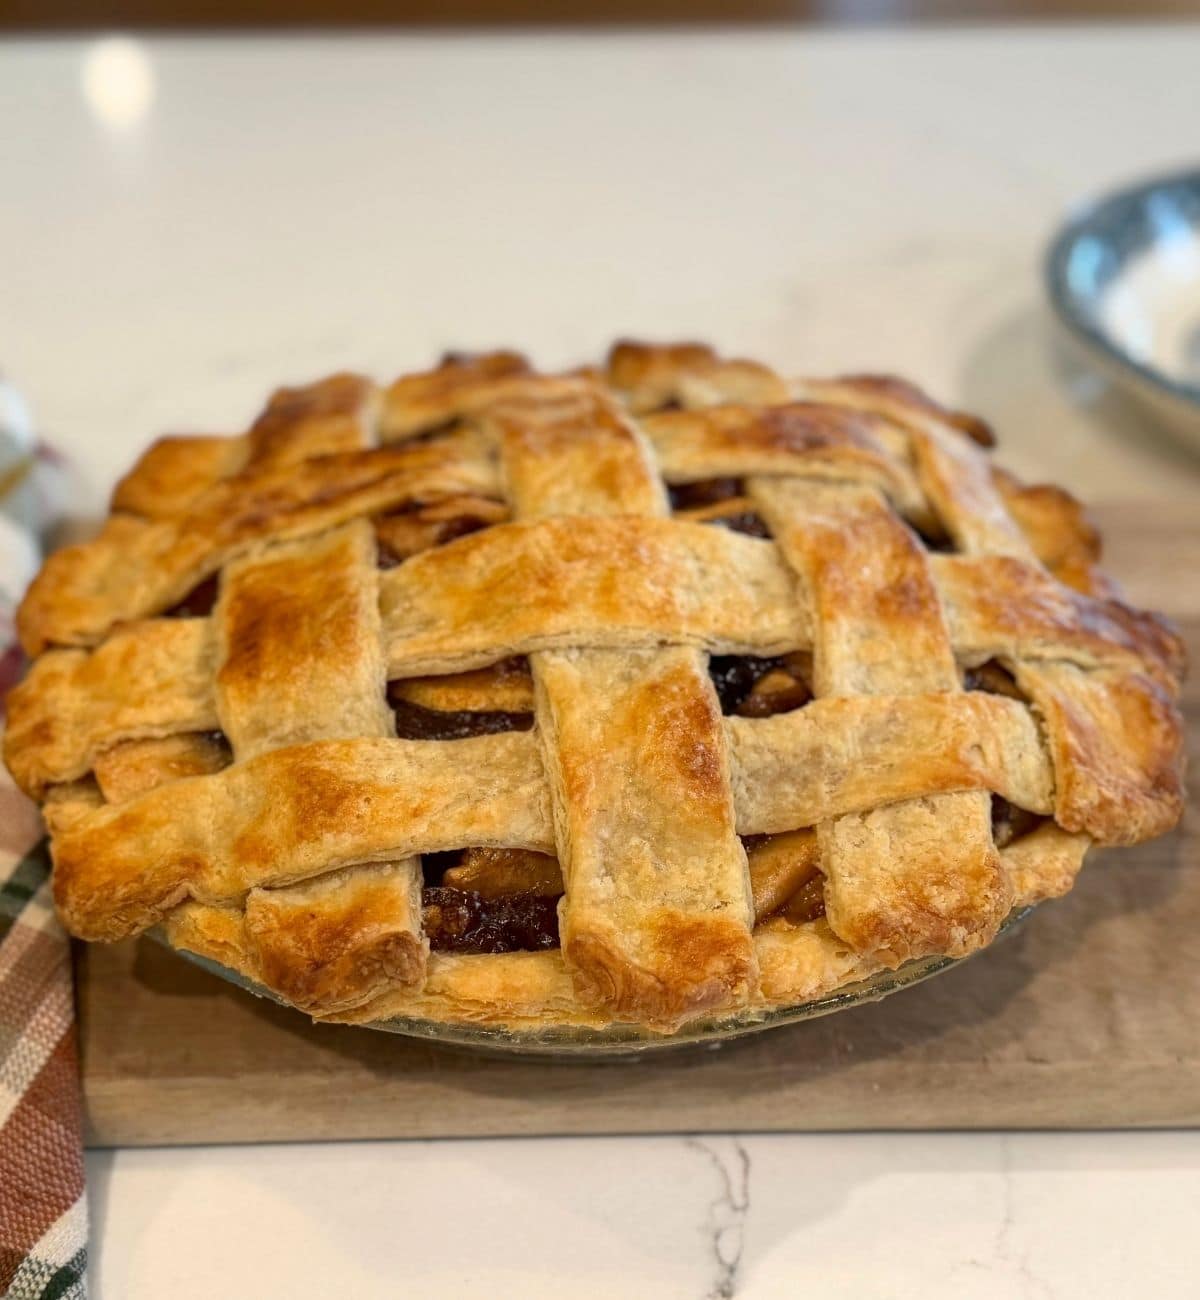
The Best Pies
Fresh Strawberry Pie with Strawberry Cream – A springtime favorite! Made with fresh strawberries and hoemade strawberry freezer jam for the freshest strawberry pie flavor ever!
Old Fashioned Maple Pecan Pie – This scrumptious pecan pie is made WITHOUT CORN SYRUP! We use real, pure maple syrup instead and once youtry it, you’ll never go back!
Perfect Pumpkin Pie – This is a fall and Thanksgiving MUST! It’s a RICH, creamy pumpkin pie filling perfectly spiced with a secret ingredinet that you’ll never leave out again!
You may also LOVE this Cider Apple Pie Filling for an awesome, ready to go, pie filling!
Did you make this all butter flaky pie crust recipe? I want to know what YOU think, Please review the recipe card!
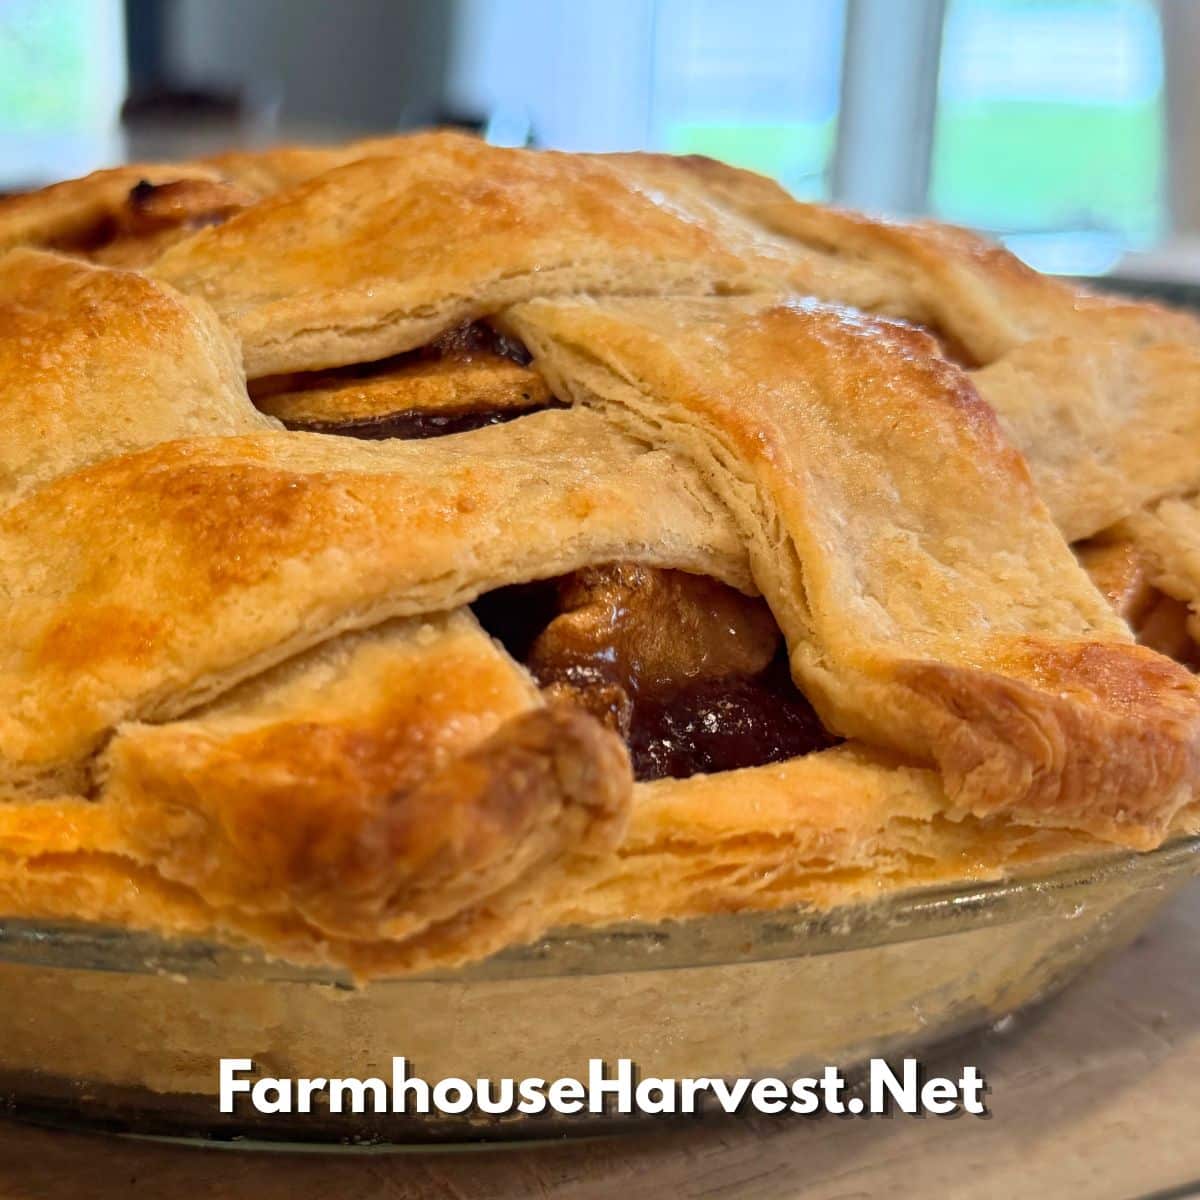
Flaky Pie Crust Recipe – All Butter (No Shortning)
Equipment
- 1 cheese grater, or pastry knife
- 1 mixing bowl
- 1 9 inch pie pan
Ingredients
- 3 cups unbleached flour 360 grams – All Purpose or Soft White Wheat
- 1 cup Cold Butter Salted, Very Cold or Frozren
- 1 Large Egg
- 9 tbsp Ice Water 9-12 tablespoons as needed.
- 1 tbsp Vinegar White Vinegar
- 1 tsp salt fine ground
Instructions
- In a large bowl, use a pastry cutter to work the cold butter into your flour and salt till it looks like a coarse meal or crumb. ( You can also use other fats like Ghee, tallow, lard… However, I love the flavor of butter!)
- Then, In a smaller bowl, beat 1 large egg with a fork. Add 6 tablespoons of cold water, and 1 tablespoon of white vinegar.
- Pour the egg mixture into the flour and butter mixture. Mix gently and then press till your flaky pie crust dough holds together. Add extra ice water (by the tablespoon) gradually until the dough holds together.
- Cut the pie crust dough into 2-3 even pieces, roll each piece into a ball, and place each one in a gallon-sized Zip Lock bag.
- Put pie crust balls in the freezer for 15 to 20 minutes to chill.
- Remove one pie crust dough ball from the freezer.
- Remove pie crust dough from the zip loc gab.
- On a well-floured surface, roll pie crust dough… Start at the center of the ball and work your way out!
- Roll to about 1/4 inch thick and a couple of inches wider in diameter than your 9-inch pie pan!
- Roll the crust up on your rolling pin and transfer it to the pie pan, where you can roll it back out and set in place!
- Freeze your shaped, fluted pie shell for 15–20 minutes right before baking. That initial cold shock keeps the rim sharp and prevents shrinking down the sides. (Because butter melts quickly without shortening to anchor it.)
- Bake on the bottom rack according to the type of pie you are making, but 25 – 30 minutes at 375 degrees F makes this nice and brown. See prebaked pie crust instructions in notes below.
- Protect the Edges with a Pie Shield: Because an all-butter crust browns quickly, check your pie around the 15 to 20-minute mark. If the crimped edges are already a deep golden brown, loosely place a metal pie shield (or a ring of aluminum foil) over the rim. This prevents the top edges from burning or over-browning while the bottom crust finishes baking.
Notes
Bake on the Bottom Oven Rack: Position your oven rack in the lowest third of the oven. Baking close to the bottom heat source ensures the bottom crust bakes through completely, giving you a crisp, golden base rather than a soggy bottom—especially important for wet or custard fillings. How to Pre-Bake a Pie Shell: Line the Dough – Dock the bottom of your chilled dough with a fork, then line the inside of the pie shell with a piece of parchment paper or aluminum foil (cut slightly larger than the pie pan). Fill the lined crust completely to the top rim with pie weights or dry beans. Packing them all the way up against the sides supports the walls so they don’t shrink or slide down during the initial bake. Initial Bake: Bake on the bottom rack at 375°F (190°C) 15–18 more minutes until the edges are light golden and set. Remove Weights & Finish: Carefully lift out the parchment paper and weights/beans. If your recipe calls for a fully pre-baked crust, return it to the bottom rack for another 7–10 minutes until the bottom looks matte and pale golden. (If using dry beans, let them cool completely and save them in a jar to reuse as pie weights next time!).
Nutrition

About Juliea
Juliea is a mother of six, a sourdough baker, and a homestead builder living in Idaho. Alongside her husband and their horse, Dude, she manages a busy farmhouse and shares her love for scratch-cooking and simple homemaking. Through her blog and YouTube channel, she helps millions of families every year master the art of the handmade home.