Fill a fresh flaky pie crust with this delicious homemade cider apple pie filling canning recipe adapted from the tested National Center for Home Food Preservation (NCHFP) recipe.
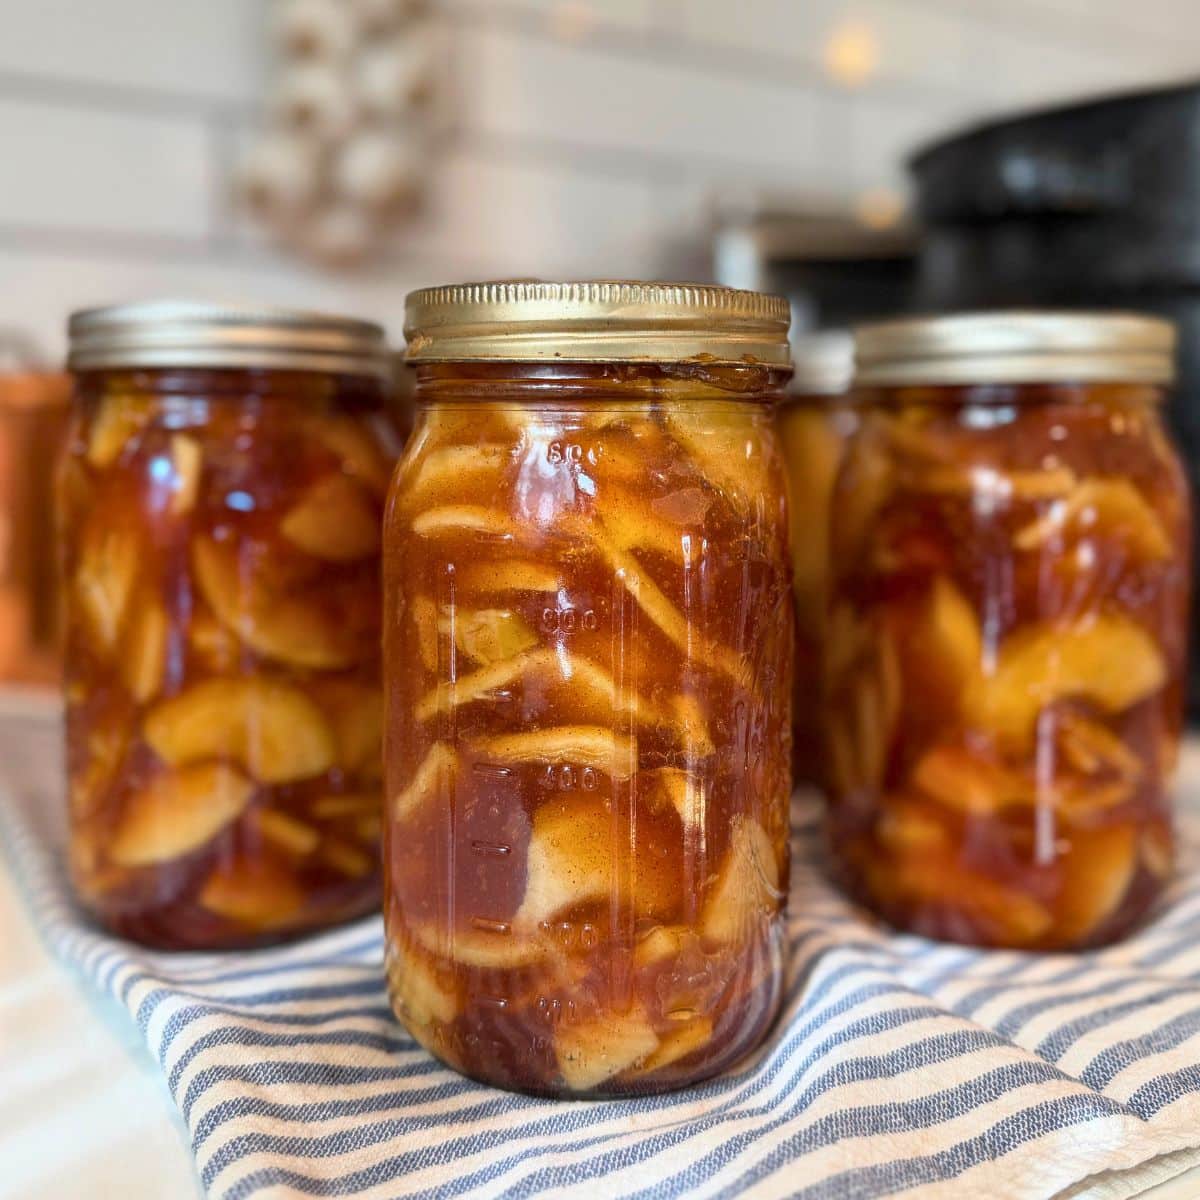
Made with rich apple cider and Cook-type ClearJel® for a smooth, cozy, store-bought consistency that cans safely in a water bath canner.
There’s nothing quite like reaching into your pantry in the middle of winter, popping open a jar of homemade cider apple pie filling, and instantly filling your kitchen with the cozy, spiced aroma of autumn. Whether you are whipping up a quick weeknight crisp, filling a flaky pie crust, or spooning warm apples over vanilla ice cream, having this shelf-stable favorite on hand makes home baking effortless.
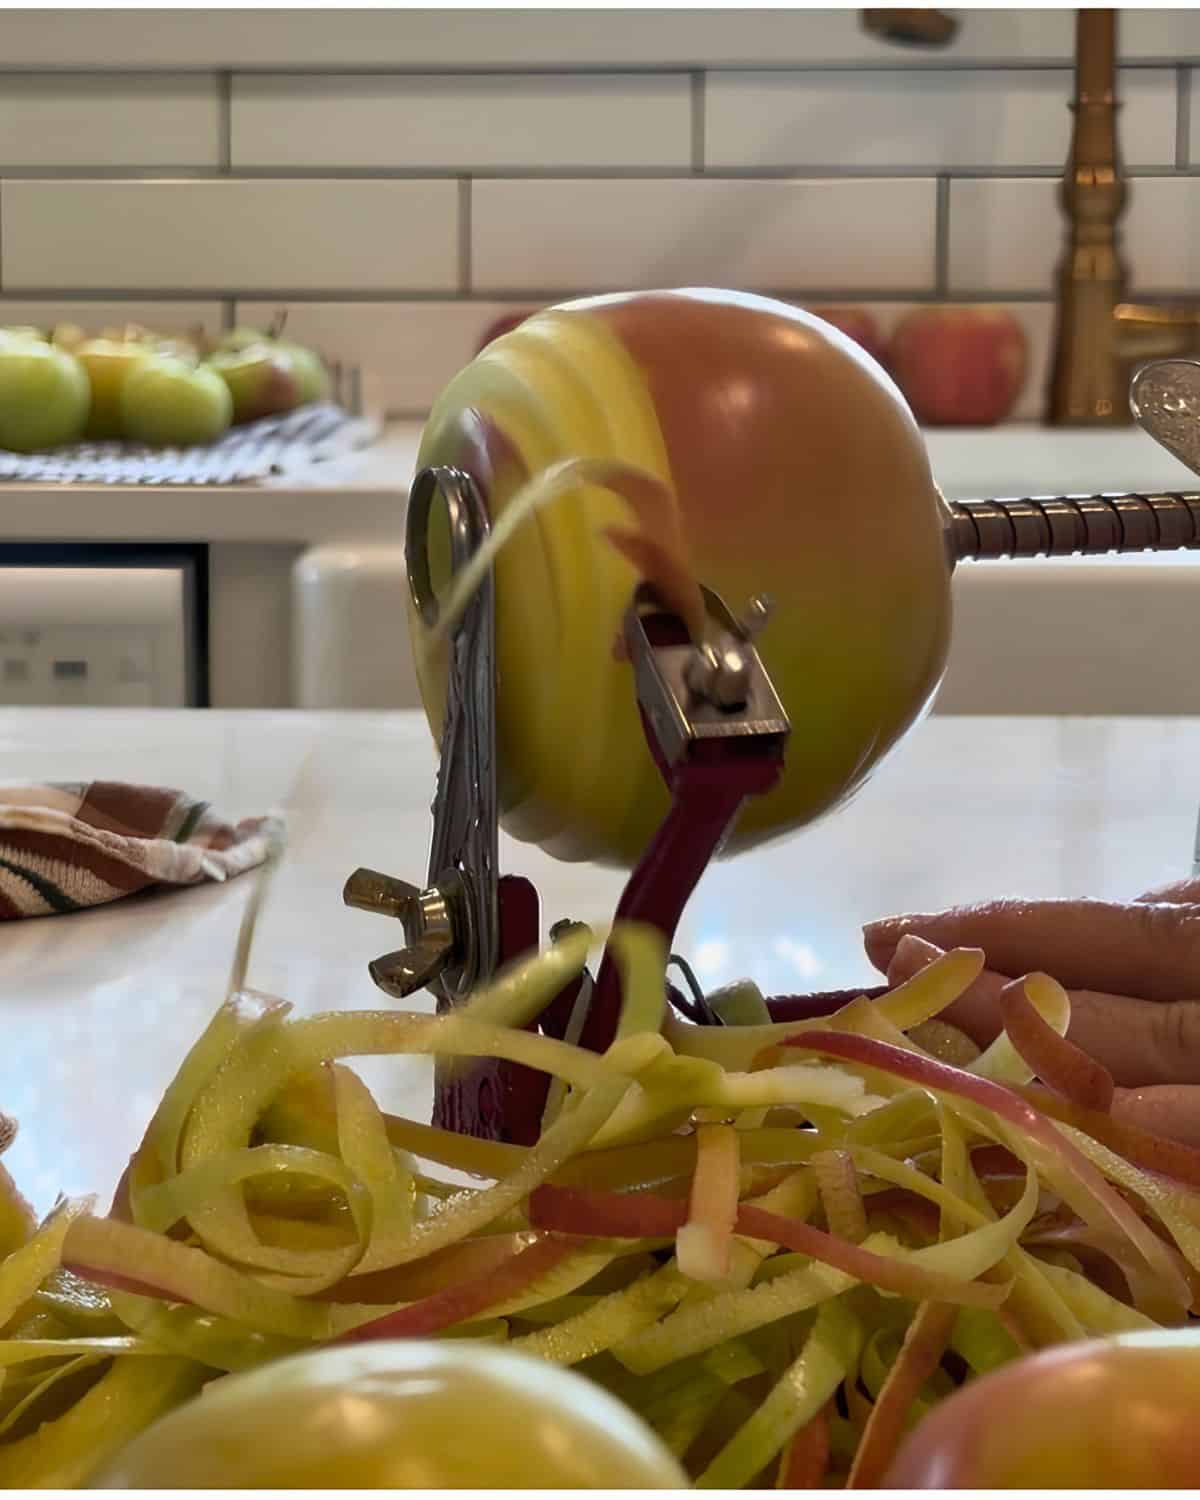
Safe Apple Pie Filling Canning Recipe
Store-bought apple pie filling can taste cloying, gummy, or artificial, BUT this homemade version captures the flavor of freshly picked orchard apples… Safety is key when home canning, and this recipe strictly adheres to the tested guidelines established by the National Center for Home Food Preservation (NCHFP):
- Apple Cider Base: Instead of using plain water or standard apple juice, this recipe uses unsweetened apple cider as the liquid base. As the syrup thickens, the cider concentrates into a rich, caramel-like glaze that amplifies the natural sweetness and tartness of the fruit. Swapping plain apple juice for unsweetened apple cider is 100% safe because both liquids share identical pH acidity levels and liquid density… That means heat penetrates the jar at the exact tested rate without altering the safety of the recipe.
- Warm Spices: Pure ground cinnamon and spices in apple cider, add just the right amount of warm spice without overpowering the bright, natural apple flavor. Dry spices like cinnamon and nutmeg are added strictly for flavor rather than preservation. Omitting or reducing nutmeg does not affect the acidity, pH balance, or thermal processing required to keep your jars safe.
- Rich Brown Sugar: Swapping standard white granulated sugar for light or dark brown sugar brings a warm, molasses-caramel depth to the filling that pairs beautifully with the fresh apples and cider! In home canning, sugar is added purely for flavor, texture, and color—it does not affect the safety or critical pH acidity needed for water bath processing. Making an equal 1:1 swap for brown sugar is completely safe and creates a richer, bakery-style flavor.
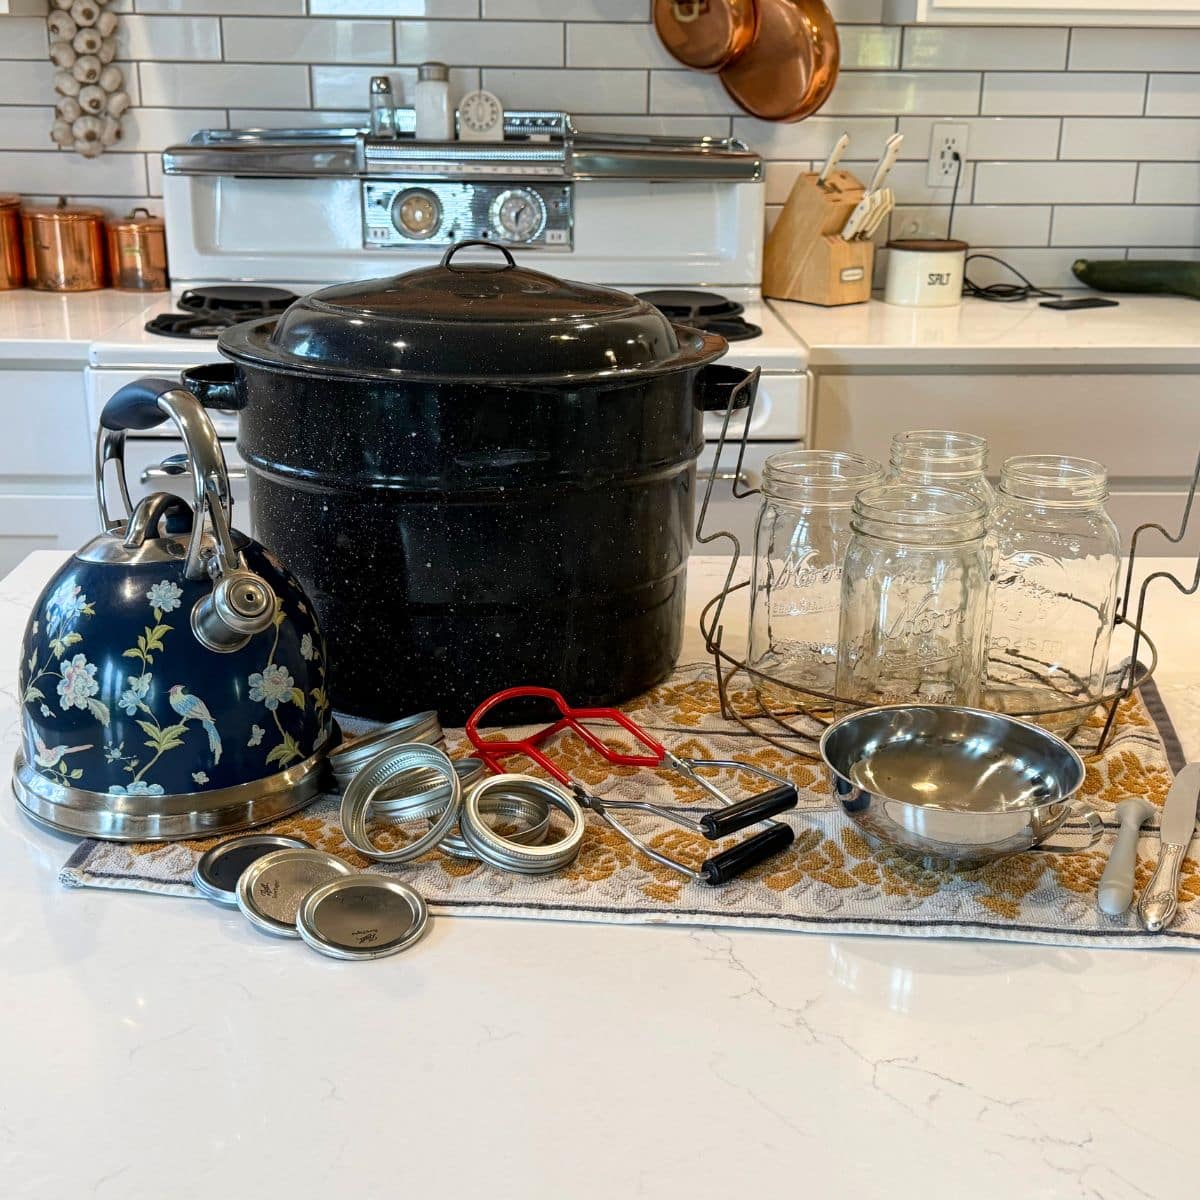
Essential Equipment Checklist
- Water Bath Canner & Rack: The elevated rack inside your water bath canner keeps your jars off the direct heat at the bottom of the pot, preventing cracking and letting boiling water circulate evenly around every jar.
- 7 Quart Mason Jars, Lids, & Rings: Stick to trusted brand-name jars with smooth, unchipped rims. Always use brand-new flat canning lids to guarantee a reliable vacuum seal.
- Jar Lifter & Wide-Mouth Funnel: A sturdy jar lifter keeps your hands safe when transferring heavy jars in and out of boiling water, while a wide funnel keeps sticky filling off your jar rims.
- Non-Metallic Bubble Remover: Trapped air pockets can ruin your headspace and compromise your seal. Use a flexible plastic bubble popper or silicone spatula—never metal, which can scratch and weaken the glass.
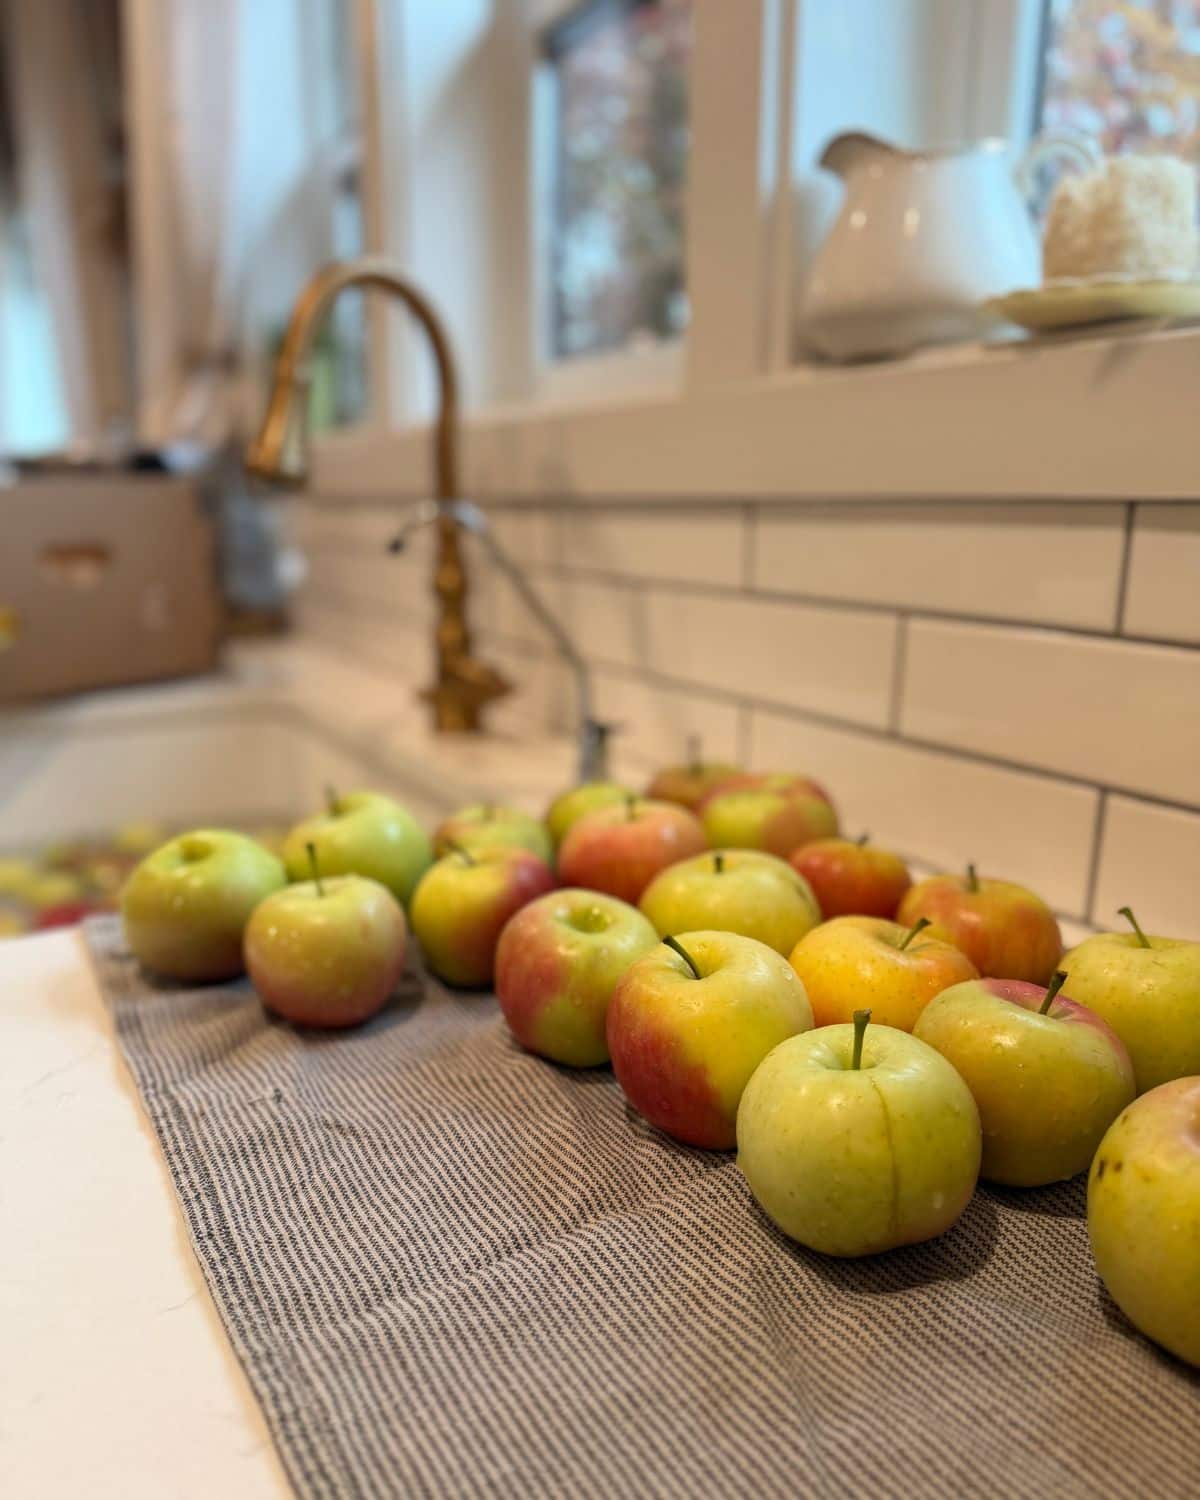
Choosing the Right Apple Varieties
The secret to a pie filling with actual texture—rather than applesauce in a jar—comes down to picking firm, crisp baking apples that hold their shape through blanching and canning.
Best Apple Pie Baking Varieties: Firm, tart-to-sweet varieties like Granny Smith, Honeycrisp, Jonathan, Braeburn, Pink Lady, or Gala work best.
Mix & Match: For the deepest apple pie flavor, I love to combine tart Granny Smith apples with a sweeter variety (like Honeycrisp or Jonathan)!
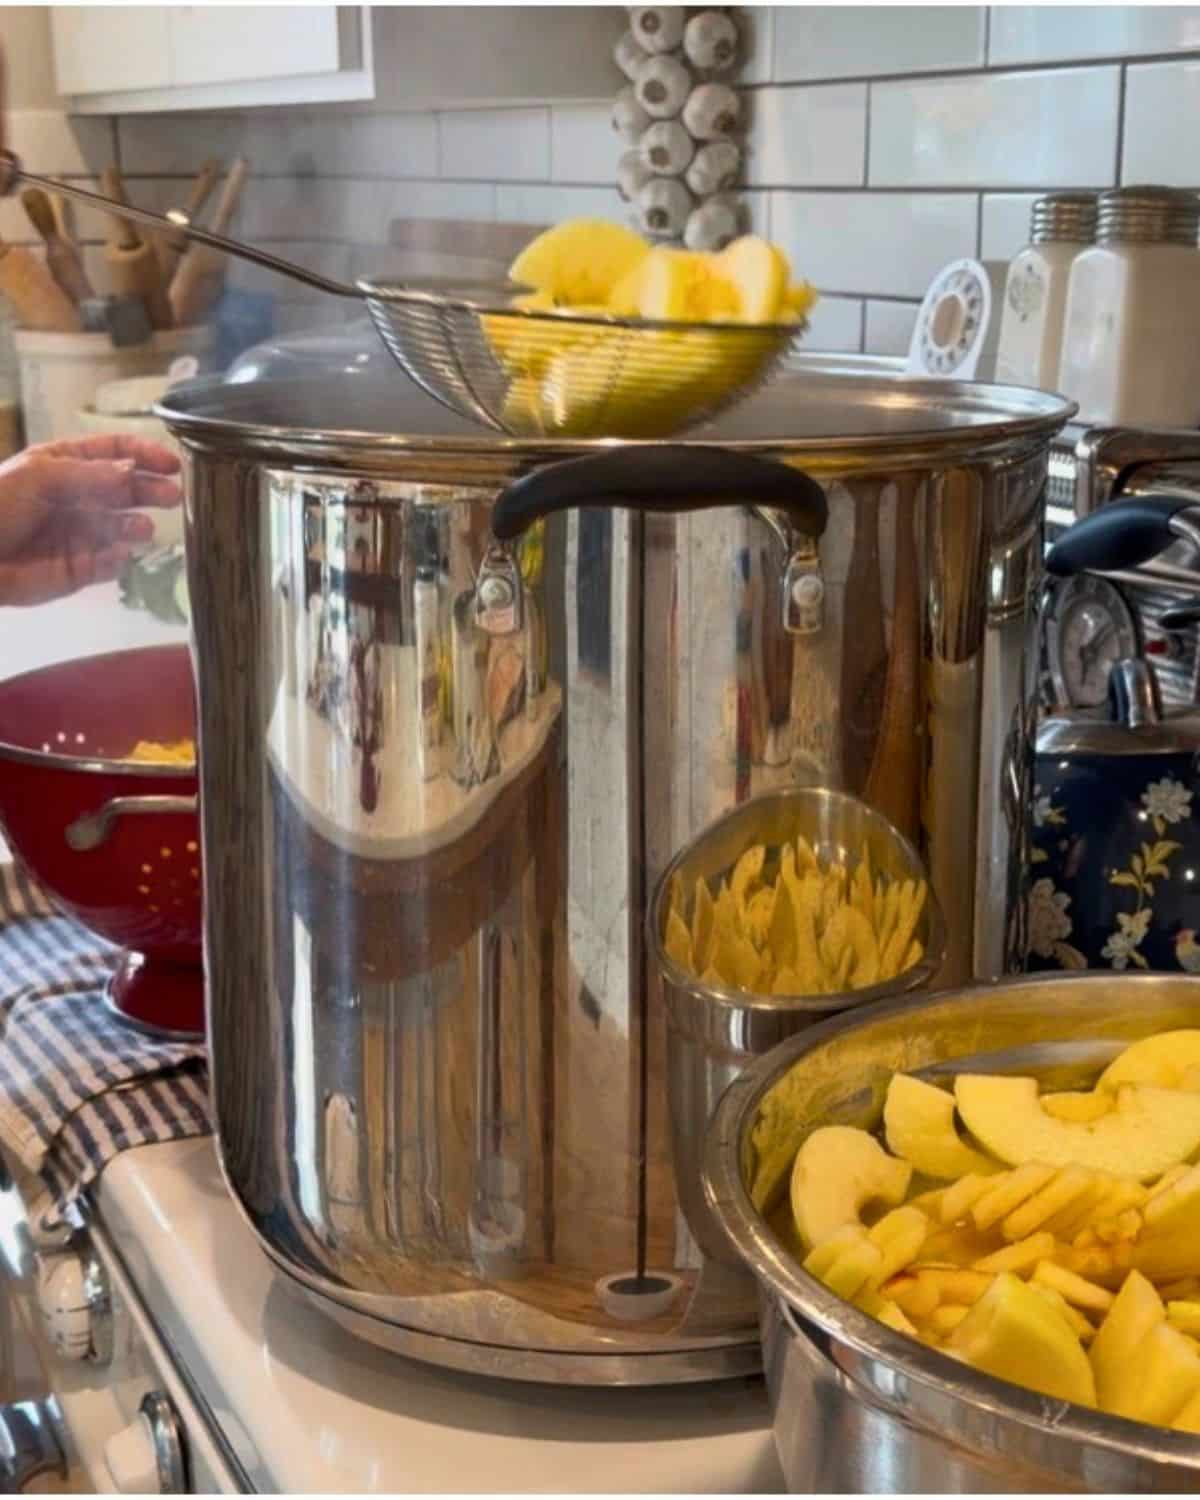
Blanching & Prep
Blanching your sliced apples in boiling water for 1 minute before filling your jars isn’t just an extra step—it’s important for both safety and quality.
- Why Blanch Apples First: Raw apples hold a lot of natural air. Blanching shrinks the slices slightly, forcing out trapped air so your fruit doesn’t float to the top of the jar or leave you with half-empty jars after processing! (Plus it softenes them up so they’re easier to get into your jars. 😉
- Prevent Browning: As you peel and slice, drop your apple pieces into an ascorbic acid bath (1 teaspoon vitamin C powder, or citric acid, or powdered anti-darkening agent per gallon of water) to keep the fruit crisp and bright white.
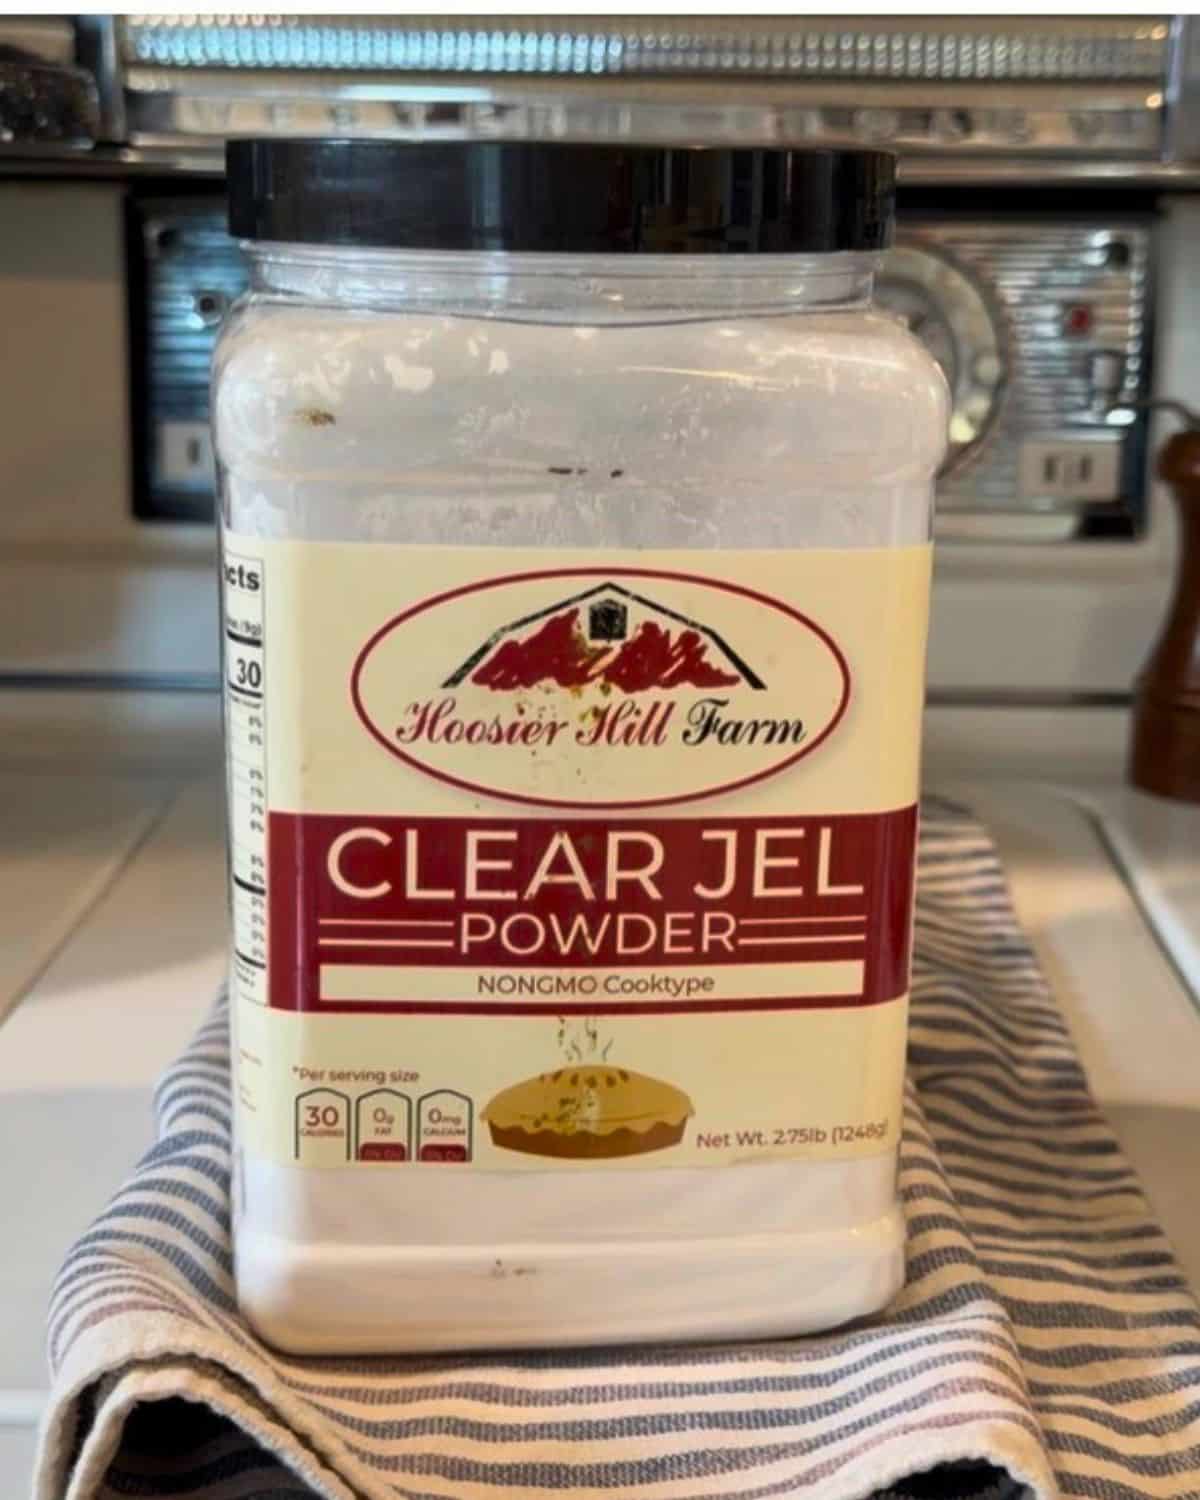
ClearJel® – Safe Thickening
If you’ve never used Cook-type ClearJel® before, don’t worry! It’s simply a modified cornstarch created specifically for high-heat home canning.
- Why Cornstarch Fails: Traditional cornstarch and flour break down under high heat, turning thin and runny after a few months on the shelf. Worse, regular starch thickens unevenly in the jar, blocking heat from reaching the center and creating a potential safety hazard.
- Cook-Type vs. Instant: Make sure your label says Cook-Type ClearJel®. Instant ClearJel® will thicken immediately upon contact with cold liquid without heat, leaving you with a clumpy mess before it ever hits the stove.
Preventing Siphoning & False Seals
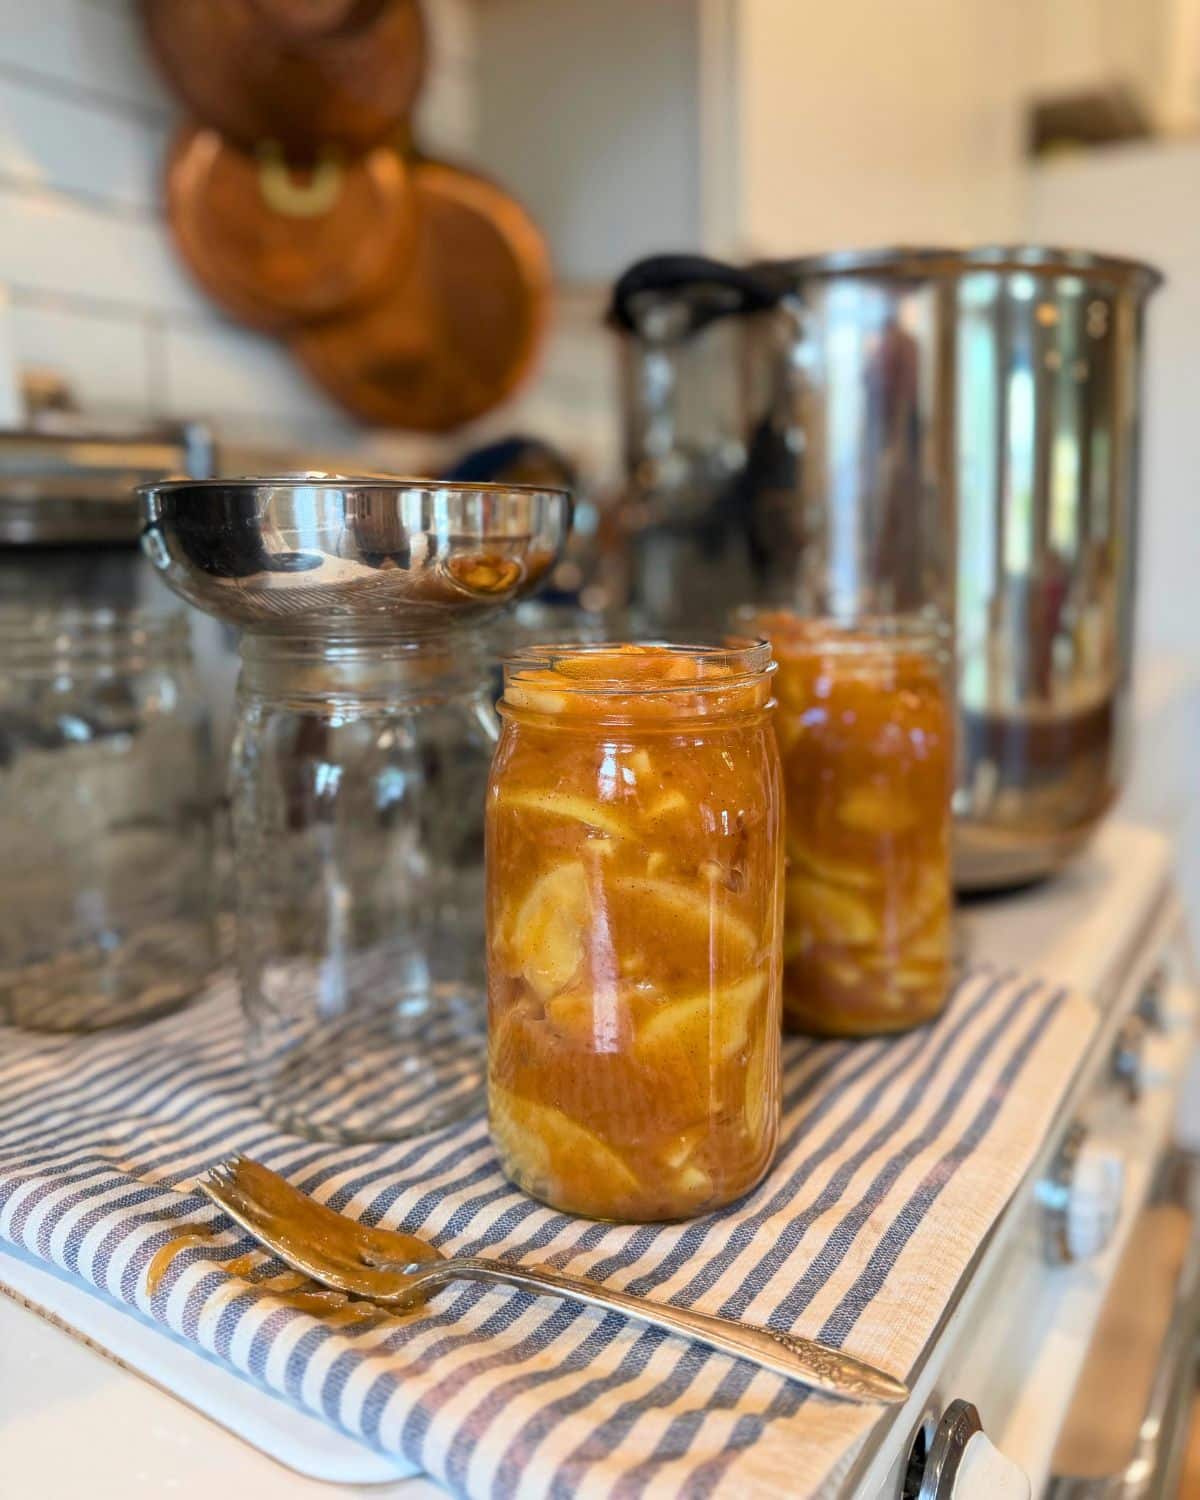
Siphoning (when liquid gets pulled out of the jars during processing or cooling) is one of the most frustrating canning issues. Not only does it leave you with lower levels inyour jar… But sticky syrup can get trapped under the lid rim and prevent a proper seal from forming. (Nothing is worse than putting in all that time and money and not being able to kwwp these beauties on the pantry shelf!) Keeping your jars full and sealed comes down to precise headspace, temperature control, and cooling right:
Maintain an Exact 1-Inch Headspace: Leaving too little room causes the expanding hot filling to boil over the rim, carrying syrup right under the sealing compound. Leaving too much headspace leaves trapped air that cannot vent properly, creating pressure swings that force liquid out. Always measure from the top of the jar rim down to your filling!
Debubble Thoroughly Before Sealing: Run a plastic bubble popper or silicone spatula down the inside of each jar to release hidden air pockets. Trapped air expands rapidly when heated, driving liquid out past the lid. Recheck your 1-inch headspace after debubbling and adjust if needed.
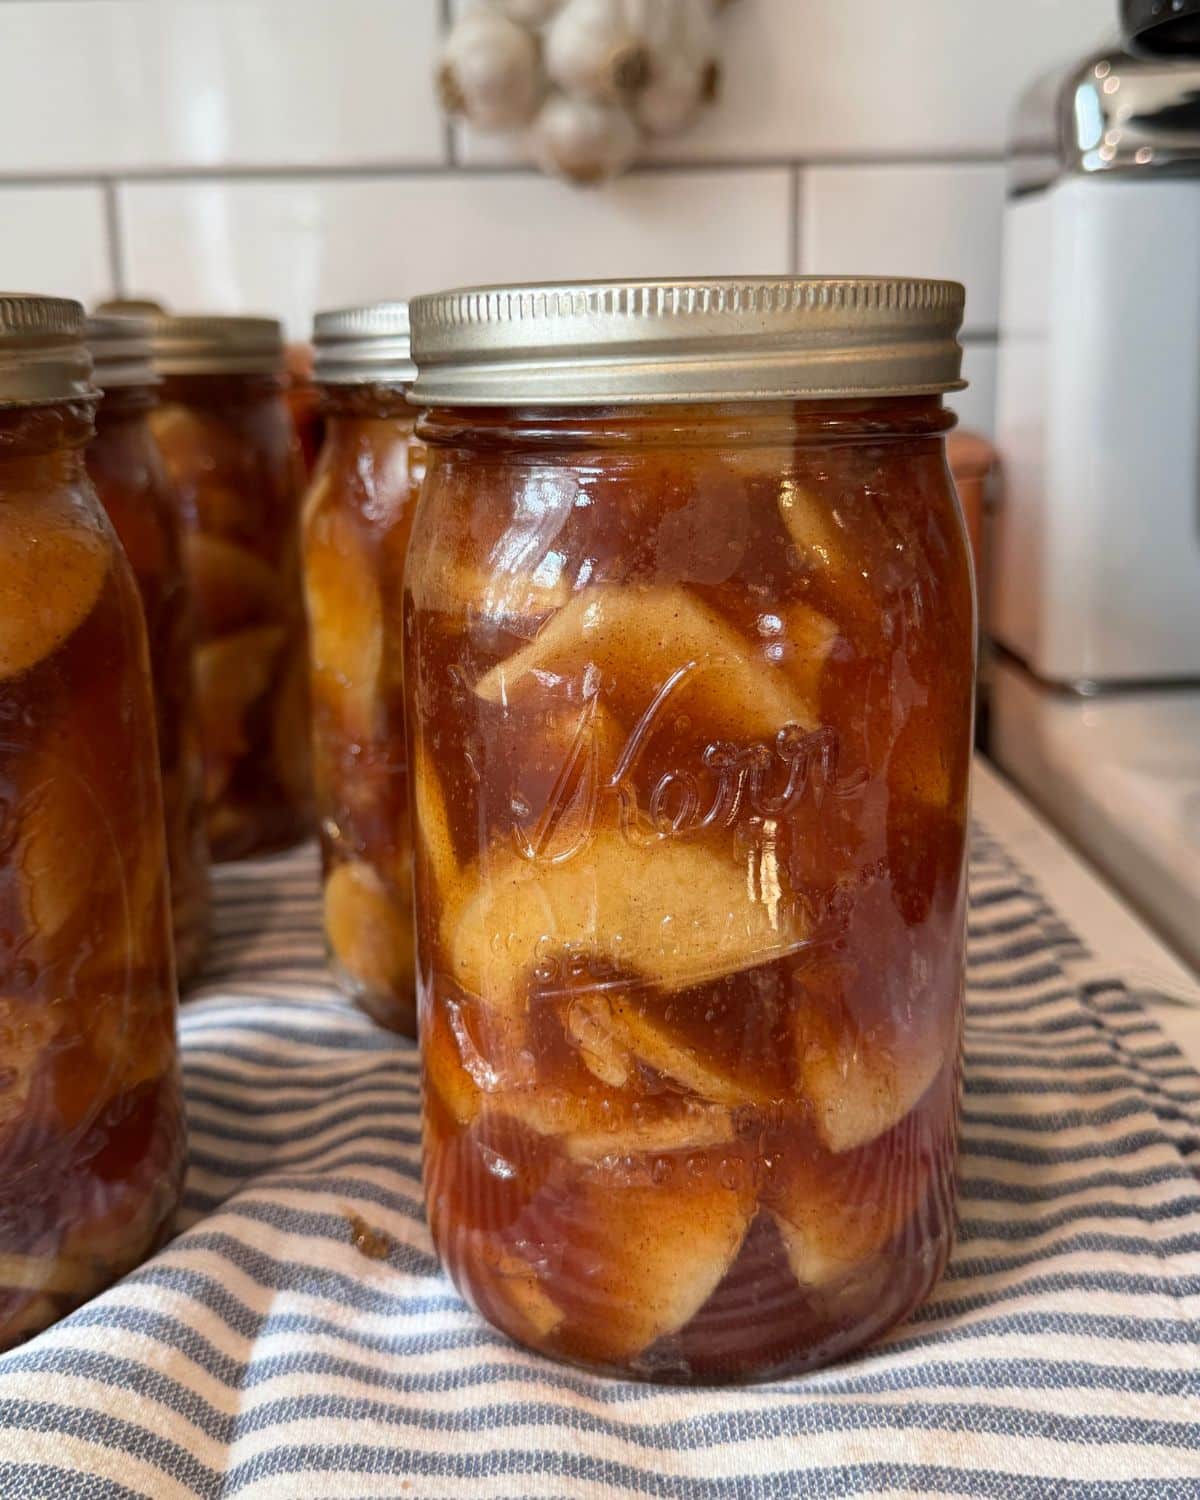
The 5-Minute Resting Rule: Rapid temperature drops create thermal shock, which is the main cause of severe siphoning. When your processing timer goes off, turn off the burner, carefully remove the canner lid, and let the jars sit undisturbed in the hot water for 5 full minutes before moving them… This gives the pressure inside the jars time to settle down. 😉
Lift Straight Up & Don’t Tilt: When moving jars to the counter, use your jar lifter to pull them straight up out of the water. Never tilt or slosh a hot jar, as liquid sloshing against an unsealed lid will disrupt the sealing ring and cause false seals.
Cool Undisturbed: Set your jars on a dry towel on the counter with an inch of space between them for airflow. Let them rest completely untouched for 12 to 24 hours before testing the seals or wiping down the glass.
Troubleshooting & FAQs
Why are my apples floating to the top of the jar?
Floating usually happens if the apples weren’t blanched long enough to release their trapped air, or if air bubbles weren’t thoroughly removed before wiping the rims. While floating fruit isn’t a safety hazard, thorough blanching and debubbling keep your jars looking full and beautiful.
What should I do if a jar doesn’t seal?
Make apple pie! If a lid flexes or clicks when you press down after 12–24 hours, the jar didn’t seal. Store unsealed jars in the refrigerator and enjoy them within a week, freeze the filling in a freezer-safe container, or re-process with a fresh lid within 24 hours.
How do I bake a pie using this home-canned filling?
One quart jar holds the exact amount of filling needed for a standard 9-inch pie! Simply roll out your bottom pie crust, brush it with a quick egg wash to prevent soggy crusts, dump in one quart of filling, top with your upper crust or lattice, and bake at 425°F for 15 minutes. Lower the heat to 375°F and bake for another 30–35 minutes until golden and bubbling.
Altitude Adjustment Chart
Water boils at lower temperatures at higher elevations, so your processing times have to be be adjusted so your jars reach a safe internal temperature. Always check your local elevation before setting your timer:
| Altitude Above Sea Level | Processing Time |
| 1-1,000 feet | 25 minutes |
| 1,001-3000 feet | 30 minutes |
| 3,001-6000 feet | 35 minutes |
| above 6,000 feet | 40 minutes |
Did you make this Apple Pie Filling Canning Recipe? I wanna know what YOU think, Please review the recipe card!
Cider Apple Pie Filling Canning Recipe (Adapted from NCHFP)
Equipment
- 1 Water Bath Canner & Rack
- 7 Quart Mason Jars, Lids, & Rings
- 1 Jar Lifter & Wide-Mouth Funnel
- 1 Bubble Remover Tool
- 1 Large Heavy Bottom Stockpot
Ingredients
- 15.5 lbs fresh apples peeled, cored, and sliced ½-inch thick; approx. 6–7 quarts fresh sliced
- 5 ½ cups brown sugar
- 1 ½ cups Cook-type ClearJel®
- 1 ½ teaspoons ground cinnamon
- ¾ teaspoon ground nutmeg optional
- 2 ½ cups cold water
- 5 cups apple cider
- ¾ cup bottled lemon juice
Instructions
- Prep & Blanch Apples: Wash, peel, core, and slice apples into ½-inch wedges. Hold sliced apples in an ascorbic acid bath to prevent browning. Working in batches, blanch sliced apples in boiling water for 1 minute. Drain and keep warm in a covered bowl.
- Mix Dry Base: In a large heavy-bottomed stockpot, whisk together brown sugar, Cook-type ClearJel®, ground cinnamon, and nutmeg.
- Thicken Syrup: Whisk cold water and unsweetened apple cider into the dry mix until completely smooth. Cook over medium-high heat, whisking constantly, until the mixture thickens and begins to bubble.
- Add Acid: Add bottled lemon juice to the pot and boil for 1 full minute, stirring continuously. Remove from heat.
- Combine: Immediately fold the warm, blanched apple slices into the hot cider syrup until evenly coated.
- Fill Jars: Ladle hot filling into warm, sanitized quart jars, leaving 1 inch of headspace.
- Debubble & Seal: Run a non-metallic bubble remover tool down the inside of each jar to release air pockets. Adjust headspace to 1 inch if needed. Wipe jar rims thoroughly with a clean, damp towel, place lids on, and adjust bands until fingertip-tight.
- Process: Process quart jars in a boiling water bath canner for 25 minutes (adjust for your elevation as needed).
- Rest & Cool: Turn off heat, remove canner lid, and let jars sit in the water for 5 minutes. Use a jar lifter to transfer jars straight up to a towel-lined counter to cool undisturbed for 12 to 24 hours.
Notes
Nutrition

About Juliea
Juliea is a mother of six, a sourdough baker, and a homestead builder living in Idaho. Alongside her husband and their horse, Dude, she manages a busy farmhouse and shares her love for scratch-cooking and simple homemaking. Through her blog and YouTube channel, she helps millions of families every year master the art of the handmade home.